

It’s no secret that the E-commerce industry has been booming for a couple of years and the competition is extremely increased. Not often, most of the time, people judge a brand based on its visual presentation, and as a result, product image photography comes in. If your products have got the right shot and look eye-catching, it may increase your sales tremendously.
But product image photography is not as easy as pointing and shooting. To stand out from scratch, you need the most common essentials for your studio setup including the camera, lighting, and space. When you have a good photography setup, it’s easy to produce stunning images that sell like crazy. In this article, I’m going to walk you through 12 product image photography tips for increasing e-commerce sales.
Why Product Image Photography Is Important
Customers are constantly on the lookout for better products and services online because shopping at an eCommerce store is completely hassle-free. They only select products that appear to be neat and professional. Product images that are appealing to the eye build trust and encourage customers to make a purchase. As a result, your primary goal should be to improve the quality of your product images. Here are some of the most compelling reasons to invest in professional image photography.
- Increases the appearance of your product images
- Build your brand personality
- Attract more customers
- Boost your eCommerce sales
12 Product Image Photography Tips for Increasing eCommerce Sales
Camera Setup
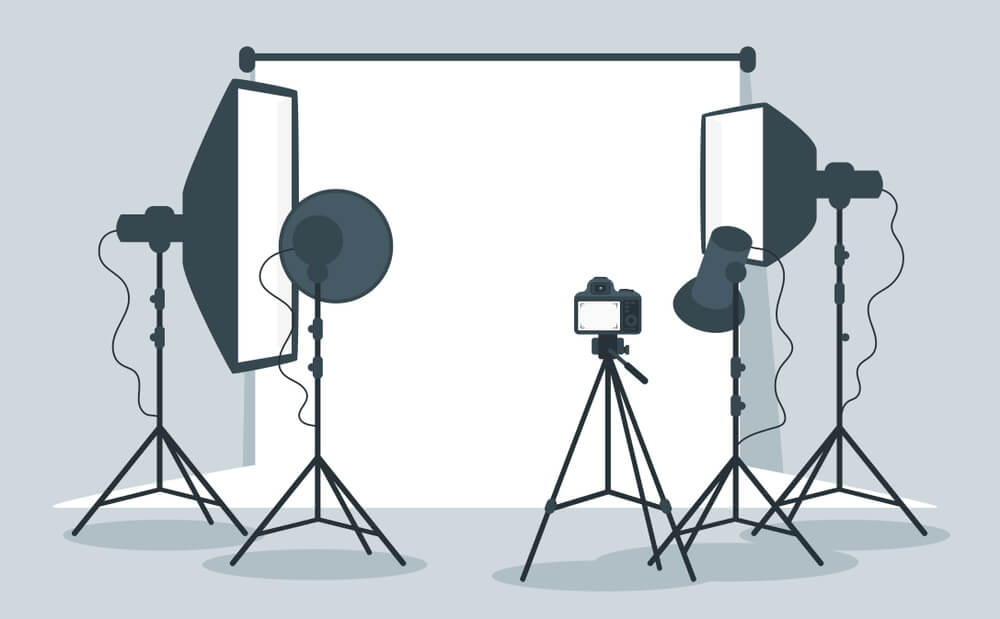
Image source: shutterstock.com
When it comes to eCommerce product image photography, the first thing that comes into mind is the camera. No matter what camera you have, with the right settings and position, you can achieve high-quality product images. However, setting up a camera is not as tough as it sounds. Even, the manual mode of the camera can automatically handle ISO, aperture, and shutter speed. But you need to take control to get the best possible product images.
1. Use a tripod for photo consistency
Before taking a single shot, set up the camera on a tripod. It helps the camera to create a stable position, reduce shake, and get the right shots. Think of a mobile phone that you position its lens towards the subject, it’s hard to hold it without the vibration of your hands. As a result, the photo might get some inconsistency that you don’t want to upload on your e-commerce website. Using a tripod you can get multiple shots from different angles without harming its consistency.
2. Keep ISO as Low as Possible
ISO refers to the sensitivity of your camera’s sensor. This is one of the three key elements to control the exposure that makes your camera able to gain light. In most cases, the lower the ISO is the better you can get results from an image. You can increase the ISO if you take shots in lower light because it adds more light to your photo and makes the image perfect, but start from the lowest ISO possible and increase gradually until your product images appear properly.
3. Keep the Aperture as high as possible
Aperture involves lighting that passes through the camera lens measured with numbers generally ranging from F1 to F22. The Lower aperture passes more light to your camera while the higher aperture passes less light to represent the right apertures. You will better understand when you take multiple shots with different apertures. In product image photography, you need to keep the aperture as high as possible (F16 or F22) since your product needs to be more focused.
4. Keep Shutter Speed Slow and steady On a Tripod
Shutter speed determines the exposure time in your camera meaning how long the camera’s sensor is exposed to the light while taking shots. But the problem is the faster shutter speed can cause your photo to be frozen while the slower shutter speed might allow motion blur.
In product photography, all you need to do is to use a tripod to better position the camera. It allows you to capture the right exposure without unpleasant motion blur and freezing. So start with a steady speed to capture more sharp and polite images.
Background Setup
Background setup is the crucial step before taking shots of your product images. Most studios use white or green backgrounds in order to highlight the images in front of the customers. For the white background, it’s enough to use a white sweep or paper sweep. And for green screens, there are a lot cheaper options online that you can take a look at and get one. However, a background setup can help you produce beautiful product images if the setup is mounted precisely.
5. Don’t put products too close to the background
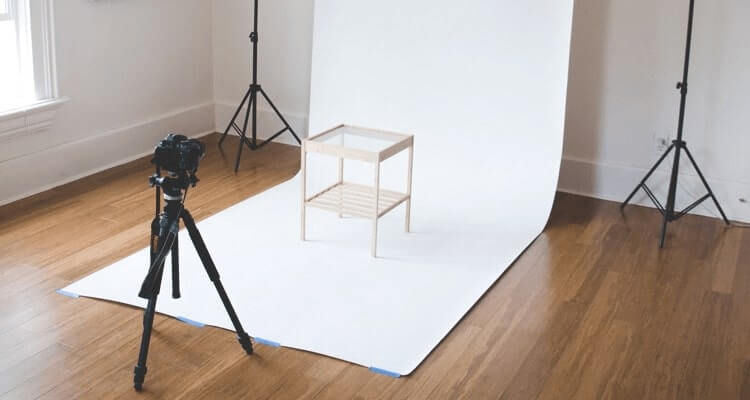
Image source: pixc.com
Most photographers make mistakes getting the product closer to the background that causes unpleasant shadows and creates darker areas. In order to get rid of the shadows, you need to light the background from behind. When choosing the sweep, make sure you get the right-sized sweep that best fits your products.
Using a sweep or green backdrop makes it easy to retouch your images due to their solid color. Also, it can reflect light onto your product images and eliminate unwanted shadows.
This way, you can make super white backgrounds in your product images that catch the customers’ eye.
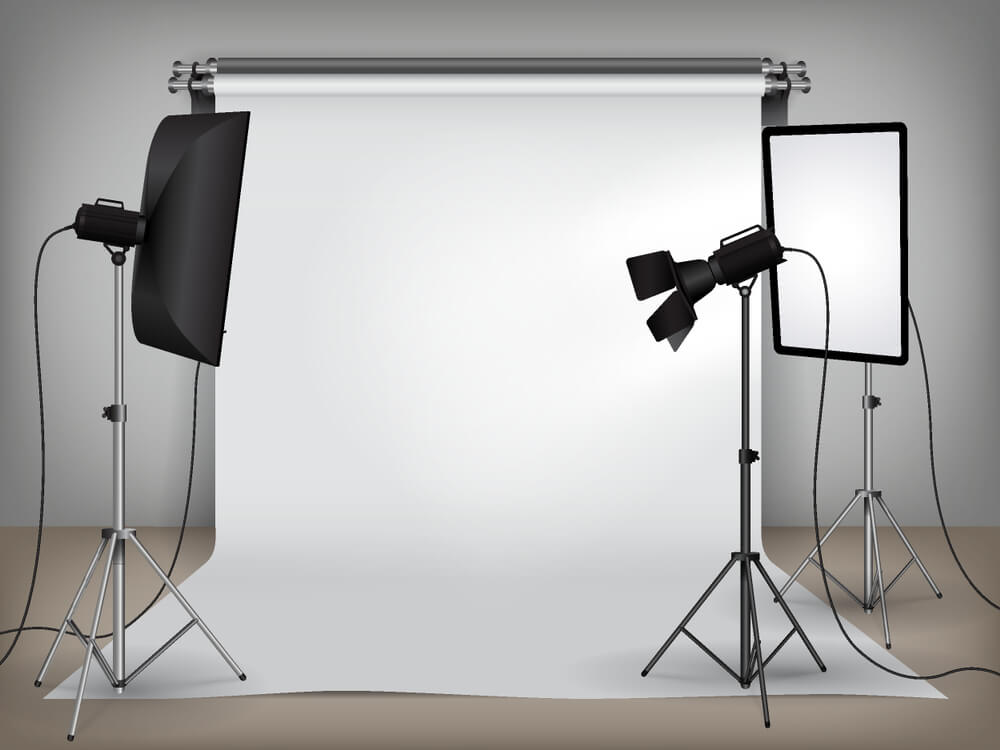
6. Use enough lights and reflectors

Image source: multimediaphotoandvideo.com
Getting the right amount of light and exposure is a bit challenging when it comes to product photography. To get the right shots, use enough lights and reflectors to get a pure white background. Also, consider the right camera settings to get better exposure to your product images.
Product Setup
Product setup is one of the key steps you need to take when capturing images. It costs nothing but time. The more precise position your products get the more it can get perfect shots.
7. Use a table
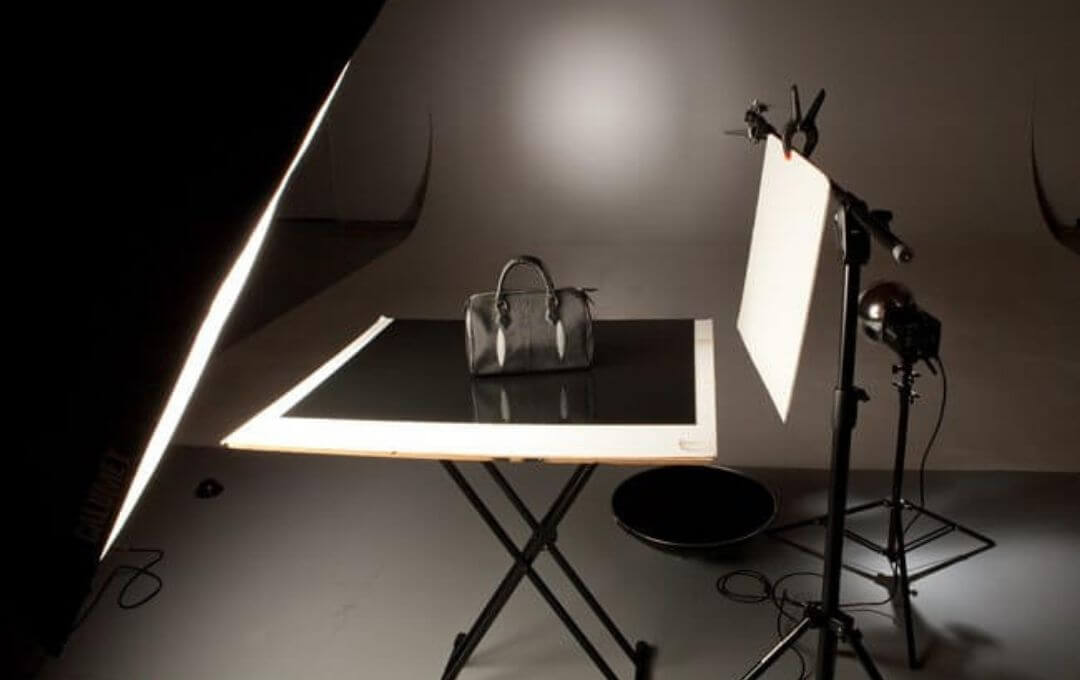
Image source: surfsideweb.com
Sometimes taking shots on a flat surface may lead to imperfect images, what you should do is use a table to precisely position the product. This method reduces effort and gives you more freedom.
8. Add props
Adding props can increase the appearance of the products. When adding props, make sure they are relevant, simple, and coordinated with the right color scheme.
There are a lot of ideas to properly use props in product images. But the best way to utilize your own creativity is to use the props in different ways and take multiple shots from different angles.
9. Support your products
If you have products that don’t stand on their own, you need to use supporters to let them stand. For example, if you have clothing products, you may find it hard to take shots without hangers, mannequins, or anything else that can support them. Not to worry about the hangers or mannequins, in post-production processing, you can eliminate all unwanted objects. Before you begin taking shots, choose wisely what supporters best fit your products based on size. A good supporter can increase the appearance of your images.
Lighting Setup

Lighting setup is one of the key elements in product image photography. With the right lighting setup, you can achieve more detail of your products and increase their appearance.
10. Use natural Light

Image Source: bhphotovideo.com
Natural light is the best way to take shots as it costs nothing. It saves more time while artificial light may take a long time to set up. If you go with natural light, make sure you have a light that is optimal for your product photography. If the light is too intense, you can use paper over it to reduce the intensity and get the lighting right.
To get better shots, choose a room that has windows next to the wall. The closer the window is, the more light it can produce. So choose wisely.
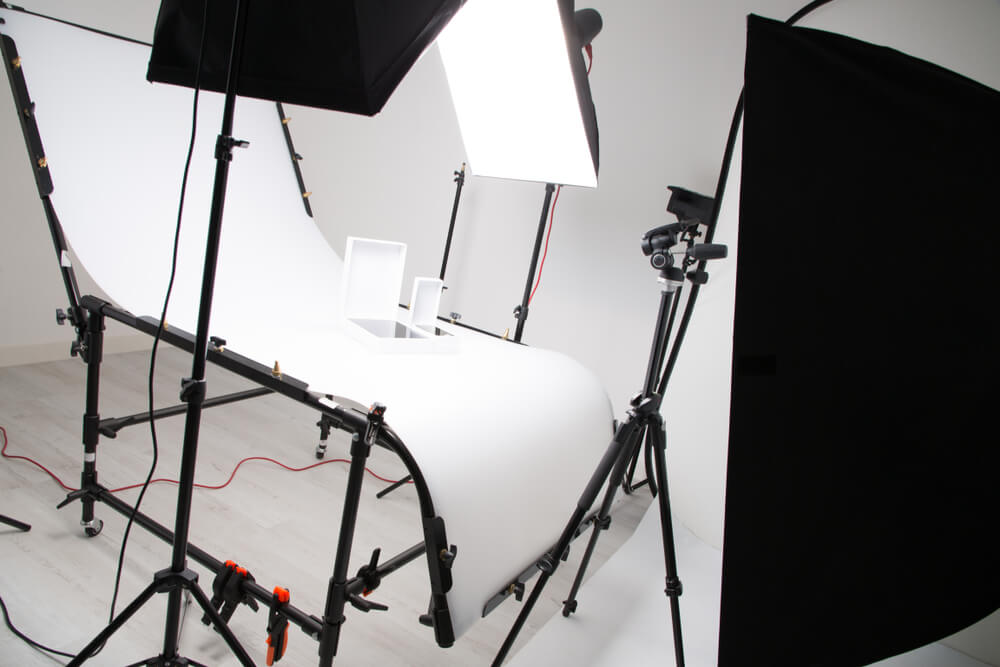
11. Use artificial light
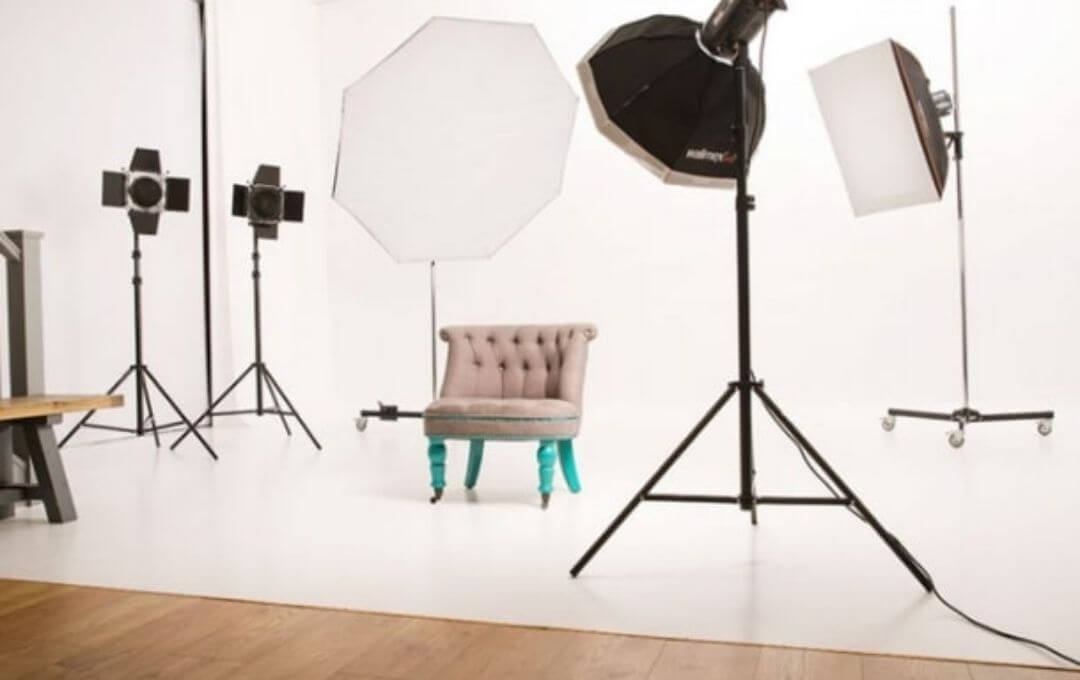
Image Source: bigeasymagazine.com
Artificial light is the best choice for all photographers since it can be used under control. Also, there are several options to change the characteristics of the lights while natural light might not be able to produce that. The reason why I choose artificial light over natural light is that artificial light can take photos that are almost impossible in natural light. It uses constant lights and flashes to take incredible shots. If you spend some dollars on the artificial lighting setup, you will have endless opportunities to apply different characteristics to your product images. Apart from that, you can achieve the right intensity, quality, color, and everything that makes your images more attractive.
12. Retouch your images
When taking shots, there’s a high chance of getting imperfections in your images. Not to worry, you can make them as perfect as you want by retouching your images. It’s where the magic happens. Whether your images need to remove the background, eliminate unwanted objects, add various adjustments, and more, with retouching, you can turn your images into gorgeous photos that grab customers’ attention. If you don’t have the time or skills to retouch your image properly, you can hire professional photo retouching services that can meet your needs.
Conclusion
In this competitive e-commerce landscape, it’s really hard to stand out from the crowd. But the visual presentation of your business can make a huge difference and that’s why product image photography comes into play. With proper studio setup and tools, you can take product photos that increase the appearance of your business, engage more customers, and increase sales on a large scale.