
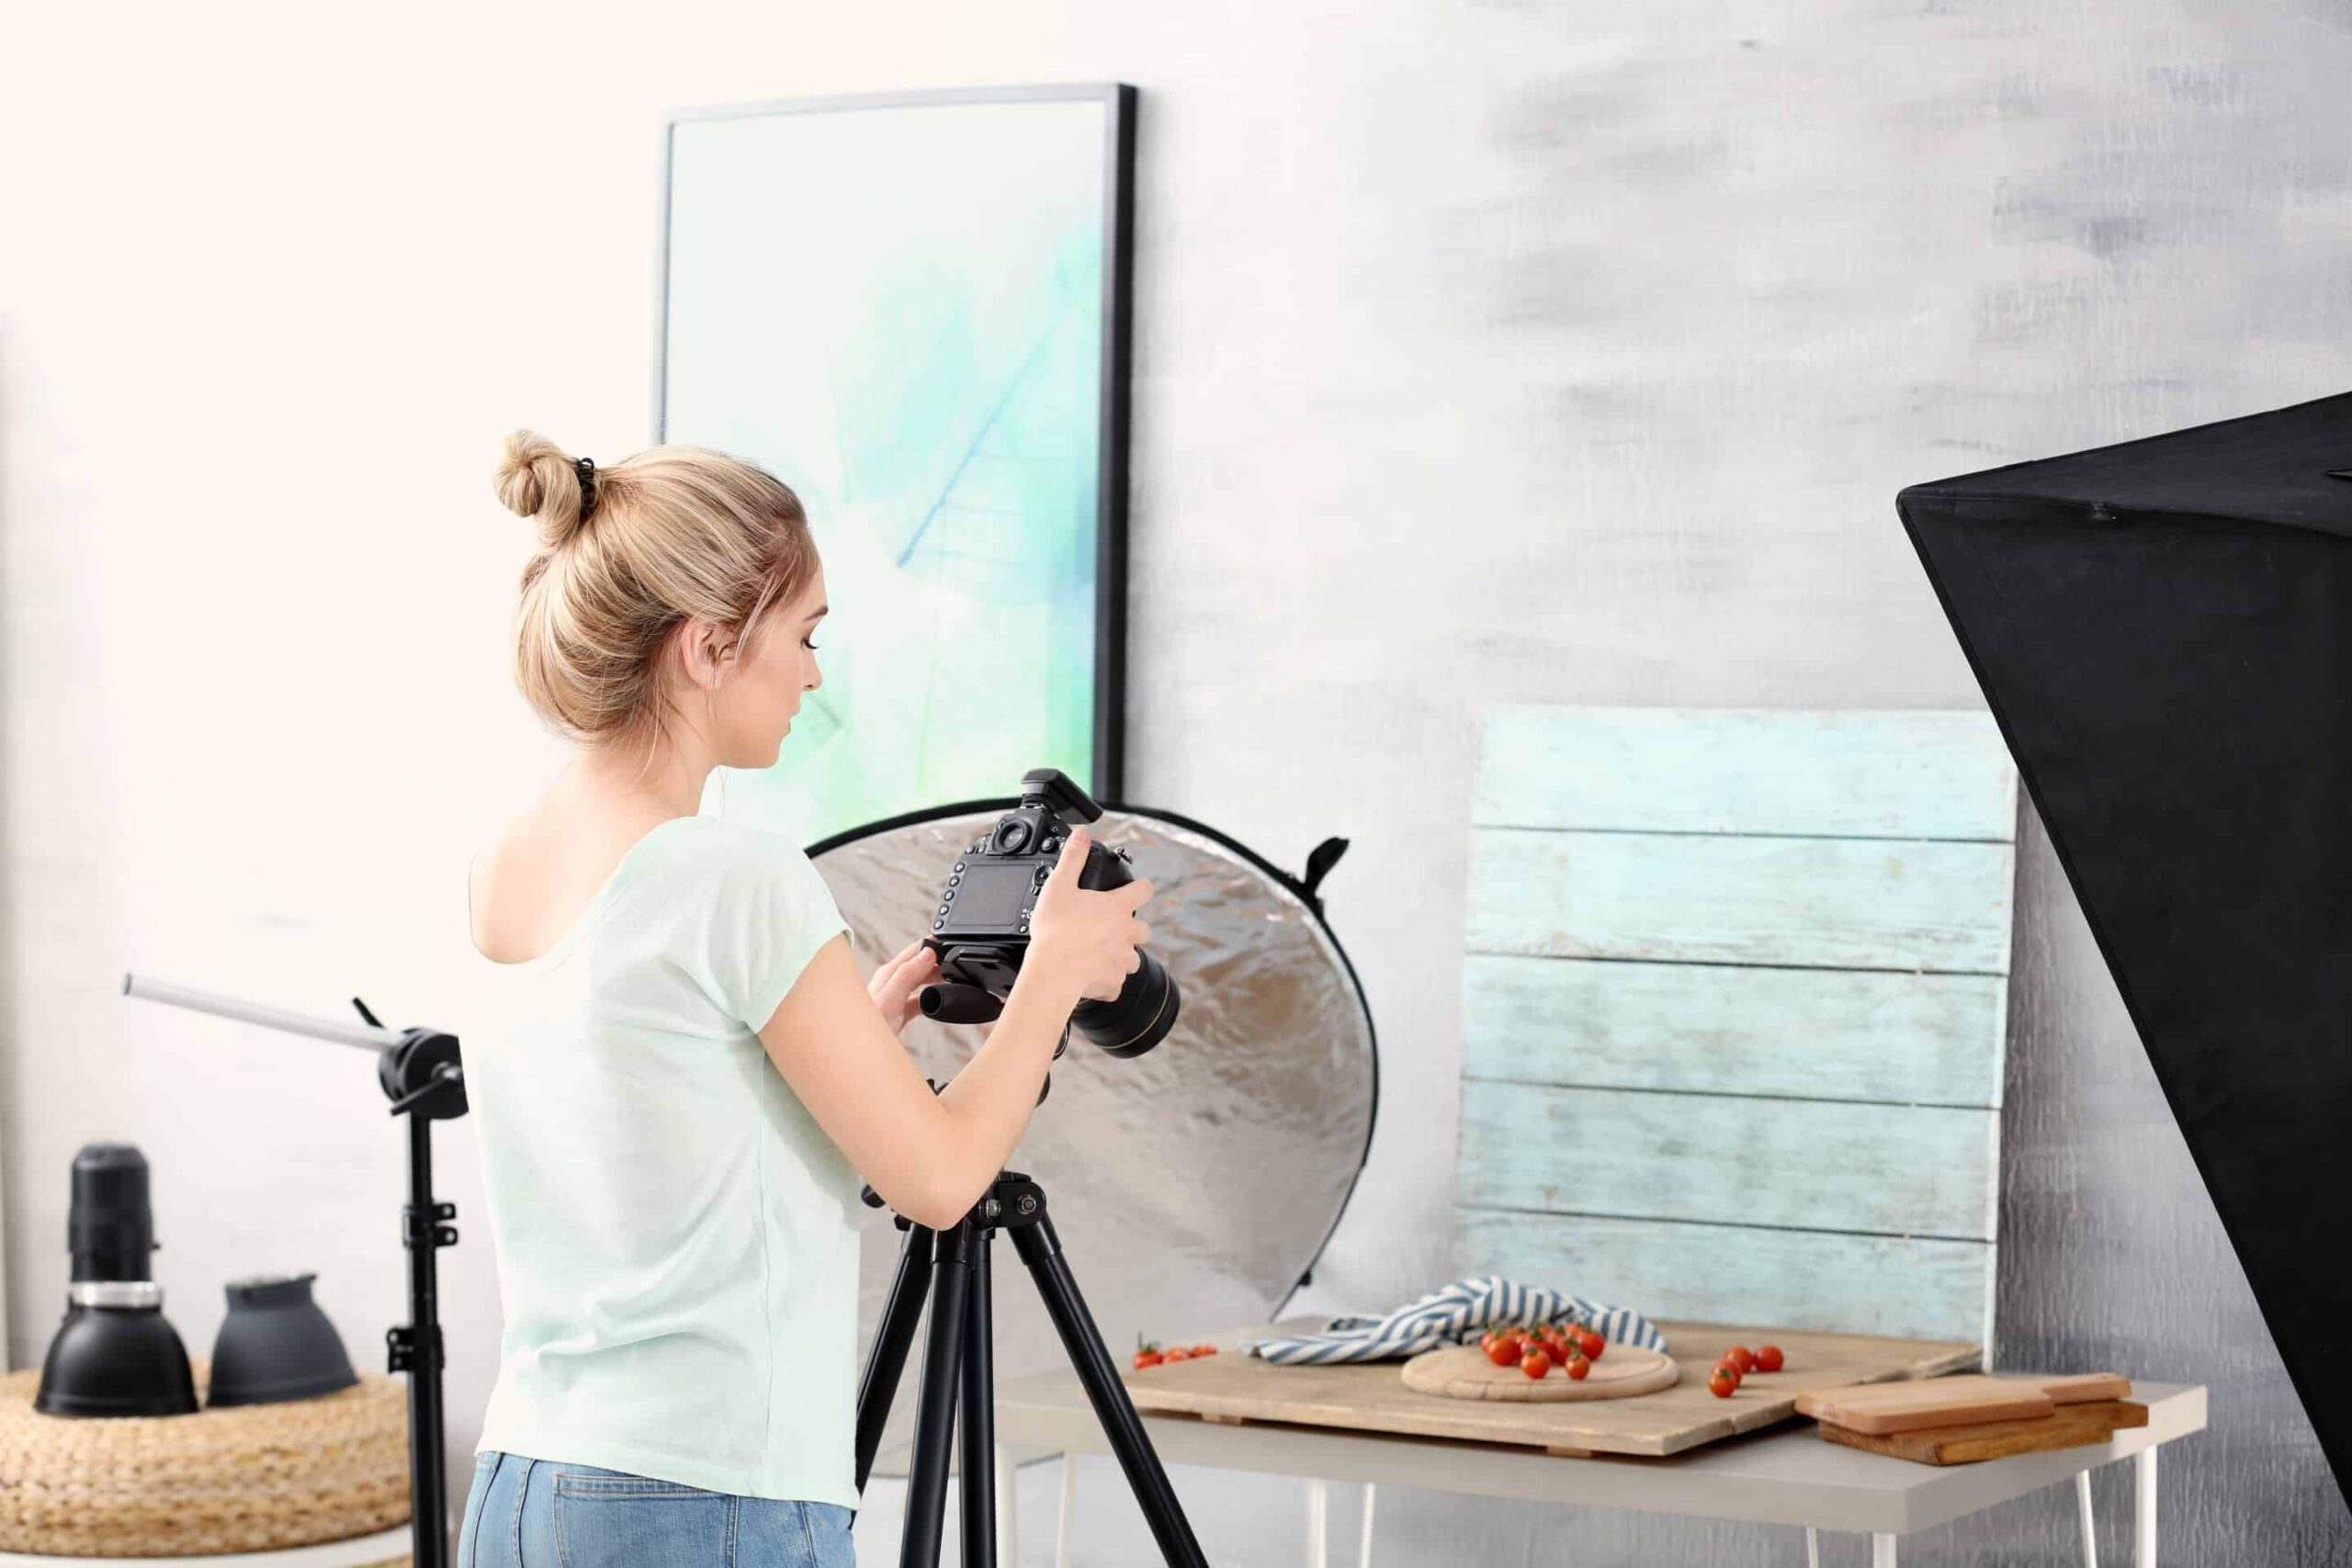
In e-commerce, product photography is a magic ingredient in bringing the best conversions, which requires hiring professionals. But in reality, most new shop owners don’t have that budget.
That’s where a DIY Product photography setup comes in.
Practical eCommerce states that 80% of shoppers fail because of poor product photos. But the DIY product photography setup will ensure the best images in your eCommerce store.
DIY, or Do It Yourself, product photography setup at home, is an inexpensive way to prepare your product photos by yourself.
With some basic knowledge, helpful hacks, and pieces of equipment, you can shoot your product photos that will be outstanding in the crowd, without knocking on the professional photographer’s door.
This article covers everything you need for your DIY product photography setup at home.
9 Equipment Needed for DIY Product Photography Setup
As an e-commerce business starter, you can spend some money to build a DIY product photography setup at home, instead of continuously investing in hiring professionals.
Product photography is within your grasp as long as you know what equipment and techniques best match your business.
Here are nine pieces of equipment needed for your DIY product photography setup.
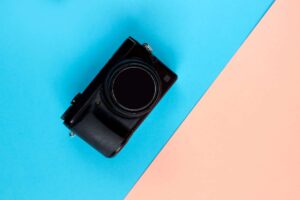
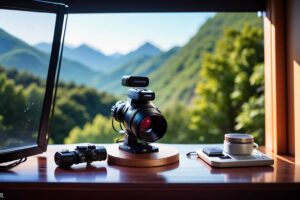
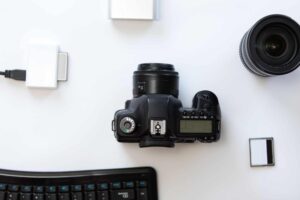
Camera
It is undoubtedly the best camera for product photography when you choose the Nikon D810 with its 150-mm f/1.4 lens, which might cost nearly $3,000.
But it is unnecessary if you have a tight budget.
Rather, you can pick a camera within $300 to $500. In the case of digital photography, you don’t need a pricy camera body.
Besides, heavy image files can increase the loading time from the customer’s end, lowering their user experience.
So, choosing a 12-megapixel camera is perfect enough to shoot your photo without compromising the photo quality.
The point-and-shoots for the Canon G series can go full manual, with which you can capture nice raw photos.
Though many believe that it is the camera that prepares their photos, the reality is that the camera is only a part of the whole product photography process.
So, start with whatever you have in hand and see how it works.
Lens
Lenses like Canon 100-mm f/2.8l macro, or Nikon AF-S VR micro-Nikkon 150-mm f/2.8G IF-ED can bring the best quality of your product photos, which might cost around $900.
Sigma has a mid-high level 105 mm f/2.8 EX DG lens within $400, which is still pricy for new e-commerce shop owners.
To reduce the cost, choose a 50 mm lens that can auto-focus. The Canon EF 50 mm f/1.8 STM lens costs below $150, which is enough for you.
Alternatively, you can get NIKKOR 50mm f/1.8D with the same budget, but it has manual focus only.
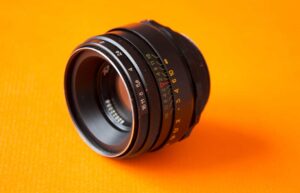
The Nikon AF-S Nikkor 50mm f/1.8G Lens has the autofocus option, which might cost up to $200.
Tripod
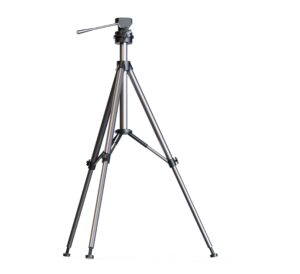
A tripod is necessary to keep your camera steady and prevent any kind of shaking. There is no recommendation for which tripod you should choose.
Pick one that fits you well. You will find many tripods that cost $20 to $50.
Lighting source
Sunlight has no alternatives, which costs nothing.
You can control the flow of the sunlight when photo shooting, but that is not always possible.
Sometimes you may get caught in the cloudy sky or be pushed to schedule your shooting at night.
In that case, you will have to substitute sunlight with an artificial lighting source.
Studio lights or tungsten bulbs are great substitutes here. But when compressing the budget for a home studio setup, choose LED lights depending on how much you want to spend.
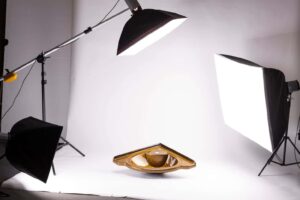
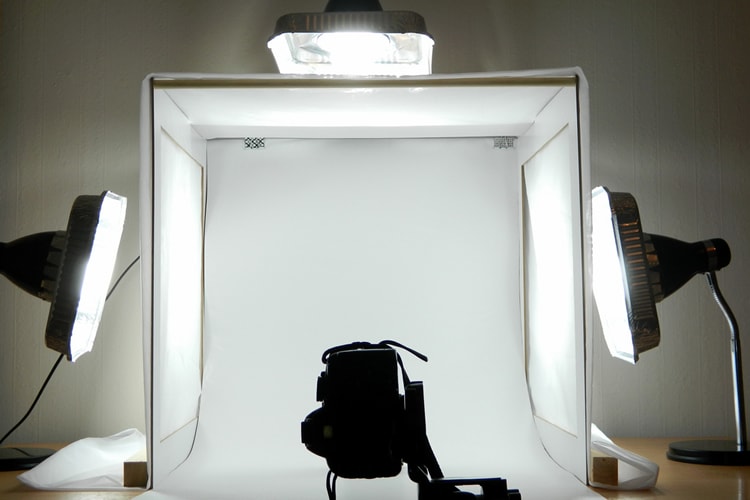
Lightbox
It goes without saying that proper lighting is the key to quality photography.
When you lack time to shoot in the sunlight or money to invest in studio lighting, a DIY photo box or lightbox can be your solution.

A lightbox, also known as a photo box, white box, or light tent, is an empty box with transparent white sides and a smooth-white backdrop.
We will discuss how to prepare a lightbox by yourself in the later stages of this article.
Tape
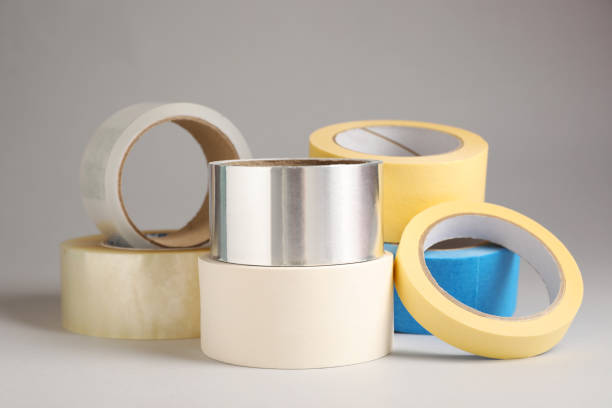
Tape allows you to secure your backdrop to a surface, preventing unwanted movements or wrinkles that can show up in the final photo.
Small pieces of tape also help you position your product for the perfect angles when composing.
Clamp

Clam is essential to control lights in your DIY product photography setup. It lets you attach light fixtures like lamps and position them precisely for optimal lighting.
Clamps can also hold diffusers and light reflectors in place, giving you more control over the final look.
Foam board
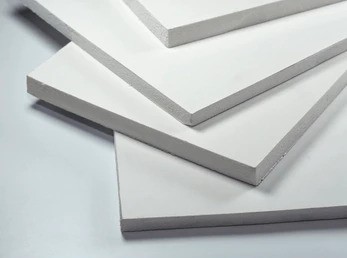
Studio light reflectors and defusers might be pricey, but foam board can be your alternative here. The foam board is flexible when cut into a certain shape based on your needs.
It is also lightweight to carry. A white foam board acts like a classic reflector, bouncing soft light back onto your subject to fill in shadows and brighten the scene.
Conversely, a black foam board blocks light and creates shadows. It is useful for controlling light spills or creating dramatic contrast by absorbing unwanted light.
Table
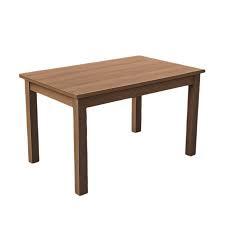
A properly sized table allows you to adjust camera angles and lighting setups. It provides a sturdy and level surface to place your products, ensuring clear and sharp photos without unwanted objects.
You can choose a diy product photography table from any furniture store.
5 Steps to Prepare a DIY Product Photography Setup
You don’t always shoot the best pictures; you make them the best strategically. With the accessories mentioned above, you can prepare your home studio for product photography with ease. Here are the steps:
Position Your Table
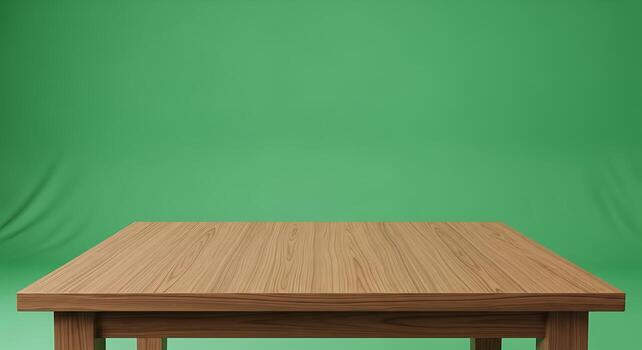
As told, the table ensures a level surface for a crisp and clear photo. It is the foundation of your DIY product photography setup.
Choose a neutral-colored table that won’t clash with the photo background. Then, position it near the window that is facing north. It will help you catch the natural light effortlessly.
Set up Your DIY Lightbox
Preparing your lightbox is far easier than you think. It will require the following elements:
- Cardboard box
- White poster board or paper
- Fabric
- Scissors or box cutter
- Ruler
- White or clear Tape
Firstly, grab the cardboard box and choose a side to remove completely. This will be the front of the photo box where you will shoot.
You may want to bathe your product in soft, even light. Here’s the trick!
On the remaining sides, grab your ruler and mark rectangles 2 inches from the edges. Then, use scissors or a box cutter to cut them out.
It will let the natural or artificial light flow through and illuminate your product perfectly.
After that, take your white paper or poster board and cut it to fit snugly inside the box. Ensure it covers the top and back without wrinkles, taping it securely to the top and bottom edges.
Clear tape is best, but white duct tape on the backside works too.
The last thing to do is cut fabric pieces slightly bigger than your light windows. Think of them as light curtains! Tissue paper works well to brighten things up.
Tape or glue these fabric diffusers to the cardboard covering the windows. And finally, your DIY photo box is ready.
Prepare Your Product Photography Lighting Setup
Incorrect lighting will never let you shoot a great product photo, no matter how good your camera is.
On the contrary, by implementing the art and science of lighting effectively, you are unstoppable in capturing stunning images, regardless of the camera you are using.
Natural light is best when you control it perfectly. You can position your DIY product photography setup near a large window facing north.
It will allow you to get defused and soft light throughout the day.
For the best and most consistent result, consider placing softbox lights on either side of the lightbox and angling them slightly towards the front.
You can experiment with it later, moving them closer and further away to get the proper brightness and shadow.
Read a complete guide about: Product Photography Lighting Setup In 2026
Prepare the DIY Camera Reflector
The camera reflector aims to control the sharpness of shadows. Shadows always add depth, but harsh shadows might be confusing, lowering the user experience from the customer’s end.
The foam board is your budget-friendly DIY camera reflector. Thanks to its reflective surface.
A white foam board bounces light back onto your product. It fills in the unwanted shadows and creates a more polished look.
Position the white foam board opposite the light source to reduce the harshness of the shadows.

On the contrary, when facing issues with lighter shadows, use a foam board that is painted black to darken your shadows.
Like softbox lights, you can move the reflector closer or further away to get the proper shadow.
Complete Your Camera Setup for Product Photography
Your product photography setup is almost ready. The last thing to do is to prepare your camera setup to capture your desired images.
Here are the best practices for preparing the camera setup:
- Switch to manual mode for full control. It enables you to adjust the aperture, shutter speed, and ISO for perfect light capture.
- Set your tripod with the camera to prevent unexpected shaking.
- Set a high aperture for a crisp image with everything in focus, showcasing your product from all angles.
- With a tripod, you can use a slower shutter speed for optimal light capture. Keep ISO low to avoid grainy photos.
- Use the “self-timer” function to avoid camera shake caused by pressing the shutter button.
- And shoot!
Fine-tune Your Product Photos with Professional Editing
Adhering to the best practices, you can shoot outstanding product photos without hiring professionals. But they are heavier raw files that need to be compressed.
The problem is that reducing the file size might cause you to lower your hard-efforting image quality.
Editing the product images is the final touch of your photography production, which is sensitive to handling.
There are ways to manage the editing project, but it is best to consider e-commerce product image editing services by experts with affordable pricing.
This way, you are already on the way to compressing your budget and bringing the best conversion rate.
FAQ
Do I need a softbox for product photography?
The softbox can be an alternative when you can’t manage the proper natural light. You will need at least two softboxes placed on both sides and faced slightly towards the front of your DIY photo box.
What is the best lighting for product photography?
There are several types of lighting for your DIY product photography setup, such as tungsten, fluorescent, and LED. Among them, tungsten can deliver brighter lights, while LED can be enough and is budget-friendly.
What is a 2-light setup for product photography?
One light provides the main light, and the other aims to provide the fill light. Together, they are a 2-light setup.
What is the best resolution for product photography?
Big e-commerce sites like Amazon suggest uploading high-quality images that can communicate with customers. An image with 2000 x 2000 resolution is mostly recommended, with the file size under 10 MB.