
The background of a product photo should be clean and minimalistic. You need to highlight your product, keeping the background undistracted.
This is the reason why people talk a lot about white background product photography in eCommerce business.
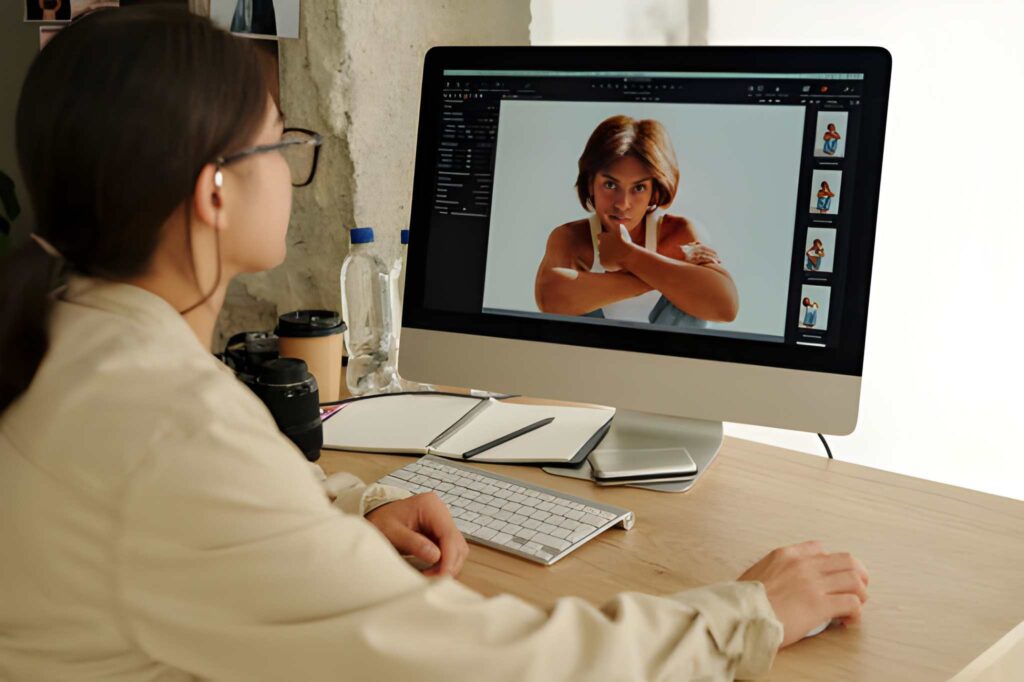
Do you know how to set up your studio, camera, lighting, and post-processing for white background product photography?
In this blog post, let’s discuss all these to help you create a beautiful white background for product photos and succeed in the competitive eCommerce game.
What is White Background Product Photography?
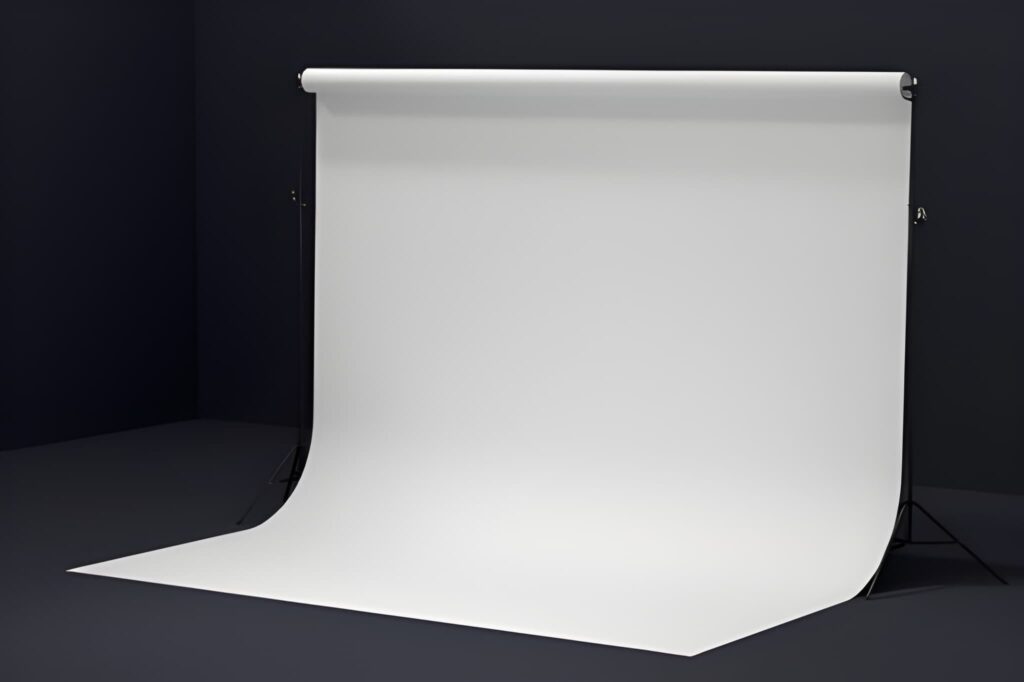
White-background product photography is the process of capturing a product image with a white backdrop. You can use any white fabric, paper, or foam board for white-background product photography.
White-background product images are widely used in e-commerce, social media, and ad campaigns. Also, it’s a standard background for e-commerce platforms like Amazon, eBay, Etsy, and others.
It helps capture clean, polished, destruction-free images. That helps to make your e-commerce brand consistent.
Why is White Background Product Photography Important?

There are many reasons to choose white background product photography, among them 5 reasons given below:
Showcasing your product without distraction
White is the cleanest and most peaceful color. Using a white background in your product photo helps to keep the attention of the viewers solely on the product.
It enhances customer conversion and sales.
Highlighting colorful products
White gives the most contrast against all the other colors. The contrast between white and the color of the product helps it to appear more vibrant.
Therefore, a white background will highlight the products most effectively.
Easier to work in the post-production
Using a white background for product photos helps the image editors in the post-processing in several ways.
It ensures a more accurate color correction, easier retouching, and background removal. It saves time for the image retouchers.
Maintaining consistency
Using white backgrounds across the products will help your business in many ways.
For example, will maintain consistency, help you establish a brand identity, and create a sense of uniformity, which helps the customers stay undistracted.
Diverse application of the product photo
If you use a white background in your photo, you can integrate it into different promotional media such as social media, magazines, newspapers, banners, and other print materials.
The most common and favored method of product photography uses a white background.
The use of white background product photography by almost all eCommerce businesses results in a recognizable brand.
There are many reasons to use a white background, most of which are listed here.
That’s why most people love product pictures with white backgrounds.
Different types of white background
Many white background options are available. Their uses depend on your product category, photography types, and your budget.
For instance, people use paper to save money. The whitewall backdrop is used for hanger photoshoots, ghost mannequin photography, and other photography.
Here, we explain the most commonly used white background types.
Fabric
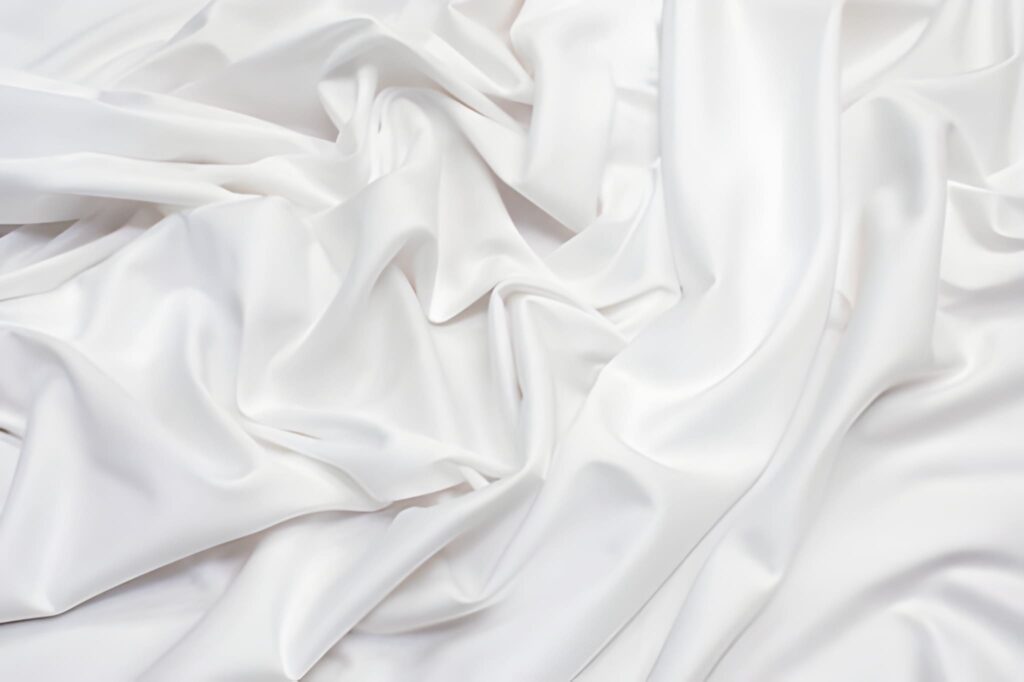
White fabric can be another choice as a white background for product photography. Fabric is readily available and affordable.
It can be draped over any surface to create a seamless, undistracted background.
Not all fabric can be used as a white backdrop. You need to make sure that the fabric is clean and wrinkle-free.
To use it properly, you can either place it on a flat surface or you can hang it over a stand with clamps.
You can place a light source behind the fabric to create effects or make the background brighter.
Paper

White papers are probably the most popular for creating backgrounds in photography.
You can find seamless photo background papers online, or you can purchase white papers from your local stationery shop.
These papers are available everywhere and affordable as well.
Flexibility is the most vital advantage of white papers. These papers are great options for making seamless sweep backgrounds.
You can also arrange them in different ways, such as hanging them on a wall or fixing them on a backdrop stand with clamps.
Foam board
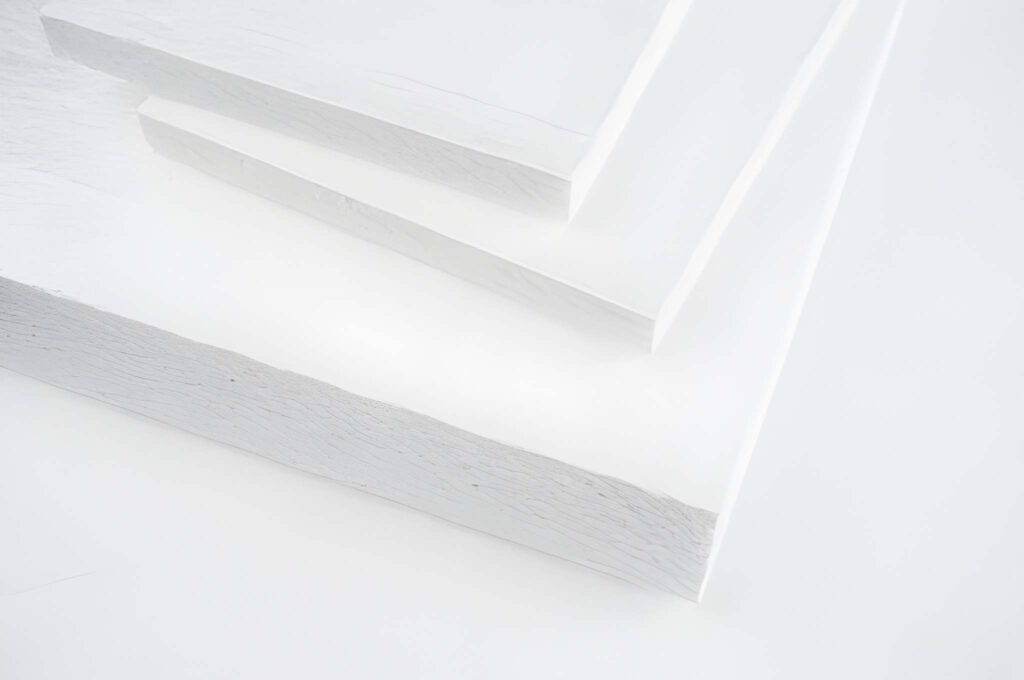
White foam core board is another great option as a background for product photography. They are made out of polystyrene foam, which is sandwiched between two pieces of white paper.
Why are these boards a good option for a white background?
Well, the prime advantage of these foam core boards is that they are lightweight and easy to carry. Without the foam, white paper sheets are difficult to manage.
You can change the position of the board with ease, and change the angle according to the light and your photography needs.
These foam core boards can be purchased from a local stationery shop, or you can make them yourself at home.
Whitewall
A white wall can be a good option if you want to photograph your product on a white background. However, not all walls have the same condition and build quality.
You need to consider the paint, lighting, and surrounding elements that can impact the result of the photography.
Are the paint and color of the wall evenly distributed? Are there any visible blemishes and imperfections on the wall?
You need to ask yourself these questions when you are using your white wall as your background for photography.
Remember that a white wall can be usable as a background only if you can execute it correctly.
Cyclorama wall
Cyclorama walls, commonly known as cyc walls, are usually used in photography studios and film sets.
These background walls are curved at the bottom to make a seamless background for photos and videos.
Versatility is the prime benefit of having a cyc wall. You can paint it in different colors or create illusions with the help of lighting effects.
Using a wide-angle lens, you can create the infinite space effect and impress your viewers.
Cyc walls are comparatively expensive, but they are the most effective way of shooting your product on a white background.
Setting up the white background for product photos
A white background product photography setup can be done in several ways. Different products have different shades and sizes.
You may also consider adding effects, photographing in a special condition, capturing multiple products, or using props.
Depending on these factors, the way of background setup and equipment used can vary.
Background for smaller products
You may consider using white paper sheets or fabric for creating your background for smaller products such as jewelry items, shoes, and cosmetics.
Equipment
- White background – paper or fabric
- Background support – Flat surface, wall, table, or chair
- Clamps or tapes ( to hold the background with the support)
- Alternative option – lightbox
- Setting up the background
If you are using a paper sheet, then place it at the bottom of the wall of your studio to make it a white-sweep background.
You may use white fabric, but make sure it is free of wrinkles. Placing the background on a chair and holding it with clamps is another good way of photographing smaller products.
You may also use your table and place the background on an adjacent wall.
Lightbox
Lightbox is a great way of product photography on white backgrounds. It is a small rectangular box with translucent walls that diffuse light evenly.
Lightboxes are cost-effective, easy to carry, and ready-made solutions for shooting professional photos of relatively smaller products.
If you can have a lightbox, you can control shadows and lighting to highlight the details of your product.
They have built-in LED lights and diffusers to create plain white backgrounds and professional product photos.
Background setup for bigger products

You may want to shoot relatively larger products that you can not shoot on a chair, table, or inside a lightbox. Then, how to set up your background for big products?
Here’s the solution.
Backdrop stand
Backdrop stands are readily available online or in local stores. They are inexpensive, easy to assemble, and provide flexibility. Most of them come with multiple metal stands that you need to assemble before using, a sweep background paper or cloth, claps, and a carry bag.
These stand backgrounds can be used in both indoor and outdoor situations, and they can accommodate larger subjects such as human characters and models.
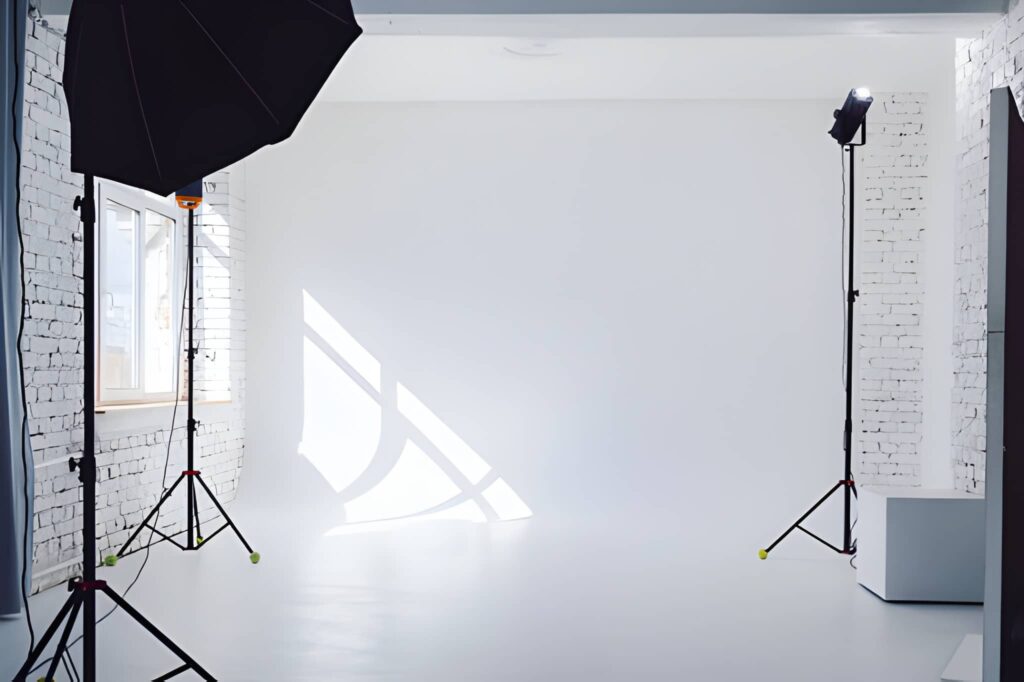
Setting up a white background in a studio

If you are a professional photographer with your own studio, then you must need to know how to set up your white backdrop effectively.
A giant product, such as a car, can not be photographed in front of a backdrop stand.
Therefore, you need to prepare the whole wall of your studio to convert them as the image background. Below is the best way of doing it.
Building a cyc wall for the studio
- At first, you need to select a wall of your studio that you want to convert into your background for product photography.
- If you have any major obstruction on the wall, such as a window, then put a drywall in front of the obstruction.
- Next, you need to put a half radius at the right angles ( corners) of the walls and floors.
- Now you should place drywall on the wooden half-radius to create your curves.
- Use appropriate plaster materials to fix the drywall to the main wall.
- Now you need to tape the drywall and the entire wall with mud and sand.
- Finally, paint the wall a pure white color.
What if you can not set up a perfect white background?
It is not always possible to avail a white background for product photography.
If you still need your photo background white and clean, you need to change the background in the post-production using a product photo editing software, preferably with Photoshop.
In Photoshop, you can remove the image background using different manual and automated tools such as the lasso tool, selection tool, magic wand tool, and pen tool.
Apart from Photoshop, there are some other image editing software available in the market that can help you remove your image.
Automated image editing software can be used to remove your photo background, but it is not as reliable as Photoshop.
However, after you isolate the product from the image, place it in a pure white background, and you are done with the background removal task.
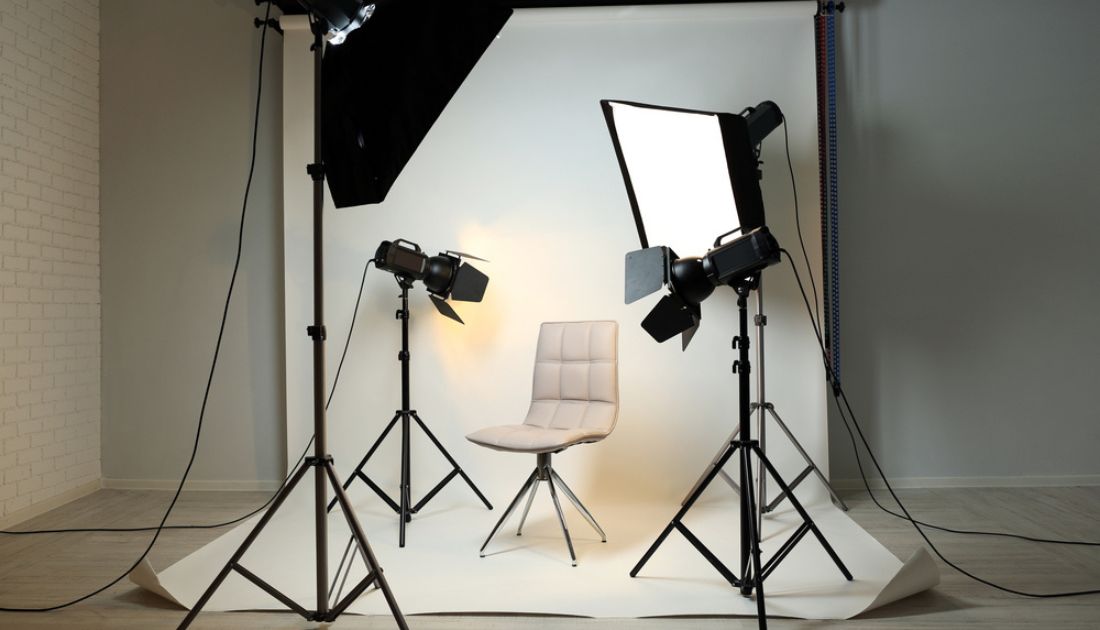
Lighting for a white background product photo
Do you need any additional setup lighting for a white background product photo? If yes, then how to take white background photos?
We’ll try to find out the answers to these questions in the next few sections.
When we are trying to shoot our product on a perfect white background, it is important to illuminate the background itself along with the product.
You will need a proper product photography lighting setup to enhance the quality of the image.
Without proper illumination, the background will look pale, and the white color will not be captured as pure white in the final result.
Background illumination with a single light source
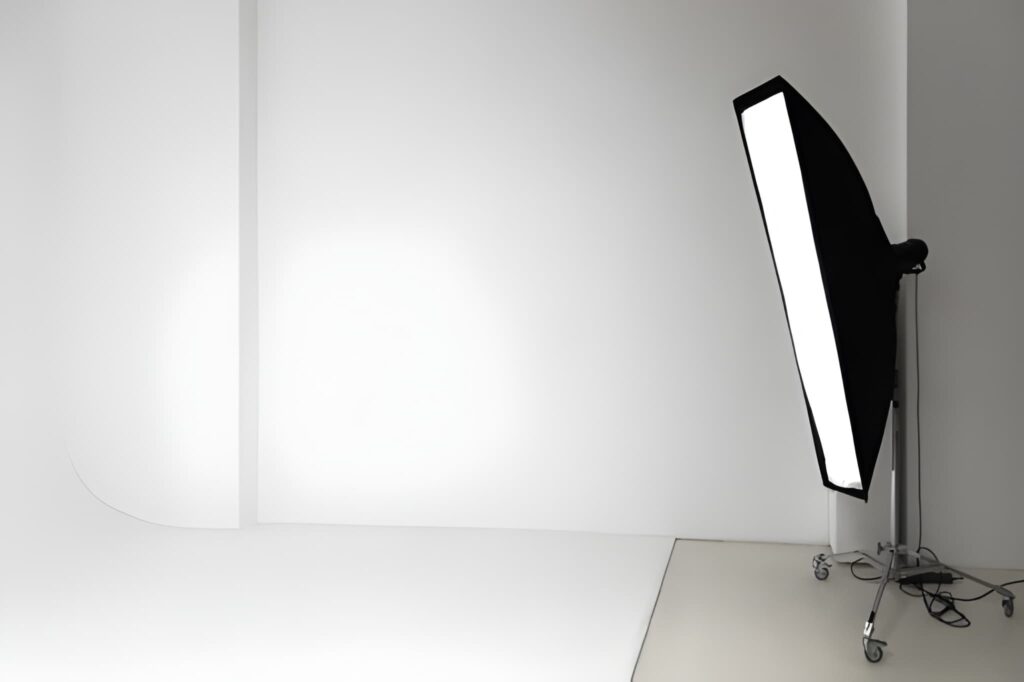
If you are shooting smaller products in a relatively smaller photography setup, then using one separate light source to illuminate the background will suffice.
Never cast the light directly on your background. Rather, use a reflector or a diffuser to get a consistent shooting light.
Using a background light without a diffuser or casting the light directly on the background will create glare or make the background brighter than the subject, which you do not want.
Always keep the light exposure on the background less than the exposure on the product itself.
Background illumination with the light source itself

You may also use the light source itself as a white background. In such conditions, you need to lower the brightness of the light using a diffuser so that it does not glare.
Additionally, do not keep the product too close to this type of background. Otherwise, the light coming from the background will interfere with the original light and influence the lighting effect of the subject.
Background illumination with multiple light sources
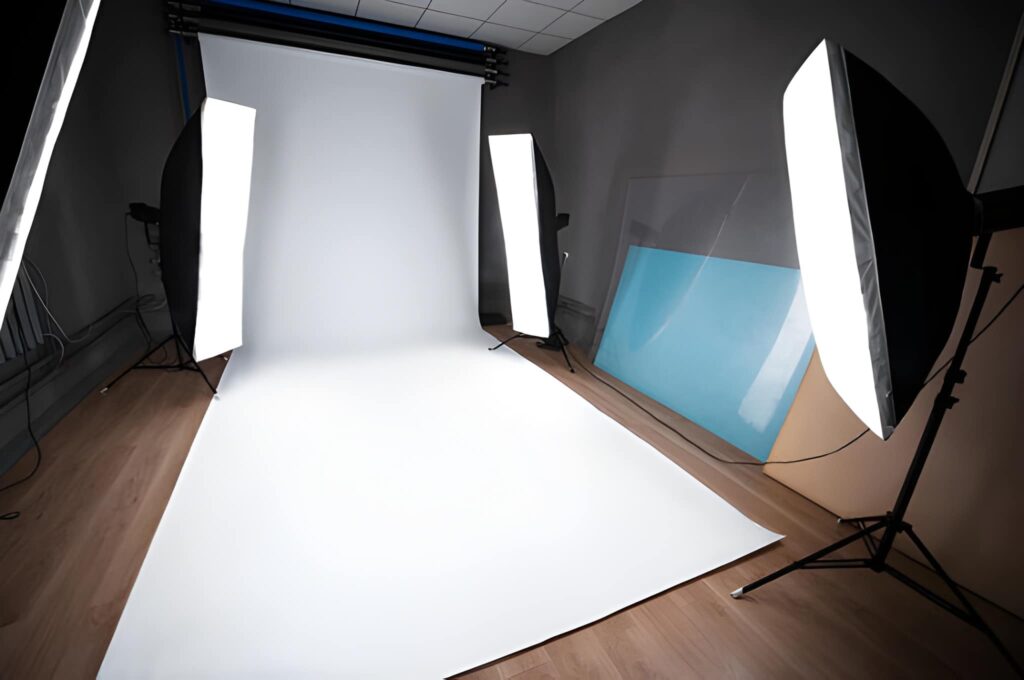
For commercial product photography, you may need to use two light sources to illuminate a relatively larger background area.
Place the softboxes on either side of your backdrop, and it will create an evenly distributed white background.
Do not vertically cast the light on the background. To avoid overexposure, place the light sources 45 degrees from the background.
The angular light from both ends will create an even white color background that you desire.
Creating a white background in post-production
Although we give our best efforts to have a white and consistent image background for our eCommerce products, it is practically not possible to achieve the ideal results every time.
What are the reasons?
- Your product is too big to be covered by the background you set up for the photoshoot.
- The white color of the background is not consistent for all the products.
- There’s a minor blemish on the background that you accidentally overlooked.
Creating White Background in Photoshop
If you want to create a white background in Photoshop, you need to remove the existing background first. To do this, we need to isolate the product from the image.
Photoshop has a number of manual and automated tools for selecting and isolating the subject of the image.
For example, the pen tool is the most reliable manual object selection tool that you can use to create selection paths around the product.
After the selection is done, you just need to delete the old background and add a white background using the software.
Apart from manual selection, you can use automatic selection tools such as the magic wand tool in Photoshop to select the product and separate it from the image.
Automatic tools are not always perfect. They often result in unrefined edges.
You should only use the automatic tools if there is sufficient contrast between the subject and the background.
Creating a white photo background in automatic software
Photoshop is expensive compared to other product image editing software. Using automatic background removal software will save you some money if you can execute it correctly.
For example, web-based image editors such as Canva and BeFunky have automatic tools for creating transparent backgrounds.
After you remove the existing background from the product image, you can add a background with your desired color using these tools.
White background product photography tips
To capture a high-quality white-background product image, you need to use some techniques and tips.
Here, we have explained some important white-background product photography tips.
Use light modifiers and diffusers
White illuminating the white backdrop, use diffusers and light modifiers. Diffusers can help soften and spread out the light. It will create a more even and natural-looking illumination.
Light modifiers, such as softboxes or umbrellas, can also be used to further control the direction and quality of the light.
By combining these techniques, you can create a professional-looking photo against a white backdrop.
Do not use the camera flash
Use a consistent light source or natural light as the main light source. Do not turn on the camera flash.
The flashlight of the camera can create harsh shadows and reflections on the product and the background as well.
Additionally, a flash can make the white background appear gray or dull, which defeats the purpose of using a white background in the first place.
Avoid background overexposure
Although a bright and clean background can help products stand out and appear more attractive, overexposure can have the opposite effect.
If the background is too bright, the details of the product will get lost in the sea of white. Light-colored products will suffer the most in these situations.
Make sure the product does not get blended with the background.
Keep the product at the center of attention
For any kind of product photography, it is important to make sure that the product becomes the center of attention.
In white background product photography, we often give importance to the background so much that the product does not get highlighted properly.
To make the product the focal point of the image, you may create a halo effect around the product using backlights.
Conclusion
White-background product photography is widely used in the e-commerce industry. It helps capture a simple, plain-looking image.
Taking white-background product photographs is not difficult; with proper practice and learning, you can capture high-quality product images.
Do experiments with lighting, cameras, angles, and others to make yourself perfect.
In the ultimate white-background product photography guide, we explained the types and differences of white backgrounds. Also, other important guides that can help you to start your photography journey.
FAQs
Why do brands use a white background?
Brands use a white background to make product images look clean, simple, and professional. This helps shoppers focus on the product without any distractions and allows them to clearly evaluate product quality.
Does a white background make products look more appealing?
Yes. A white background enhances product visibility by clearly showing features, colors, and textures. It also creates a distraction-free image that highlights important product details.
What kinds of products work best on a white background?
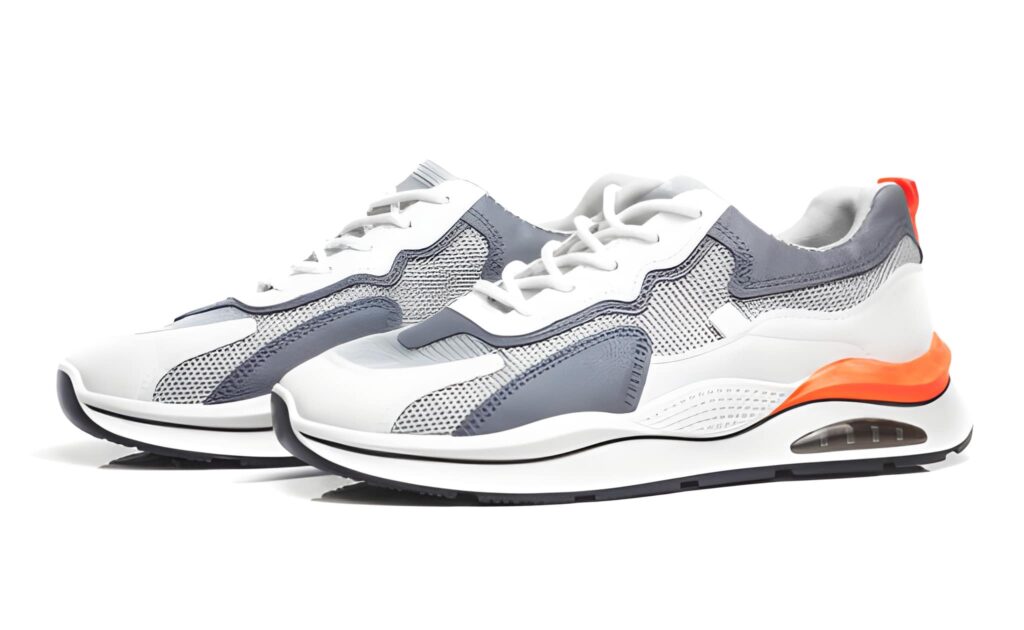
White backgrounds work especially well for product categories such as apparel, clothing, electronics, technology products, jewelry, accessories, and minimalist or light-colored items.
Is lighting important for white background photography?
Yes. Proper lighting is essential for white background photography. It helps maintain image quality, ensures accurate colors, improves contrast, and creates clean shadows or reflections.
Should the background be pure white or off-white?
Most online marketplaces, such as Amazon and Etsy, require a pure white background for the main product image. However, you can use an off-white background for secondary images or on your own e-commerce website for better visual presentation.