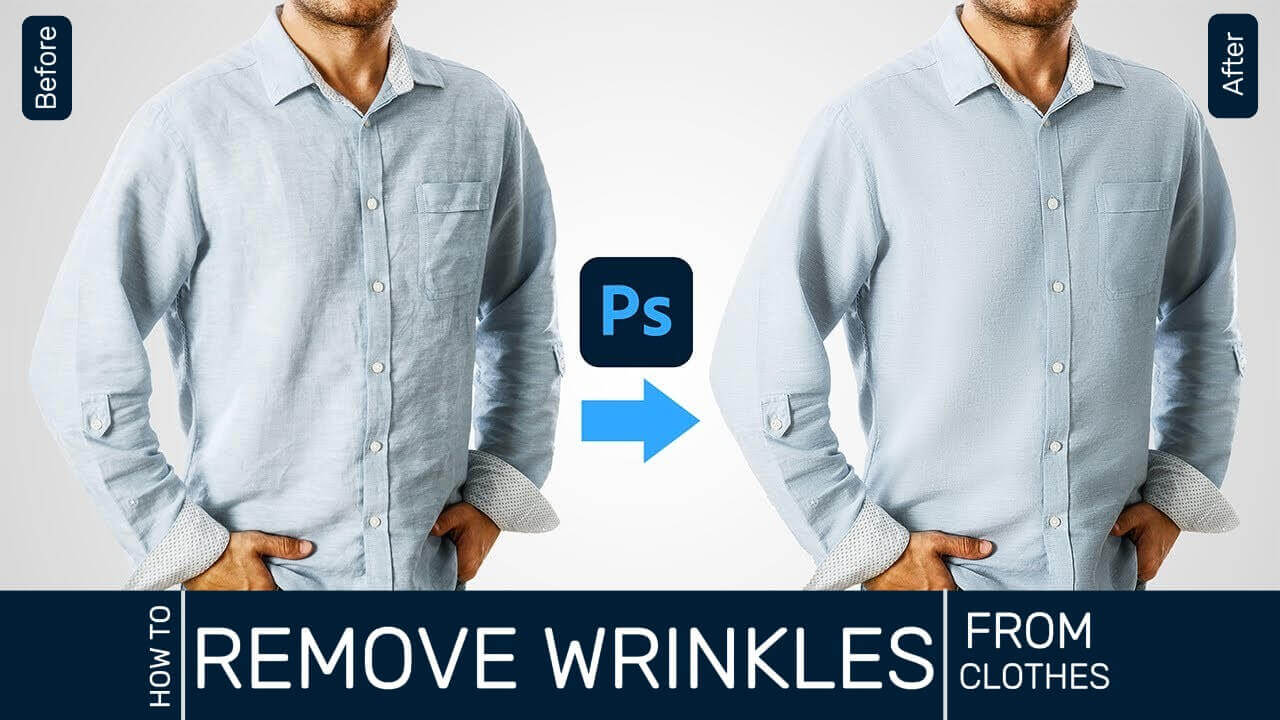
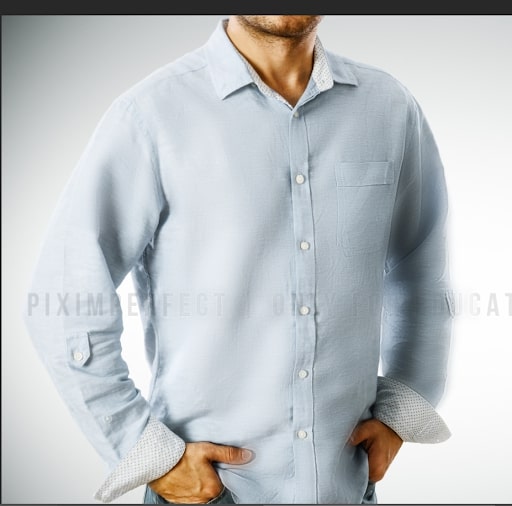
Whether in person or photos, wrinkles are unacceptable in the world of fashion. If you have already captured images of your clothing with inadvertent wrinkles, reshooting the photos can be costly.
The most affordable and efficient way to address clothing wrinkles is to remove them in post-production. There are several techniques in Photoshop that can effectively eliminate wrinkles.
In this tutorial, I’ll demonstrate an advanced method of removing wrinkles from clothes in Photoshop works in almost all situations.
4 Easy Ways to Remove Wrinkles From Clothes in Photoshop
As I have already mentioned, you can remove wrinkles from clothing by applying several techniques. In this section, I’ll show you the process of wrinkle removal with the frequency separation action.
If you do not already have this action installed in your Photoshop, you can download it for free.
1. Apply the Frequency Separation Action
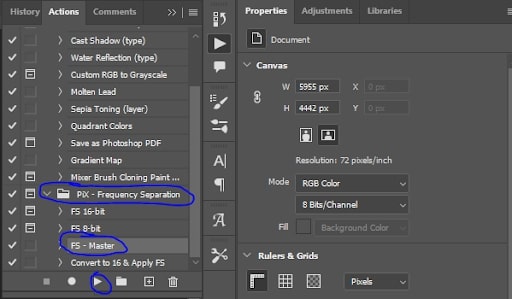
Press ALT+F9 and you’ll see the action window will popup.
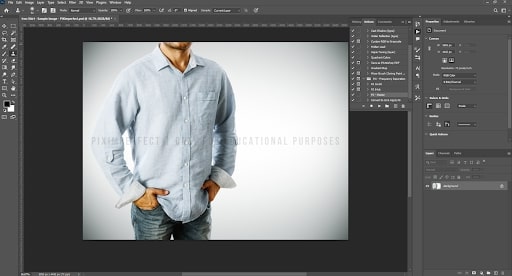
From the PIX Frequency Separation action, select FS Master and hit ‘play action’ button.
You will see a window for Gaussian blur will come up. In this window, you have to select a pixel radius from a scale of 0.1 to 1000. Scroll the scale from left to right to find out a number where the texture of the fabric goes away but the wrinkles remain visible. I’m selecting 8.0 for this case.

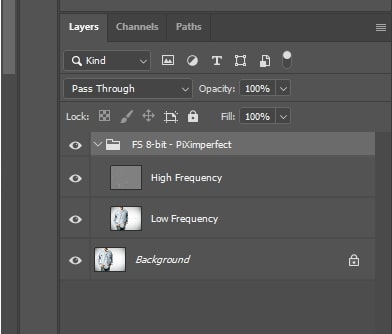
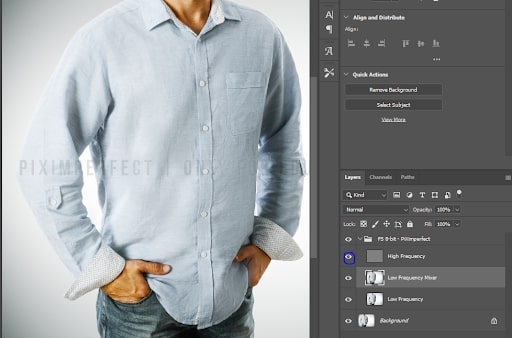
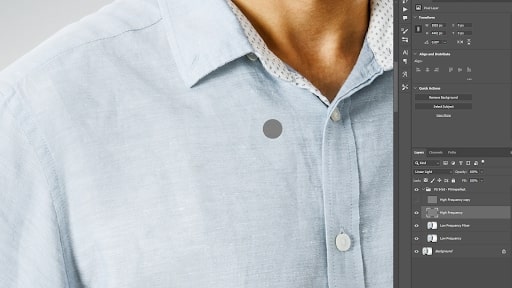
Now you’ll see a frequency separation group on the layer panel. If you open the group, you’ll see that the layer has been divided into two – high frequency and low frequency. The high frequency has the information of texture and the low frequency has the information of color of the image.
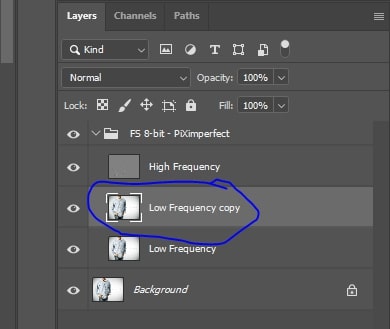
Now, we’ll work on the low-frequency layer and try to get rid of the wrinkles. To keep a backup of the layer, press CTRL+J and create a copy of the layer.
2. Applying the Gaussian Blur Technique
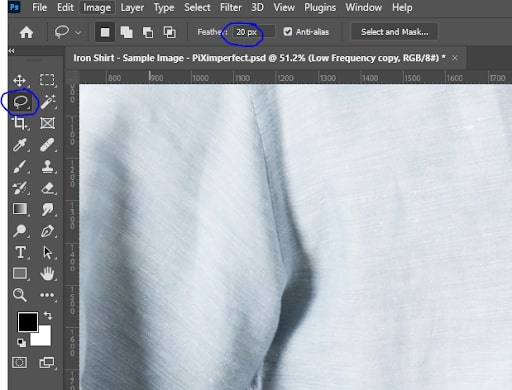
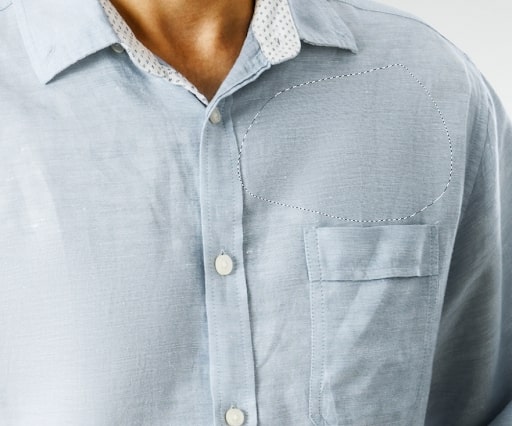
Find and pick the lasso tool to select the portion of the image you want to apply the Gaussian blur effect. Make sure you have kept some feathers on the tool option bar. You may keep it around 20-25 depending on the resolution and size of the image.
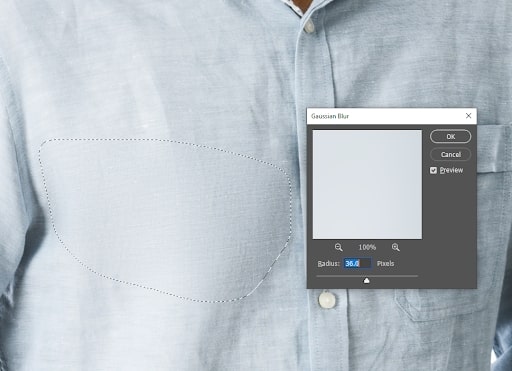
Now select the area of the image that you want to work on. Next, navigate to the menu bar, find, and click on filter→blur→gaussian blur.

A new window for the Gaussian blur filter will come up. Adjust the pixel radius from left to right to find a point where you’ll see the wrinkles of the selected area go away. In my case, I’ll choose 36.0 and hit OK.
Now I should select another part of the clothing image and apply the Gaussian blur filter again. To apply a shortcut, press CTRL+ALT+F. It will apply the last Gaussian blur effect to your selected area.
Now, keep selecting and applying the same effect until you have removed all the wrinkles from the clothing.
The advantage of using the Gaussian blur filter is that it is fast. you can apply this filter with easy selection and remove the wrinkles and creases in minutes.
However, it has some drawbacks as well. Gaussian blur may compromise the image quality. Although the quality is workable in most cases if you are meticulous about details, then you may avoid this technique and follow the next one.
READ ALSO: How To Remove All Of One Color In Photoshop
3. Removing the Wrinkles Using a Mixer Brush
Now we will try to remove the wrinkles of the clothing using the ‘mixer brush’ tool. This technique is comparatively time-consuming but yields better results.
First, you need to delete the low frequency copy layer where you applied the Gaussian blur filter and create a new copy of the low frequency layer by just pressing CTRL+J. Now, select the mixer brush from the toolbar.

After you have selected the brush, change the ‘smoothing’ setting to 0% and ‘flow’ to 10%. After that, hide the high frequency layer and start working on the low frequency copy layer.

Press and hold ALT+ left-click on any part of the clothing to take a sample and paint the brush around it. Keep taking samples and painting the brush all over the garment item.
Please do not overdo it or you will lose the natural folds of the clothing. After you have finished painting over the wrinkles, activate the high frequency layer and see the results.
You may have noticed that you still have some minor wrinkles and creases on the clothing that the brush could not remove. Now, we need to work further to remove these unwanted wrinkles using some other tools.
READ ALSO: How To Remove Background In Photoshop?
4. Using the Healing Brush Tool and Patch Tool
You need to apply the effects of these tools on the high frequency layer. First, make a copy of this layer to keep a backup. Now hide the original high frequency layer and work on the copy layer.
First, we will apply the healing brush tool to smoothen the minor wrinkles. Find this tool from the toolbar and select it.
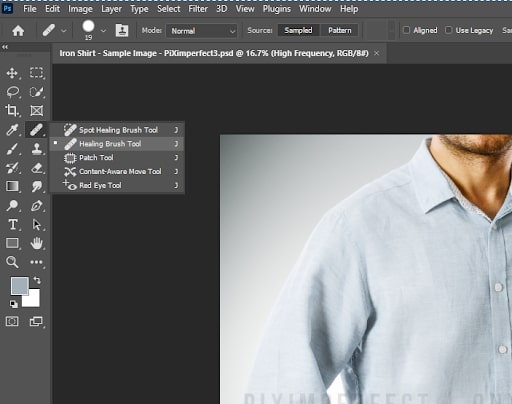
Make sure the sample is set to the current layer. For any tool you use to remove minor wrinkles in this stage, make sure you select the sample to be applied on the current layer.
Now, hold ALT and click on any part of the image to take a sample that you want to copy on the affected area of the clothing. After you have taken the sample, start painting the affected areas that still have creases. Adjust the brush size if required.
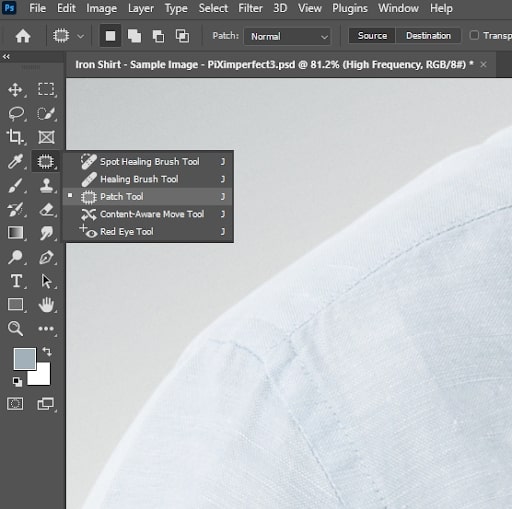
After you have applied this tool and still want to work on the clothing, you can select the patch tool.
Find and select the patch tool in the toolbar. Using this tool you can select an area that you want to improve and replace it with another area.
Simply mark the area where you want to remove wrinkles. Now drag the area and drop it to any part of the clothing that can be a good replacement for the area you have selected. Make sure the replacement has a similar color and pattern.
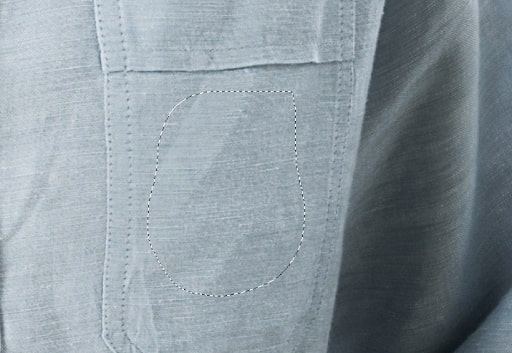
Repeat the process where necessary. Do not remove the natural folds. When you are satisfied with the result, export the image.
Watch and Learn: How To Remove Wrinkles From Clothes In Photoshop?
Conclusion
Removing wrinkles in Photoshop is a step by step process. It requires the application of different tools and techniques such as clone stamp tool, spot healing brush tool, and so on.
You may need to work on the opacity and use the content-aware and blending mode to remove wrinkles in clothes.
These are high-end retouching and photo editing techniques that the image editors acquire from their years of experience.
The quality of the final work depends on how much effort and time you have given. Be patient and apply all the tools that I have discussed to get the desired result.