
Edit Product Photos in Photoshop to improve the look of your listings and to increase customer clicks and sales with quality images.
Nowadays, product images are one of the most significant tools in the hands of e-commerce business ownеrs.
All of them share their products on several online stores where the picture is the only means of communicating the message.
Customer conversion and sales depend greatly on the quality of the product images.
The e-commerce retailers have to stage manage their product images and format them to be welcoming, appealing, and enticing before getting to the end consumer.
Well, in this particular article, allow me to share with you the process of how you can edit Product Photos in Photoshop.
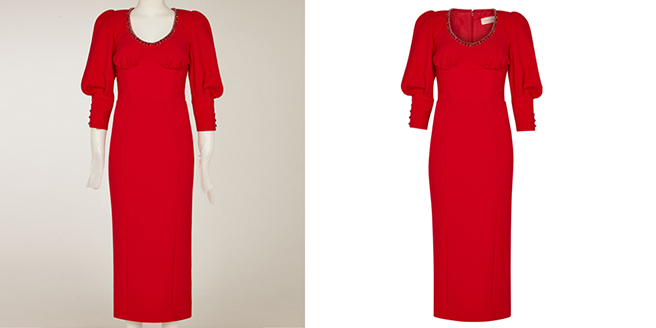
Product Background Removal in Adobe Photoshop
Selecting the product and removing it from the background is one of the major image editing tasks for ecommerce photos.
Product photography can not always result in a perfect image background.
Therefore, the removal of the existing one and adding a new consistent background helps to keep the focus of the customer on the product.
Thus, the product features are only highlighted, enhancing the aesthetics of the image.
Background removal manually
The pen tool is the most reliable and accurate manual background removal tool in Photoshop.
To remove your image background, first, you need to select the product that you want to isolate from your background. The pen tool is a selection tool. You will find it in the toolbar.
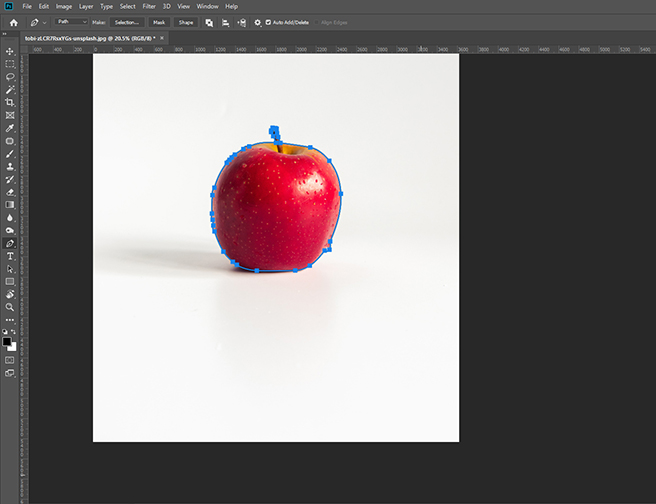
Using the pen tool, start selecting the product by creating paths around the edges of the product.
After the product or subject has been selected successfully, delete the background of the image. You have now created a transparent background.
The subject can be placed on a white background to make the product look professional.
Background removal with an automatic tool
In Photoshop, there are a number of automatic tools that can select the subject of the image without manual effort.
Although these tools do not always give the best output, they are quite impressive if there’s a clear, bright contrast between the background and the subject.
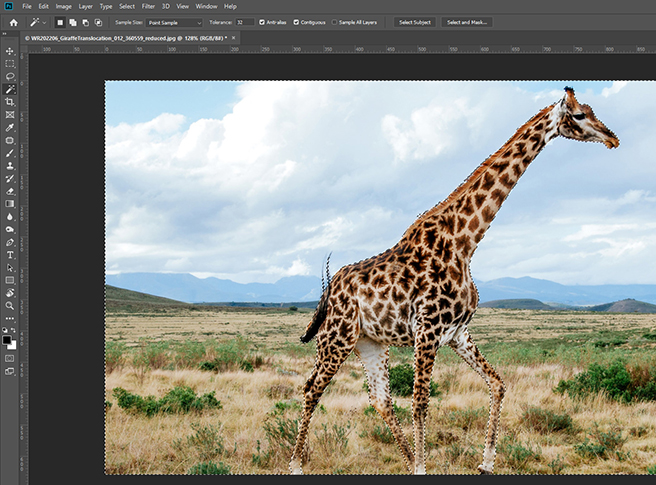
The magic wand tool is one of the most popular automatic selection tools in Photoshop. It is also a selection tool, which you can find in the toolbar.
If you want to remove the background of the subject, then just click on it. The tool will automatically select the subject by creating moving ants around it.
You can now remove the background by isolating the subject that has been selected.
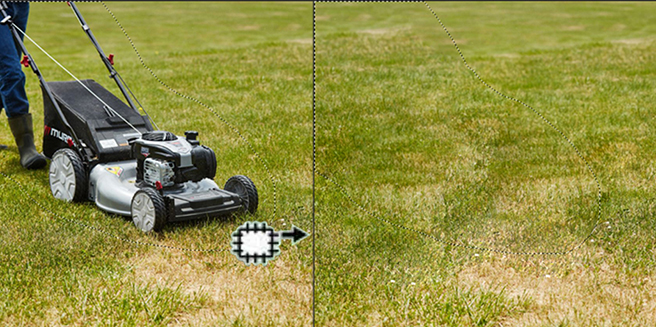
Blemish removal from ecommerce product photos
Blemish and imperfection removal is a basic image editing and retouching task for photo editors.
In this post-production process, the retouchers use various tools and techniques to remove blemishes, scratches, dust, or other imperfections of the image that the photographer captured inadvertently.
There are a number of blemish-removal tools in Photoshop that you can select according to the needs and demands of the situation. Below are a few examples.
The Healing Brush tool
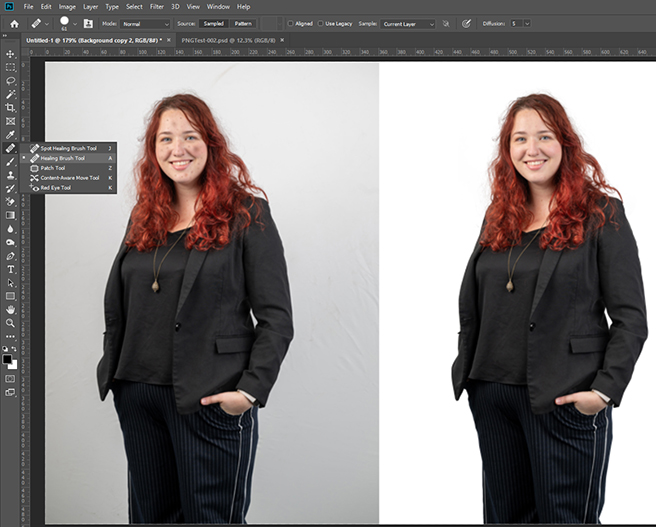
The healing brush tool is a great way to remove an unwanted spot in your product image. Find this tool in the healing brush toolbox.
After selecting this tool, move your mouse pointer to the product image and select an expected color or part of the product that you want as a replacement for the blemish.
Then, you just click on the area of imperfection and see the magic. The preselected part of the image will replace your blemishes.
Clone Stamp tool

The clone stamp tool is also a great tool in Photoshop, which can move a specific area of an image and make a clone of it. How can this tool help you remove a blemish from your photo?
The answer is simple. First, you need to select the tool from the toolbar, alt+click on the area that you want to clone as a replacement for the blemish, and finally, paint it on the part of the image that you want to remove.
The Patch tool
The patch tool is also a popular Photoshop tool for blemish removal. To use this tool, you first select the tool from the toolbar.
Move your mouse pointer to the object or the imperfection that you want to remove and roughly create a selection around it. An area around the object will be selected by marching ants.
Drag the selected area of the image and move it to the area of color that you want as a replacement for it.
After you carefully select the right area of replacement, release the mouse. Your object will be removed, and you’ll get a clean and desired look for your image.
Color manipulation of product images
Image editors use Photoshop to manipulate product color. Two common tasks are related to color in Photoshop: color matching and color change.
In the color matching tasks, image editors use different tools to adjust the color of the product so that it matches the exact color of the product.
On the other hand, the color change task is related to changing the color of the product completely to create new color options.
Color matching in Photoshop
As I’ve mentioned, color matching is a way of adjusting image color and tone. Adjusting the white balance to remove the color cast is an important step in this process.
You can do it by either the levels or the curves. Let’s use the curves in this example.
When you create a new curve layer, you’ll find an auto button. Click on it, and Photoshop will do the adjustment for you.
But make sure the Photoshop algorithm is using the ‘find dark and light color’ option to correct the white balance.
Another important aspect of color adjustment in Photoshop is adjusting the contrast and exposure. You can change the contrast and exposure in many different ways.
For example, create a new adjustment layer, and you’ll find the option to change the contrast and brightness of your image.
Now, you can adjust the exposure and contrast of your image to find the right color of the product.
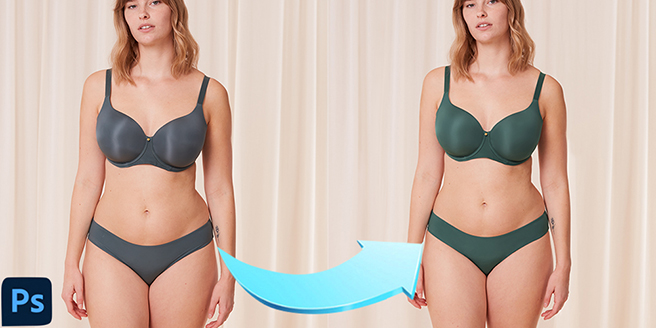
Color change in Photoshop
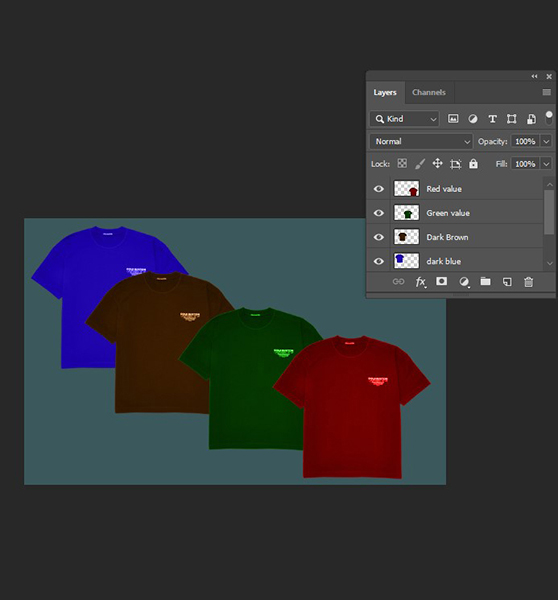
Product color change is an important product photo editing task. In this process, the image editors completely change the color of the product to create different options for the viewers.
To change the color of your product, first, you need to select the product or the part of it that you need to work on using the object selection tool.
You can change the color of the selected part of the image by adding a layer mask. After applying the mask, see the adjustment layer and select ‘solid color’.
Now select the color that you want, and the color of the selection will change as you want. Now change different options, brightness, and contrast to fine-tune the color that looks natural.
Cropping and image resizing
Image cropping and resizing are vital tasks in product image editing. Cropping is necessary to eliminate the unnecessary parts of your image, whereas resizing the image is important to reduce the file size and match the requirements of different ecommerce platforms.
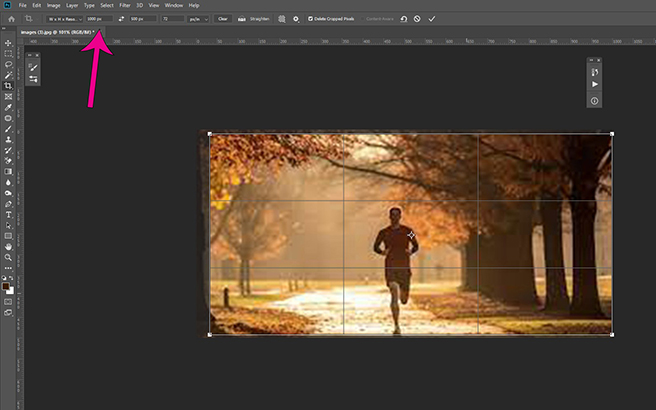
To crop your image, simply select the crop tool from the toolbar and drag it on the image to select the area you want to crop.
If needed, reposition the image or adjust the selection area to make the cropping perfect. Finally, double-click on the image, and your selected area of the image will be cropped.
Resizing the image in Photoshop is quite simple. Navigate to the option bar and find the image option. You will see the image size option.
By selecting this option, you can manually enter the required size of your image that matches your requirement.
Wrinkle removal of clothing images
Wrinkles are bad for the overall aesthetic of the fashion photos. Clothing items are, therefore, free from unwanted wrinkles and creases.
You can do it in post-production by applying some tools in Photoshop.
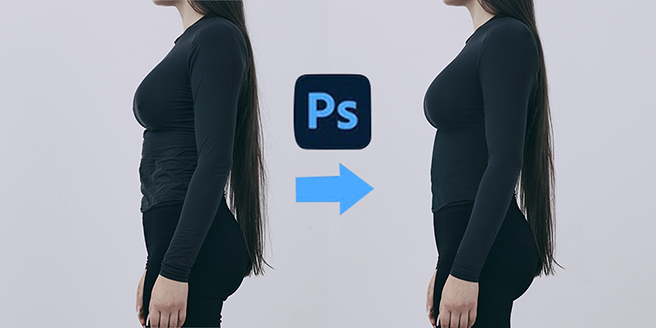
At first, you need to create two separate layers of the original image. Then, apply ‘Gaussian blur’ in the lower layer. Find this effect in the filter at the menu bar.
Now, you can remove the wrinkle from the clothing item by using the mixer brush tool and the spot healing brush tool.
However, you may need to apply some other filters based on the condition of the image.
Invisible mannequin effect
Invisible or ghost mannequin effect is a popular image editing service in the fashion industry.
During this task, the image editors remove the mannequin or the model from a fashion item and give it a 3D effect. It looks like an invisible ghost is wearing the dress.
A fashion item with this effect helps the customers understand the size, fitness, and design of the clothing item in a better way.
Although it may seem complicated, creating a ghost mannequin effect in Photoshop is quite straightforward.
You need to create clipping paths around the intersection between the mannequin and the cloth to cut out the fashion item.
After the cut-out is done, you will see that there are some missing parts of the clothing.
Now, to fill up this missing part, you need another product image with a similar orientation but without the mannequin.
In the second part of this editing task, the image editors just put the cutout into the main picture of the clothing.
After that, they edit the composition to give it a natural and realistic look. The editing task includes removing unnecessary parts of the clothing and matching the color and shade.
The final result of this editing work is an image composition that looks like a cloth worn by an invisible person.
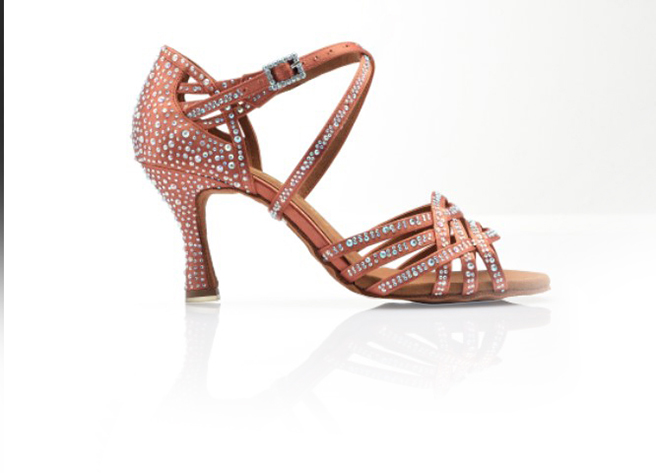
Shadow addition
Shadow addition is another frequently required task in product photo editing. Why do you need to add shadows in product images? Well, the answer is quite simple.
It is for making the image look natural and realistic. If you remove the original background of an image, the natural shadow goes away with it.
Therefore, it is necessary to add an artificial shadow in the post-processing. Sometimes, the original shadow of the image does not look perfect.
In such cases, we need to add shadows to make the image more appealing and realistic in the eyes of the viewers.
There are different types of shadows you can add in Photoshop, including drop shadow, reflection shadow, and cast shadow.
However, drop shadow and reflection or mirror shadows are the most common that image editors often use.
Creating a drop shadow in Photoshop
To create a drop shadow, you need to select the working layer first and double-click on the layer in the layer panel.
A new window will pop up where you can choose the layer style. Select the drop shadow to add a shadow to your working layer.
You can adjust opacity, color, angle, and other factors to get the required effect.
Creating a reflection shadow in Photoshop

To create a reflection shadow in Photoshop, first, you need to duplicate your working layer. Then, flip the upper layer vertically and drag it under the second layer.
Two different mirror images of the same product will be created. Now, you need to make the underneath image a reflection of the upper layer by adjusting some settings.
Add a layer mask at the lower layer, change the gradient, add a blur effect, and any other necessary adjustments to make the lower layer a real mirror image of the upper layer.
Conclusion
Adobe Photoshop offers a wide range of photo editing tools that help you produce stunning, attractive images that drive sales.
In this article, we explained the most common image editing tasks performed by image editors to enhance product images. By reading this article, you have learned how to edit product photos in Photoshop. Now practice yourself to make it perfect.
However, if you face problems due to a lack of experience and time, you can outsource a product photo editing specialist. If you want to hire an editing specialist, you can consider UK Clipping Path to create top-notch e-commerce product photo editing for you.
FAQs:
Can Photoshop make product photos look more realistic?
Yes, Photoshop can make your product photos more realistic. By adding realistic shadows and fixing imperfections, you can create a more realistic image.
Why is consistency important in product photo editing?
Consistency is important for creating brand visibility, product authenticity, and trust. You can make your images consistent by using the same background, colors, sizes, and lighting across all
images. Shoppers can easily identify your brand if you have consistent images.
Why should I use Photoshop for product photo editing?
Adobe Photoshop is an advanced photo editing software. You can get full control of editing with more than 68 tools. You can use it for manual and automation workflows and presets. To explore the features of Photoshop and become an expert, you should use Photoshop.
Can Photoshop fix uneven lighting?
Yes, Adobe Photoshop can fix uneven lighting with some basic fixing of white balance, contrast, exposure, saturation, and other imperfections.
Should I edit product photos in JPEG or RAW?
Use a RAW file to edit your product photos. RAW files capture 100 times more details than JPEG. You can achieve great results with a RAW file; after editing it in RAW, export it as a JPEG to preserve quality.
What is the easy way to remove the product photo background?
You can remove the product photo background easily using the magic wand tool. Just select the magic wand tool, then click on the image background; it will select the background. Then hold Shift and press the Delete key.