
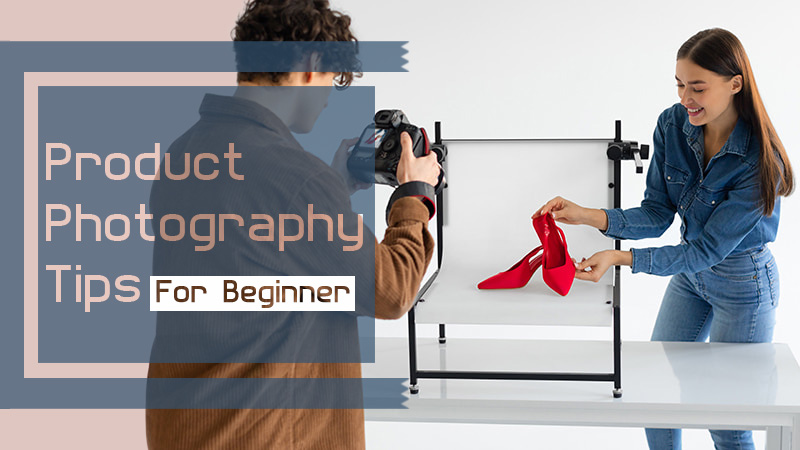
E-commerce retailers are always keen to boost their sales by showcasing their products online in the best possible ways. A fancy camera with high-end photography equipment can not always ensure a stunning and compelling product photo.
To master the art of product photography, a photographer should know the basics and avoid common mistakes. In this blog post, I’ll share 25 product photography tips to capture product photos that make sales.
Product photography tips for photographers
Advanced photography skills can serve as a creative powerhouse that triggers desire, communicates value, and swings purchasing decisions. Besides, your product photographs should help sell your product in an online store.
Amplifying the aesthetic appeal of the product in a visually saturated online market can be a seller’s winning edge. The objective of this informative piece is to provide comprehensive yet easy-to-follow product photography tips fundamental to enhancing the visual shopping experience, consequently driving ecommerce success.
Here are some tips for beginner product photographers who want to shoot good product photos.
1. Plan and generate ideas beforehand.
Planning and generating ideas before you take product photos are the primary steps to product photography. To successfully plan your Photoshop, you need to understand the product, define the purpose, and know about the target audience. Additionally, think about the style, Plan and generate ideas beforehand., lighting, props, and other accessories. If you have any special requirements for the post-processing, include them in your planning as well.
2. Make sure the logo is prominent.
Do not miss a single opportunity to promote your brand. Make sure when the customers are looking at your photos, they can see your logo. Prominent presentation of the key branding icons will help boost brand recognition. Some of your customers may have known your brand beforehand. Seeing your logo will give them trust and entice them to buy the product.
To make your brand logo prominent, make sure the position of the logo is perfect. Additionally, pay attention to the size, contrast, consistency, and background of it.
3. Clean the product before shooting.
The product you are shooting should be free of dust, fingerprints, and blemishes so that it shines and becomes visually appealing. There should not be scratches on the product, and you should present it in a way that matches the actual product the customers receive. If there are slight inconsistencies in product color due to printing errors, then choose the right product for the photoshoot that represents the true color of the product.
4. Take ideas from your competitors.
Competition analysis can help you generate great product photography ideas. Thoroughly research your competitors’ websites and social profiles. Give attention to their lighting, composition, and style. Try to identify how product photography is helping them become successful. Do not just copy what your competitors are doing. Rather, find out the area of improvement and adapt the ideas according to your brand personality.
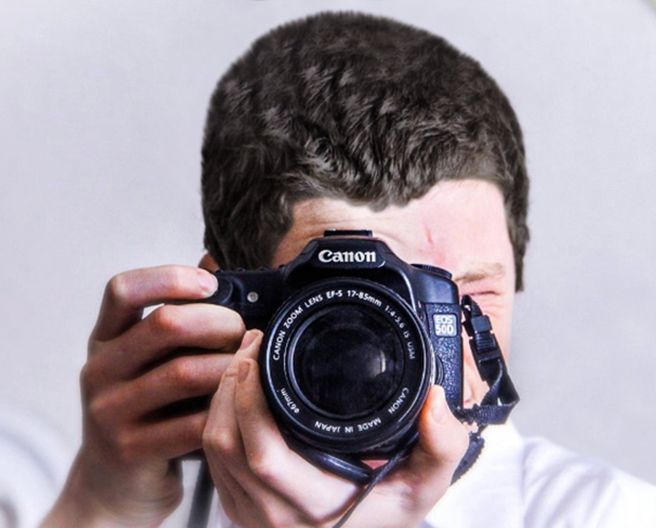
5. Invest in a great camera.
In professional product photography, you need to capture the intricate details of the subject. The color of the photo has to be vibrant. It should have the capacity to capture in low light conditions. Photographers need to take photos from various angles and distances. Therefore, the camera should have the ability to work equally with different types of lenses. Additionally, an ideal camera for great product photos should have high image resolution, wider dynamic range, and the ability to capture in RAW.
6. Do not use light filters.
Diffusers, modifiers, and color gels are frequently used light filters along with studio lighting in photography. Filters are often used to create a desired environment and mood. However, if you are using light filters, then consider a few points carefully. Firstly, a photo captured with light filters is not natural. Your camera can not capture the true details of the product. Therefore, you will have limited flexibility in post-production while editing the photo. Additionally, filters can reduce the amount of light that is required to illuminate the product perfectly. Learn more about product photography lighting.
7. Do not delete your images from the camera.
Deciding on the quality of the photos is quite difficult when viewing them on the small LCD of your camera. The best practice in photography is to keep all the data on the camera memory and transfer them to your computer or any other secured storage device. Afterward, decide on the quality of the image and delete the unnecessary files at the post-production table. Do not miss the chance to explore the hidden gems by simply deleting them from the camera.
8. Use a tripod.
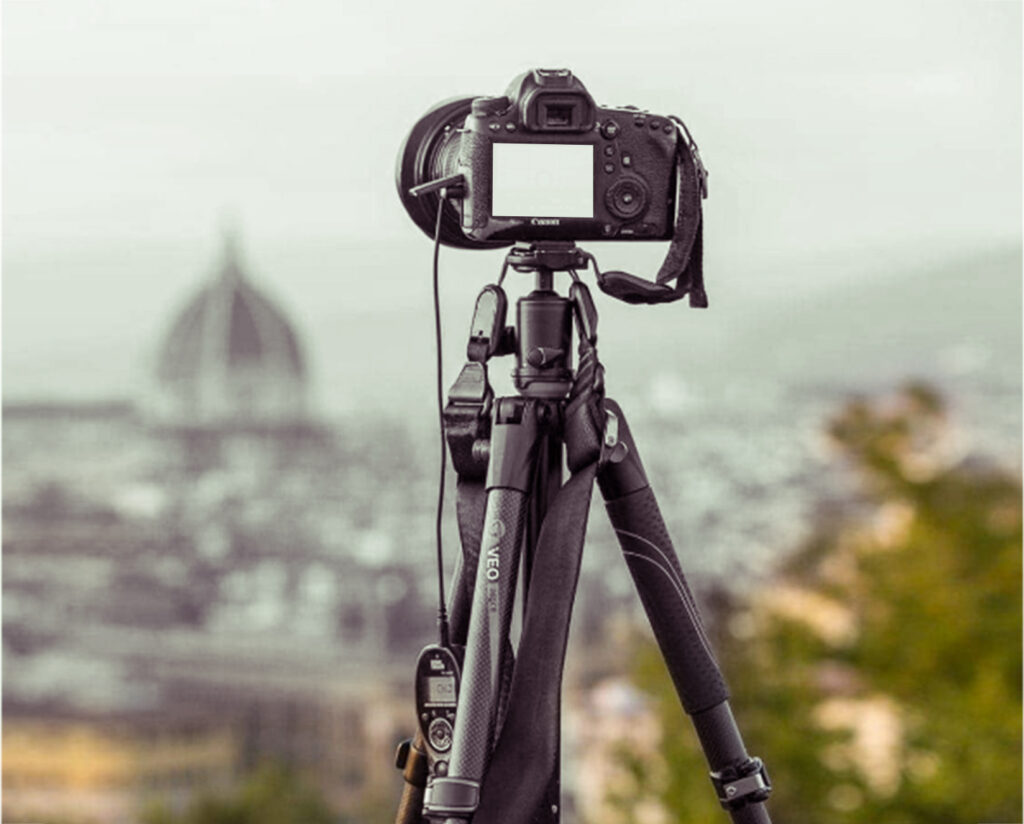
Experienced photographers do not have shaky hands like the newbies. Therefore, they often do not want to use a tripod. Apart from stability, a tripod can help you maintain consistent framing. It is especially important when you are taking photos of multiple photos from the same perspective. Additionally, when you are shooting with long exposure, the camera should remain stable for an extended duration. On top of that, a tripod will help with precise focusing and control of the depth of field.
9. Do not overly rely on the edits.
You must need post-processing for product image but do not overly rely on it. Over-editing may destroy the authenticity and originality of the product. It may create misconceptions and misunderstandings among the customers by spreading the wrong message about the product. Therefore, it is important to capture the details of the product naturally with the use of optimal lighting. When shooting the photo, keep in mind that post-production is a complementary tool. The majority of the job should be done during the shooting.
10. Take a basic image editing class.
Photographing products requires attention to detail and accurate presentation of the subject. If you have basic photo editing skills, you can do the basic fine-tuning of your images by yourself. Depending on outsourced may cause delays. It is sometimes difficult to convey the requirements to the editors. Although it is a little time-consuming, by knowing basic image editing, you can do the simple image enhancement, color, brightness, and light adjustment and do the basic image composition by yourself.11
11. Know the rule of thirds.
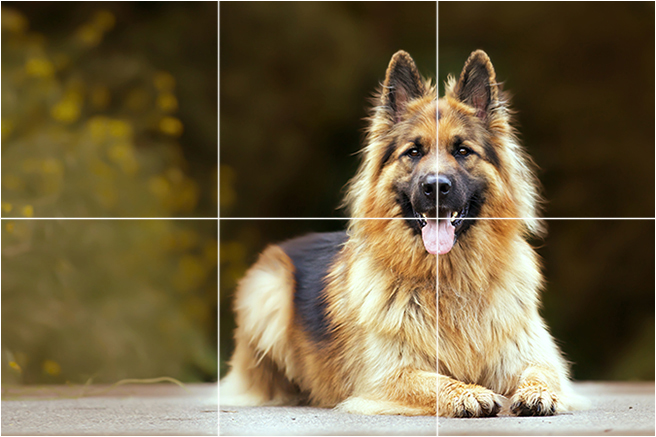
The rule of thirds is a fundamental theory in photography. It involves dividing your frame into nine equal parts by equally spaced lines. According to this rule, you have to keep the prominent parts of your subject near the intersection points of the grids or along one of the vertical gridlines. Therefore, do not blindly keep your product at the center of the frame. The focal points of a picture are the intersection points of the gridlines. Place important elements along these points. When working with multiple products, arrange them along these gridlines or focal points.
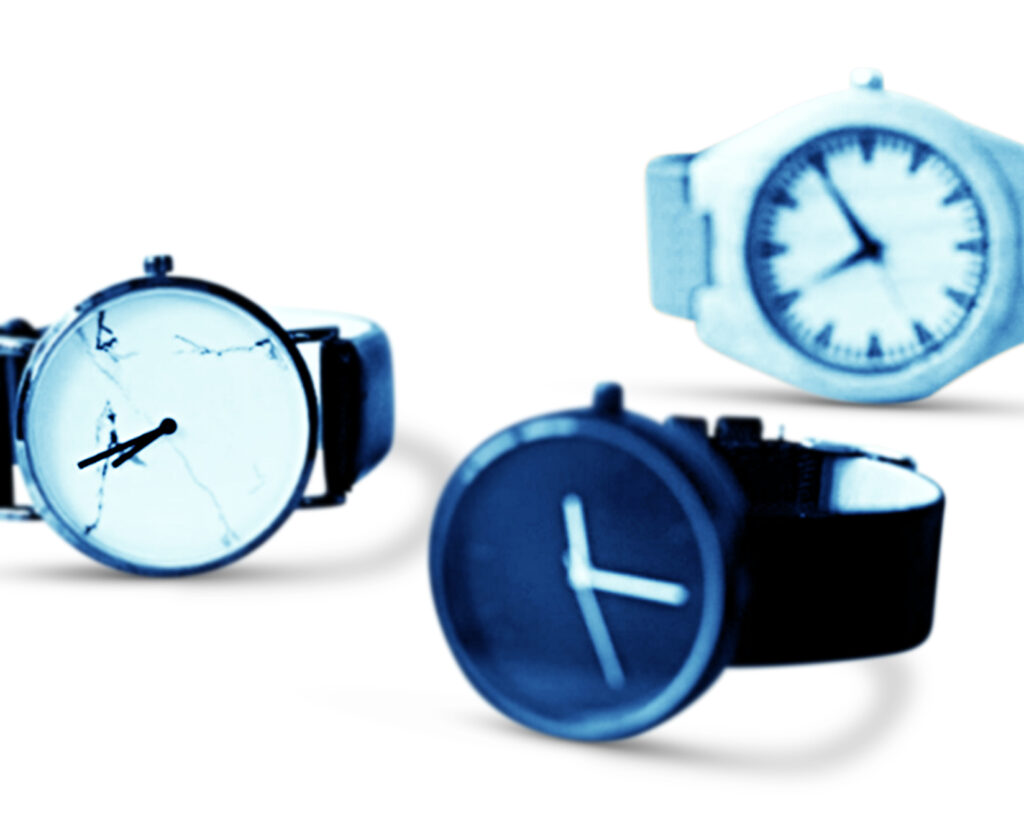
12. Use appropriate props.
Props will put your product in context. It helps the viewers become more connected with the photo. Therefore, it is important to use a prop that represents a real-life scenario. Try to make a visual storytelling by focusing on the benefits and features of the product. Props often provoke emotion and make the product noticeable. For example, if you are shooting a luxury watch, you may take the photo with high-quality leather straps and an appealing watch box. These props will complement the watch and make the overall presentation more attractive.
13. Try to understand color psychology.

Do you know that you can control the emotions of the customers with color psychology? Different colors have different moods. For example, by changing the background of the photo, you can bring out different emotional responses from your target customers. Blue is a color of trust whereas red means urgency and excitement. Changing color sometimes becomes inevitable to be consistent with the brand. Additionally, the color combination among the objects in the photo is also an important consideration.
14. Capture on proper lights.
Maintaining proper lights is a vital requirement in product shoots. It is important for presenting the true visual appearance of the product, its color and texture. To ensure the lights are perfect, you can use both natural and artificial light. If you are shooting outdoors or have access to natural lights while shooting indoors, then make the best use of the natural lights. Have all the necessary lighting equipment, such as continuous and strobe lighting sources, modifiers, reflectors, and so on. Make sure you are following the best practices while applying these accessories.
15. Take multiple shots.
Do not take a single shot for a single product. Taking multiple shots has advantages from different aspects. For example, you can lose your photo for focus or exposure issues. Multiple shots will help you choose the right photo from different options. It will also provide you flexibility in the post-processing. During the photoshoot, professional photographers take photos from different angles, composition, and effects. It will produce multiple images of the same product. You may carry out an A/B test to find out the better one.
16. Put the product in the center of attention.

The objective of product photography is to show off the product and boost sales. You need to emphasize the product and keep it in the center of attention so that the product becomes the primary focus. Does the product have any special features that you need to communicate with your audience? Highlight these intricate details of the product so that the customers can notice them. Keep the product in the center of the frame and follow the rule of thirds. If you are using models or props, do not let them become more prominent than the product itself.
17. Follow the required photography specifications.
Check the product photography requirements for the specific project you are working on. Maintain the conditions during the photoshoot and on the post-product table as well. For example, different e-commerce platforms, such as Amazon and eBay, have their image guidelines. Read out these guidelines before you take the photos. Other important specifications may include the size of the image, file format, file size, background color, and so on. Additionally, follow the special instructions from your client, if any, such as guidelines on the use of props, etc.
18. Maintain a white background for most cases.

Product photos need to have a clean and minimalistic look. It has to be uncluttered and noise-free so that the viewers can give their attention to it. A consistent white background can ensure that the customers can keep their focus on the product only. White is a color that can be applied to a variety of products as the background. It is a common trend for e-commerce marketplaces to use white as the background of the photos. Your customers are used to it, and it is wise not to use a background color that the customers do not expect in their subconscious mind.
19. Pick the right background for your product.
Although white is the most common background for product photography, it is not always mandatory. Sometimes, the use of a colored background can present the product more attractively. Vibrant color can be used if it conveys a specific mood. Additionally, a textured background can be used to create a natural and realistic feel. Apart from these, you can use a gradient background or make a custom backdrop to create uniqueness.
20. Create a diagram if necessary.
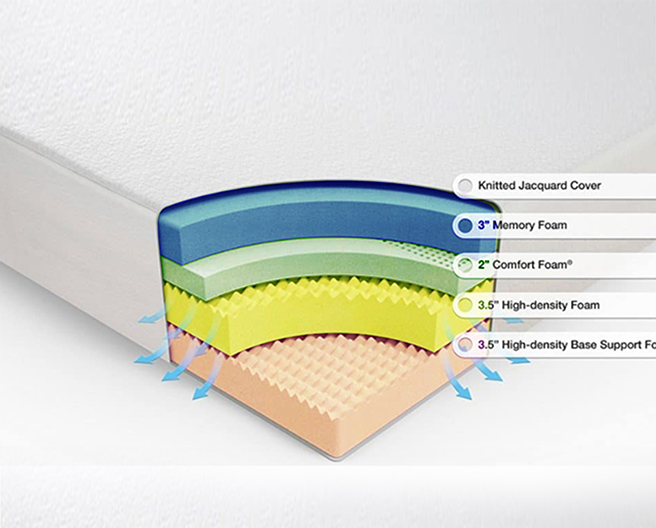
Sometimes, diagrams become inevitable to present the full functionality of the product. For example, if you are selling a mattress, you can present a diagram of the product with its dissection to show different layers of the mattress. Capture the base product first with close-ups of the components you want to highlight. Then, you need to isolate the product from its background in the post-production using photo editing software. Then, add the required texts, effects, annotations, and labels to create the diagram.
21. Capture multiple products in the same category separately.
People often display their products in a batch to reduce photography costs and keep the inventory simple. It is not a good practice. For example, if you are selling cricket bats with two different product specifications – English willow and Kashmiri willow, then do not capture them together and display them on a single product page on the website. Rather, take the photos differently and create different pages for them on the online platforms.
By separating your products this way, you are emphasizing the specific features of the product that your customers may be interested in. In my past example, some of your customers may specifically look for an English willow bat, not just a cricket bat. By separating the bats, you are vividly presenting that you have the required product the customer is looking for. Additionally, it shows a sense of specialization in the product and gives confidence to the customers.
22. Take some macro shots.

Online customers do not have any options for experiencing the product other than seeing the photos. Therefore, the retailers need to present the photos from different angles, show the product in full, and present some close-up shots as well. Macro shots show the intricate details of the product and highlight its special features.
Close-up shots are usually captured with macro lenses. It requires controlled lighting, increased depth of field, precise focusing, and reduced ISO and noise. Macro shots are sensitive. Therefore, you need a sturdy tripod to stop camera movement.
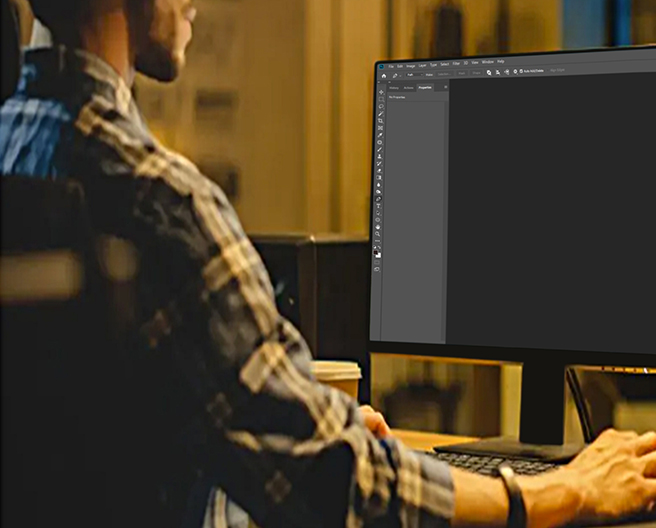
23. Manipulate your photo in the post-production.

Post-production is a mandatory step in the whole product photography process. Image editors can manipulate the photo in many ways using different tools and techniques. For example, if you find that the color of the product does not match with the original color of it, then you can manipulate it using color correction tools. Similarly, you can remove the background of the photo and add a consistent one. Additionally, shadow edition, image enhancement, adding special effects, and creating image composition are some common image manipulation techniques that you can try to get the best results.
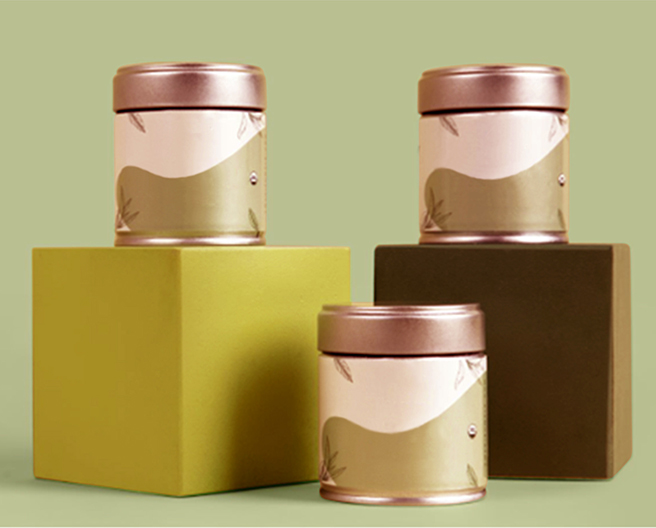
24. Show the scale when necessary.

The size of the product often can not be understood by simply presenting the product only. Size is an important product feature that your customers need to know. You can show the scale of the product by including a reference object with the product. Using a prop is a good technique for showing the scale of the product. For example, when selling electronic products, you can show a human hand holding the product to show the scale.
25. Add human elements.
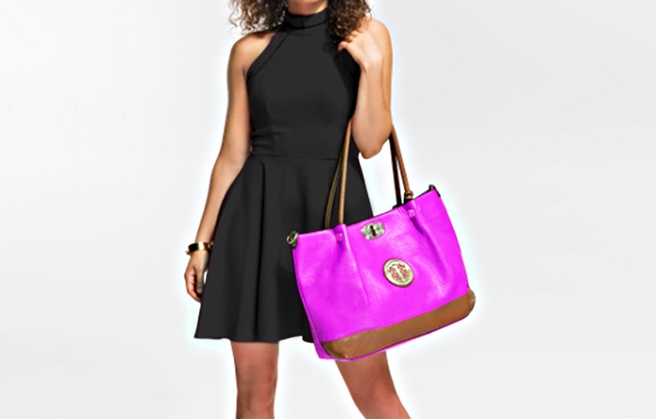
The customers of the products you are shooting are human beings. Therefore, adding human elements will create a connection between the product and the customers. You can employ a model showing her experience with the product. A part of the human being can also be used in the photo. For example, you can show a person holding a bag when the bag is the product you are capturing. Presenting this way will give the customers an idea of how the product will fit in their real life.
Conclusion
The bottom line is do not try to overdo your product photography projects. Keep it simple, maintain the basics, and follow the guidelines, if any. The objective of any product photography is to show the products in their best condition. Do the products in your photo have their true color? Could you capture them in a way that is lucrative for the customers? Did you do anything in the post-processing that killed the originality of your product? Ask these questions to yourself, and you’ll be able to deliver the best photos to your clients that make sales for them.