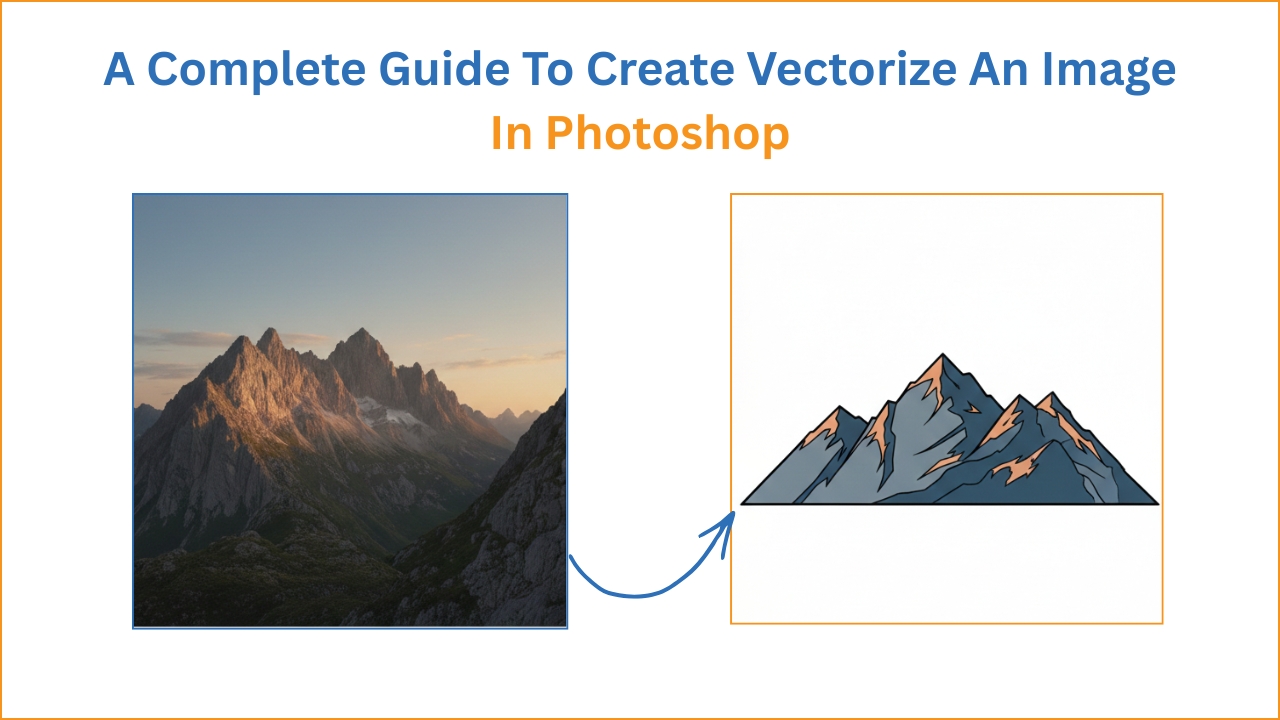
Create vectorize an image in Photoshop to transform your artwork into a smooth, scalable design that looks sharp and professional at any size—ideal for everything from logos to detailed illustrations.
A common barrier that editors come across while photo editing is losing the quality of the work while resizing it.
But this can be solved with a simple solution: learning how to vectorize an image in Photoshop.
Vectoring in Photoshop will give you a perfect chance to change your image to any size you want and proceed to edit it.
How to Create a Vectorized Image In Photoshop
Image vectoring in Photoshop is not an easy feat to pull off. The process is very meticulous, and you must pay attention to avoid mistakes, as errors are highly common when you are vectorizing an image in Photoshop and can make or break the final product.
A detailed step-by-step list explaining how to vectorize in Photoshop can be found below to help you follow along and learn to make vectors in Photoshop.
Step 1: Choosing an HD Photo
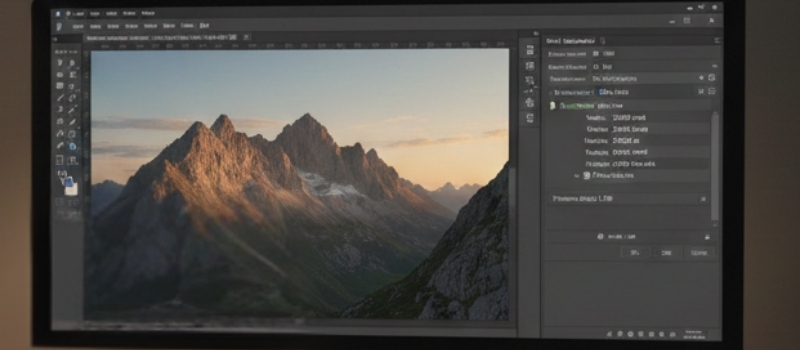
The very first requirement of vectorizing in Photoshop is to have high-quality or high-resolution images. Along with that, the image resolution should at least be 300 pixels, and for landscape pictures, the height’s resolution should at the very least be 2000 pixels.
However, it is not always possible to have extremely high-quality images. Hence, in those cases, you will need to increase the image’s resolution by going to ‘Image’ and then to ‘Image Size’ and making the changes you need.
You can also enhance the picture further by using the ‘Preserve Details 2.0’ option in Photoshop CC19 and later.
Step 2: Focus on the Subject by Removing the Background
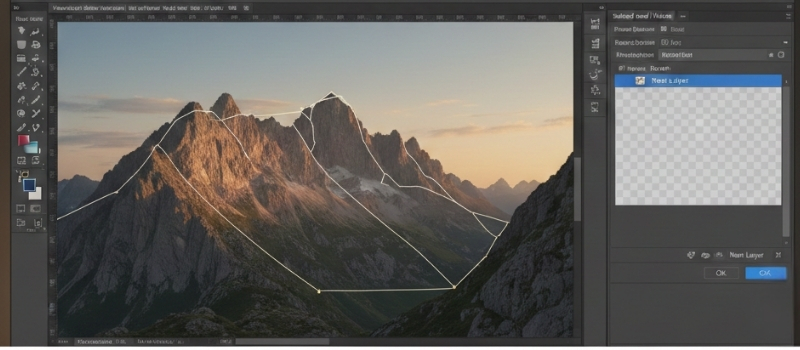
The image’s subject must be isolated from the backdrop before the process can begin. After that, you are free to use any tool in Photoshop that you believe would be best suited for the picture; for example, the pen tool is an excellent choice when dealing with artwork with sharp edges.
You are also provided with tools that will let you make very precise selections. For instance, choosing ‘Select and Mask’ is a fantastic choice that is also very easy to work with. After that, click OK after selecting the output option ‘New Layer’ from the drop-down menu.
Step 3: Oil Paint Filter
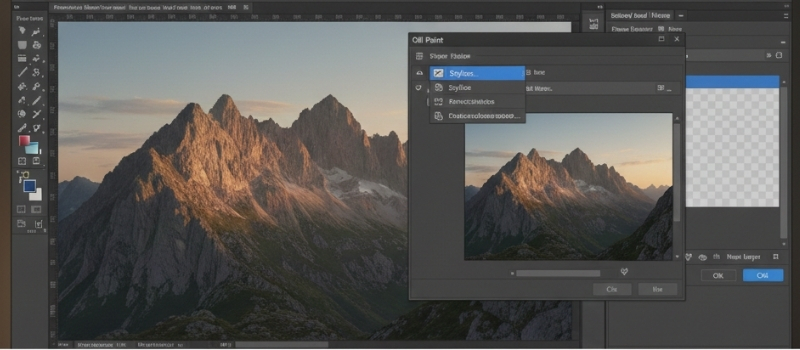
After the step above, the image’s subject has been moved to a new layer. Now, add ‘Oil Paint Filter’ by going to ‘Filter,’ then select ‘Stylize’ under that, and finally choose the option’ Oil Paint.’ You can also find it by simply going to ‘Filter,’ then ‘Oil Paint,’ depending on your Photoshop version.
Step 4: Values for the Filter
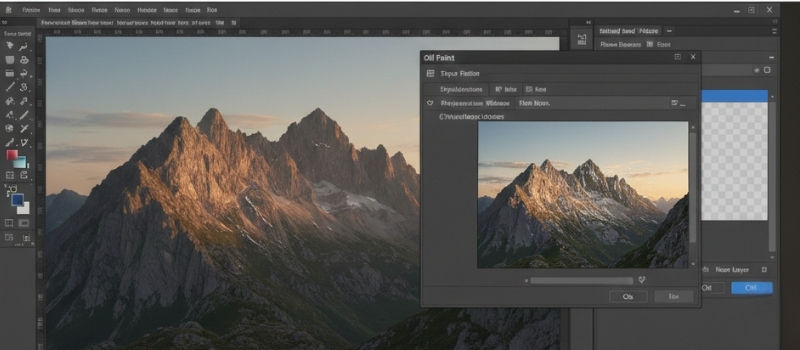
Now that you have selected your Oil Paint Filter, it is time to set the values for the filter. The choices you are setting will govern the image’s subject’s unique modifications.
Like, the shine value you select is the metric used to regulate the oil detail in this case. You can get your desired effect by choosing the value options and modulating them to your desire.
Step 5: Image Desaturating
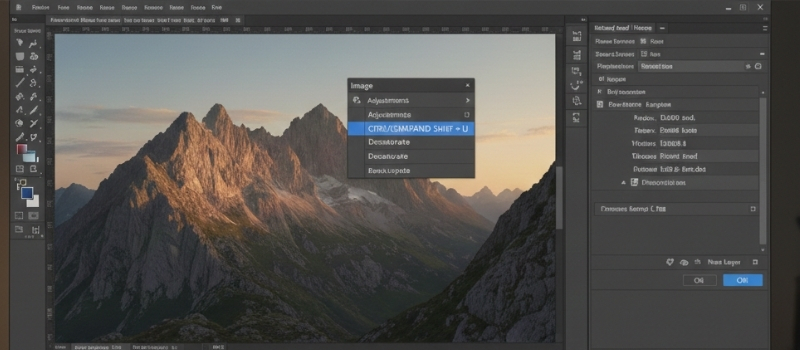
For vectorizing an image in Photoshop, the image’s subject needs to be stripped of its colors, or in more common words, it needs to be desaturated.
This can simply be done by going to the ‘Image’ option, then proceeding to ‘Adjustments,’ and finally, clicking on ‘Desaturate.
Another way to do this is by using the keyboard shortcut ‘CTRL/COMMAND’+‘SHIFT’+‘U’ for both Windows and MAC.
Step 6: Modifying Levels and Posterizing
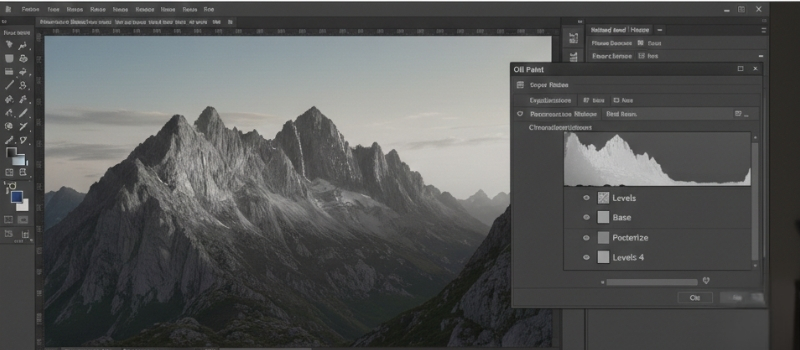
Now, we need to modify the ‘Levels and Posterizing’ after having desaturated the image’s subject. First, the black and white percentages are adjusted using the Levels adjustment layer.
Posterizing is to determine the black and white tones that are used as level adjustments in the image. For example, if you use the number ‘2’, you will get only black and white.
However, if you use ‘4’, you’ll add more white to the subject’s visual. This can be done under the options’ Adjustment Layer’ by masking it with the uppermost layer and renaming it ‘Base.’
Step 7: Using the Oil Filter Again
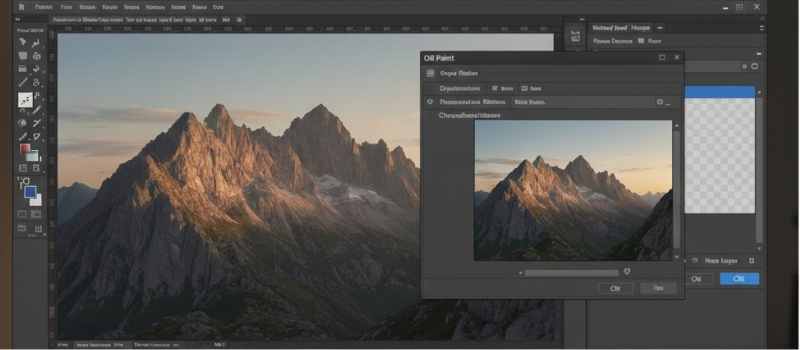
For vectorizing in Photoshop, you’ll need to add the Oil Paint Filter again. Make sure that you merge all the layers before adding the effect by holding down the ‘SHIFT’ key, which will move the Pestorize layer to the Base Layer, and then choose ‘Merge Layer’ after right-clicking on the selection. After that, reapply the Oil Paint Filter. Then, finally, click OK.
Step 8: Highlights Vectorizing in Photoshop
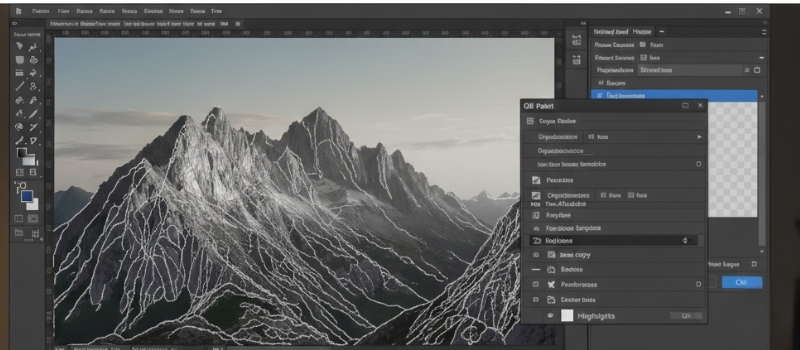
For making vectors in Photoshop, you also need to have vectorized highlights, which is a long process. You can start doing that by choosing ‘Blending Options’ after double-clicking on the Base Layer.
To conceal the dark regions, you will now need to move the black area’s slider to the right and proceed to click ‘OK.’ To make a copy of the Base Layer, press CTRL/COMMAND + ‘J’ (applicable to both Windows and MAC) after having selected it.
Then convert it into a smart object by selecting the option ‘Convert to Smart Object’ after right-clicking on it. Now, make a selection by clicking on the thumbnail after pressing CTRL/COMMAND for both Windows and MAC.
After that, choose the option ‘Make Work Path’ after having right-clicked on the selection with any selection tool, let the tolerance remain at 1.5, and click ‘OK. To proceed, add a colored adjustment layer with solid white color and click ‘OK’ to finally get the highlights.
Before moving to the next steps, remove the duplicated Baselayer and rename the solid color layer to ‘Highlights,’ and hide the highlights layer.
Step 9: Working on Shadows and Midtones
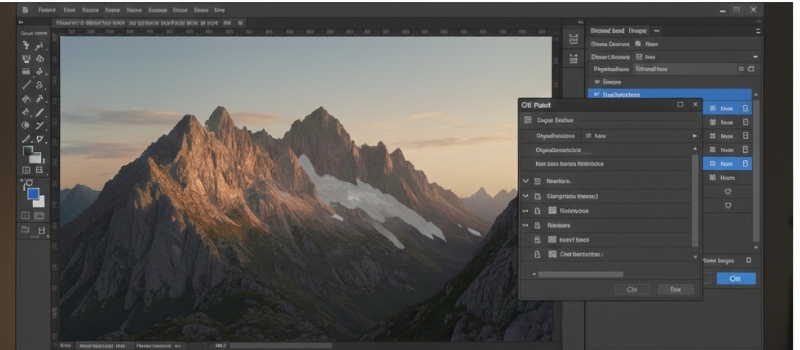
To attain different points when you’re vectorizing images in Photoshop, follow the previous step of vectorizing the highlight. Only this time, you will need to move the blend’s slider according to the tone you desire. For example, moving it to the left will give you Midtone 1, a Light Grey color.
Step 10: Grouping
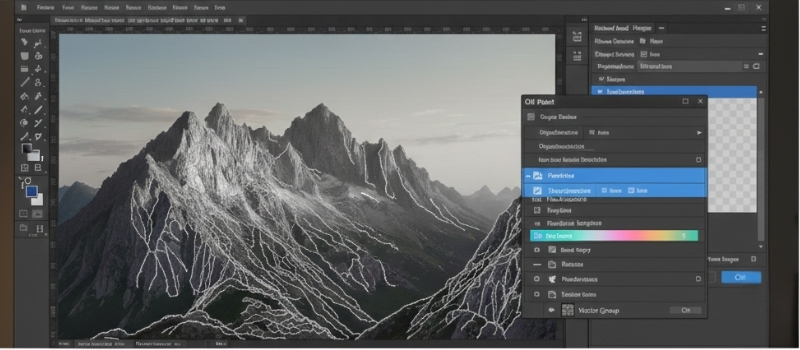
We can build a group with the four independent Vector layers we have. Hide any additional layers you have and unhide all the Vector layers. To pick layers, hold down Ctrl/Command for Windows/Mac and click each one separately.
You may also pick the top layer while holding down the Shift key and then selecting all layers on the fourth layer. So, for Win/Mac, use Ctrl/Command+G to pick the first Vector Layer to the fourth. You may also pick them and drag them to the folder icon at the bottom of the Layers panel.
You may also pick ‘Group From Layers’ by right-clicking after choosing the layers. All of the processes work in the same way. You now have a Vector group that is complete. You may either stop right now or continue. So let’s take a couple more steps.
Step 11: Vector Layer Color Change
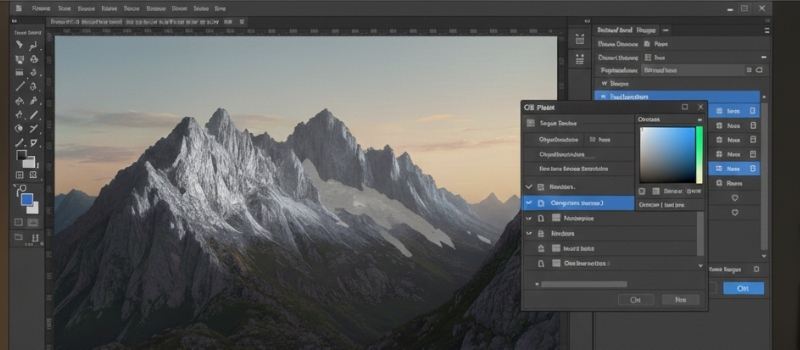
You must double-click on the tiny symbol of the layer thumbnail to change the color of a vector layer. The color panel will now be visible. To continue, select any color and press OK.
The brightness and shadows, however, should be left alone. As a result, any of the mid-tones can be changed.
Step 12: Color Change of a Specified Area
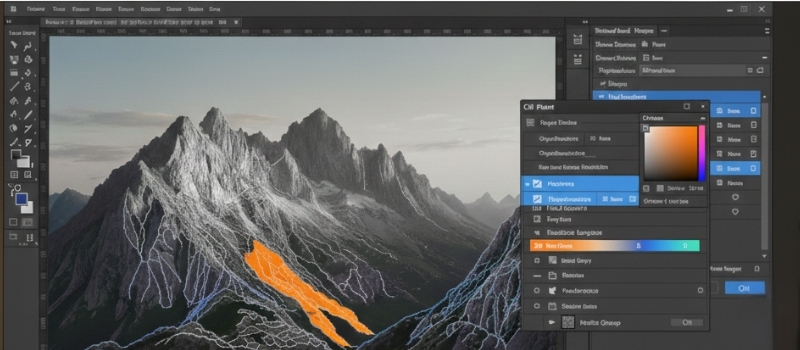
Choose the vector layer first if you need to modify the color of a specific region. For example, color is being applied to ‘Midtones 2’. Take a look at the image below.
First, place the Clipping Mask on a new layer above the Midtones 1 layer. For Win/Mac, press and hold Alt/Option while clicking between these levels.
You can also add a clipping mask to a blank layer by right-clicking on it and selecting ‘Add Clipping Mask.’ Then, using the Brush tool, choose a color that you like. If you brush on a certain region, you’ll notice that the color is confined to that vector layer.
We’ve solely used vivid colors as a reference. So you have complete freedom in terms of color selection.
Step 13: Adding Stroke to Create Vectorizing in Photoshop
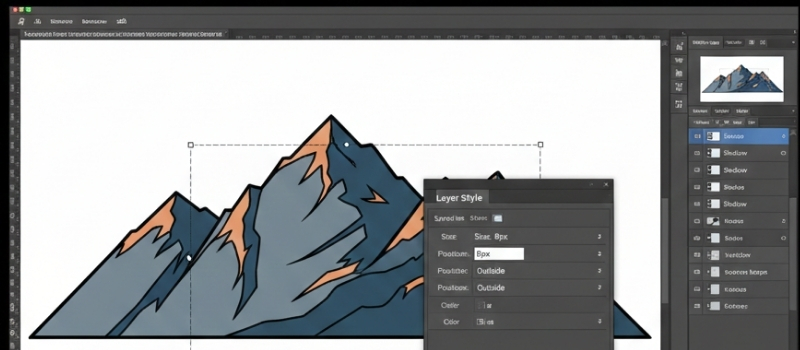
It’s time to add a stroke now that we’ve finished vectorizing in Photoshop. Simply choose Stroke after double-clicking on the ‘Shadow’ layer. Next, position outdoors and use a size of 8 pixels. To proceed, choose OK.
With vector lines and color, the topic is now ready. Ctrl/Command+T for Win/Mac to use the transform tool. Resize the topic to your liking and test it to see whether it works. No worries; if you follow each step precisely, it will function flawlessly. Last but not least, save the image as a PSD.
So, here is your vectorized picture. The artwork will never pixelate, no matter how big or small it is. To create a vector with an artistic style, simply follow the methods shown. Less time is spent if you utilize one color. Colour enhances detail and art in an image.
Wrapping up:
Creating a vectorized image in Photoshop is one of the most crucial skills. It needs precise working processes and the ability to explore so many Photoshop tools.
By following this article process, you can convert your photo into a vector shape image in Photoshop.
FAQs
What image formats can be vectorized in Photoshop?
You can vectorize JPG, PNG, TIFF, and PSD image formats. Then, after vectorization, you can export it with SVG, PDF, or EPS.
What tools are used to vectorize an image in Photoshop?
The pen tool, shape tool, and path selection tool are used to vectorize an image in Adobe Photoshop. Also, the curve, selection tool, and some other tools are used on it.
Does vectorizing an image improve image quality?
Yes, vectorizing an image improves image quality. It helps to create more detailed illustrations than JPG and PNG images.
Is Photoshop good for logo vectorization?
No, for logo vectorization, Photoshop is not recommended. You can use Adobe Illustrator to make a good logo vectorization.
Can I convert text into vector shapes in Photoshop?
Yes, with proper guidance and practice, you can convert text into vector shapes in Photoshop.


