
Product photos have always been a top priority for ecommerce sites because the quality and clarity of product images are what really matter when it comes to buying online.
By displaying outstanding images, you can attract even more potential customers. Consider when was the last time you bought something online, and what drew your attention.
If I’m not mistaken, the image of the product plays the most important role in conveying, and that’s how it works.
Ecommerce owners compete with one another in terms of the high-quality product images they can provide to their customers, which helps build brand value and increase sales.
With this in mind, they prioritize eCommerce photography and pay close attention to the entire photography process, including camera setup, lighting, photo editing, and much more.
I won’t go over the entire photography process in this article because I previously published an in-depth article about product photography tips and tricks.
In this article, I’ll take you through a lighting guide for product photography that will show you how to set up your lighting and the techniques you’ll need to improve.
So, before we get started, let’s get a good understanding of product photography and the steps involved.
What is Product Photography and How Does It Work?
It’s not just about getting great shots and making an image stand out in product photography.
Many photographers believe this, but the goal of photography is to achieve the objectives of the images.
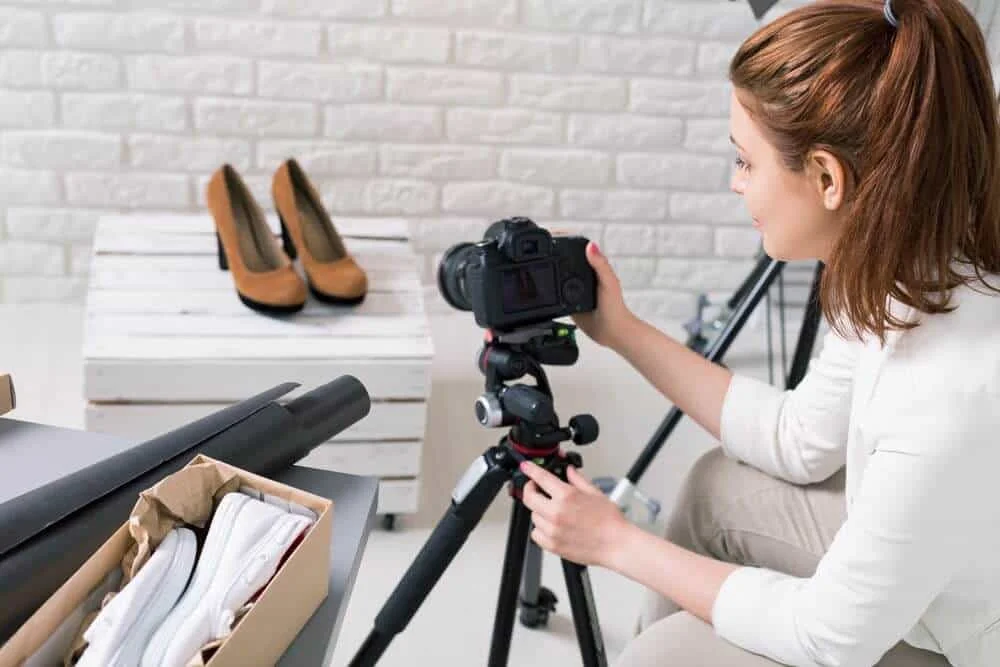
If you want to photograph a fashion product, such as a shoe, sunglasses, or clothing, for example, you should take lifestyle shots with a larger frame and clarity so that the audience can see the perspective your product images require.
A product photographer is responsible for various tasks, including setup, lighting, and photography techniques.
Customers can be conveyed by a writer by 20%, and the rest of the customers are engaged through images, in which photographers play an important role.
Let’s take a closer look at what it takes to be a successful product photographer by going over some of the requirements.
Attention to Smallest Details
Product photographers should pay attention to small details in their images, whether it’s a clothing item or jewelry, so that customers can have more trust in an eCommerce site.
Product photographers understand how to photograph products so that they not only look good but also encourage customers to buy them.
To get more details on products like jewelry or small products, photographers might make so many mistakes, but there’s nothing to worry about it. With just some attention to detail, everyone can take that level of the smallest details.
| Related Article: Ghost Mannequin Photography Tips For Product Images |
Understanding Angles

Professional photographers are aware of angles, which aids them in producing images with better lighting and exposure.
Every photographer should be aware of a variety of angles because they can alter the perspective of a product.
Understanding the Vision
To get the most out of their product images, most brands hire professional photographers. because they have creative control over how products are photographed.
The vision should be fulfilled, whether you take your own photos or hire photographers.
Clients and photographers can work together to bring out the true beauty of photography and achieve the end goal.
Strong Styling Capabilities
Different products require different perspectives, which is why styling is important in photography.
Professional photographers often have strong styling skills and can create stunning images that not only highlight the product but also portray it in a flattering light, increasing the likelihood of a sale.
Types of Light for Product Photography
For product photography, there are numerous lighting options; all you need to know is how the various types of light work and which is best for you.
Strobes or speed lights are obviously the best choices for professionals, but for budget photography, natural light is a more useful and convenient option.
The most common lighting sources that you should consider are listed below.
Natural Light
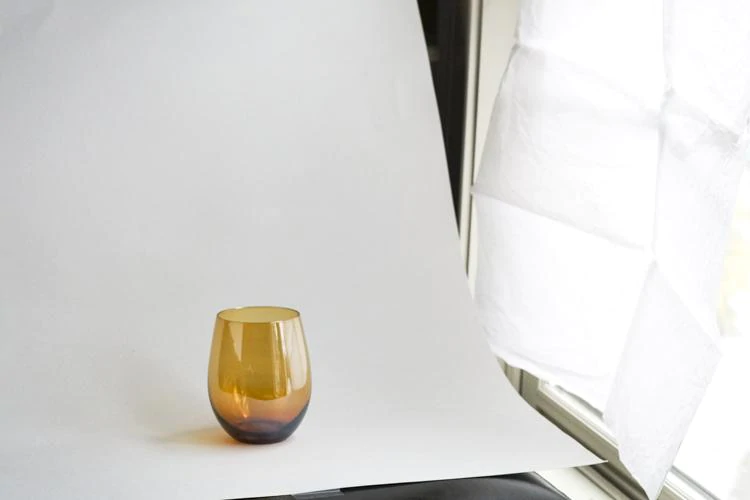
The most comfortable way to obtain lighting is through the use of natural light. To get started, all you’ll need are some white foam board sheets and reflectors.
If you don’t have a lot of money to spend on product photography, you can use this type of natural light instead of investing in studio lighting.
It is the best product photography lighting for an affordable solution. Polystyrene boards and reflectors are the most common materials used to make window lights nowadays.
You have the option of selecting the appropriate natural light.
Artificial Light
For all photographers, artificial light is the best light for product photography because it can be controlled.
There are also several options for changing the characteristics of the lights, which natural light may not be capable of.
The reason I prefer artificial light to natural light is that artificial light allows me to capture images that are nearly impossible to capture in natural light.
It takes incredible pictures by using constant lights and flashes. If you invest a few dollars in an artificial product photography lighting setup, you’ll be able to apply a variety of characteristics to your product images.
Apart from that, you can achieve the desired intensity, quality, color, and other aspects of your images that make them more appealing.
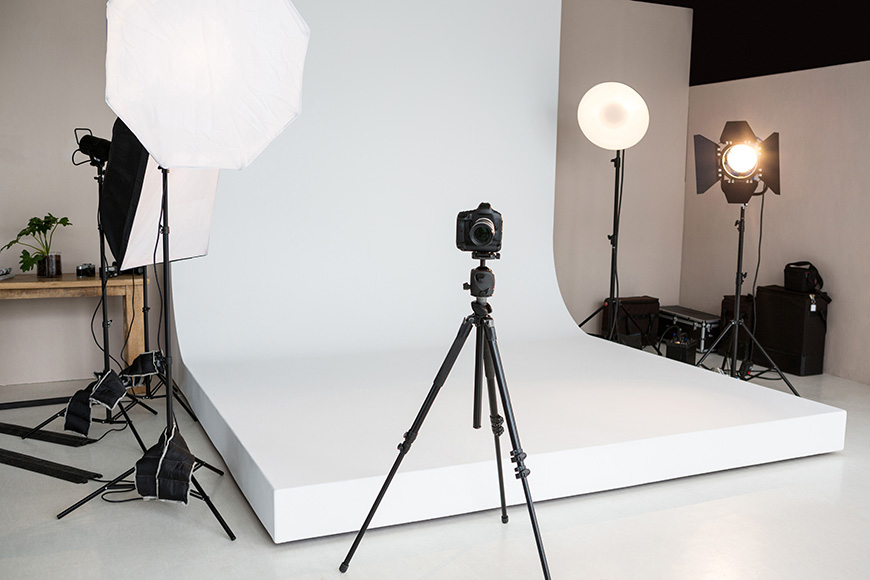
Product Photography Lighting Setup: The Essential Equipment

When it comes to photographing your products, you may be unsure of which lighting equipment to use and potentially invest in.
Lighting should be more consistent to fulfill the purpose of your images, which is why you should pay more attention to the necessary product photography lighting equipment and how it should be utilized.
Best lighting kit for product photography
The most important equipment for setting up a studio is a lighting kit for product photography.
It’s a collection of professional lights, light stands, and other lighting equipment used in video and photography production.
|
Tip: Understanding the product photography Lighting Kit. There are three types of lighting kits that you may use for different advantages while keeping the light consistent for different types of product photos. Continuous Lighting Kit: Continuous lighting is best to visualize how your light will appear in your image before you begin shooting, whether you’re taking a product photo or a lifestyle photo. For studio lighting for product photography, this is the primary lighting kit that most photographers prefer. Fluorescent, tungsten, and LED bulbs are the three most common types of continuous lighting bulbs. Because all types produce excellent results, deciding which to use is primarily a matter of personal preference. Speedlight Lighting Kit: Speedlights are an extremely easy option for product photography lighting, as they can be set up quickly and easily. Generally, they are external flash units that can be used along with umbrellas or softboxes. Using speed lights can save you time because it takes less time than normal flashes and can be very versatile. Whether you take product shots or action shots, the speed lights are the best. Moonlight Lighting Kit: Moonlight is a great product photography lighting option because it typically comes with self-contained strobe units that include a power source, reflectors, and stands. There is no need for an additional power generator because it can produce enough light on its own. Strobe moonlights are typically used in studios, but they are extremely versatile and, if purchased with a case, portable. |
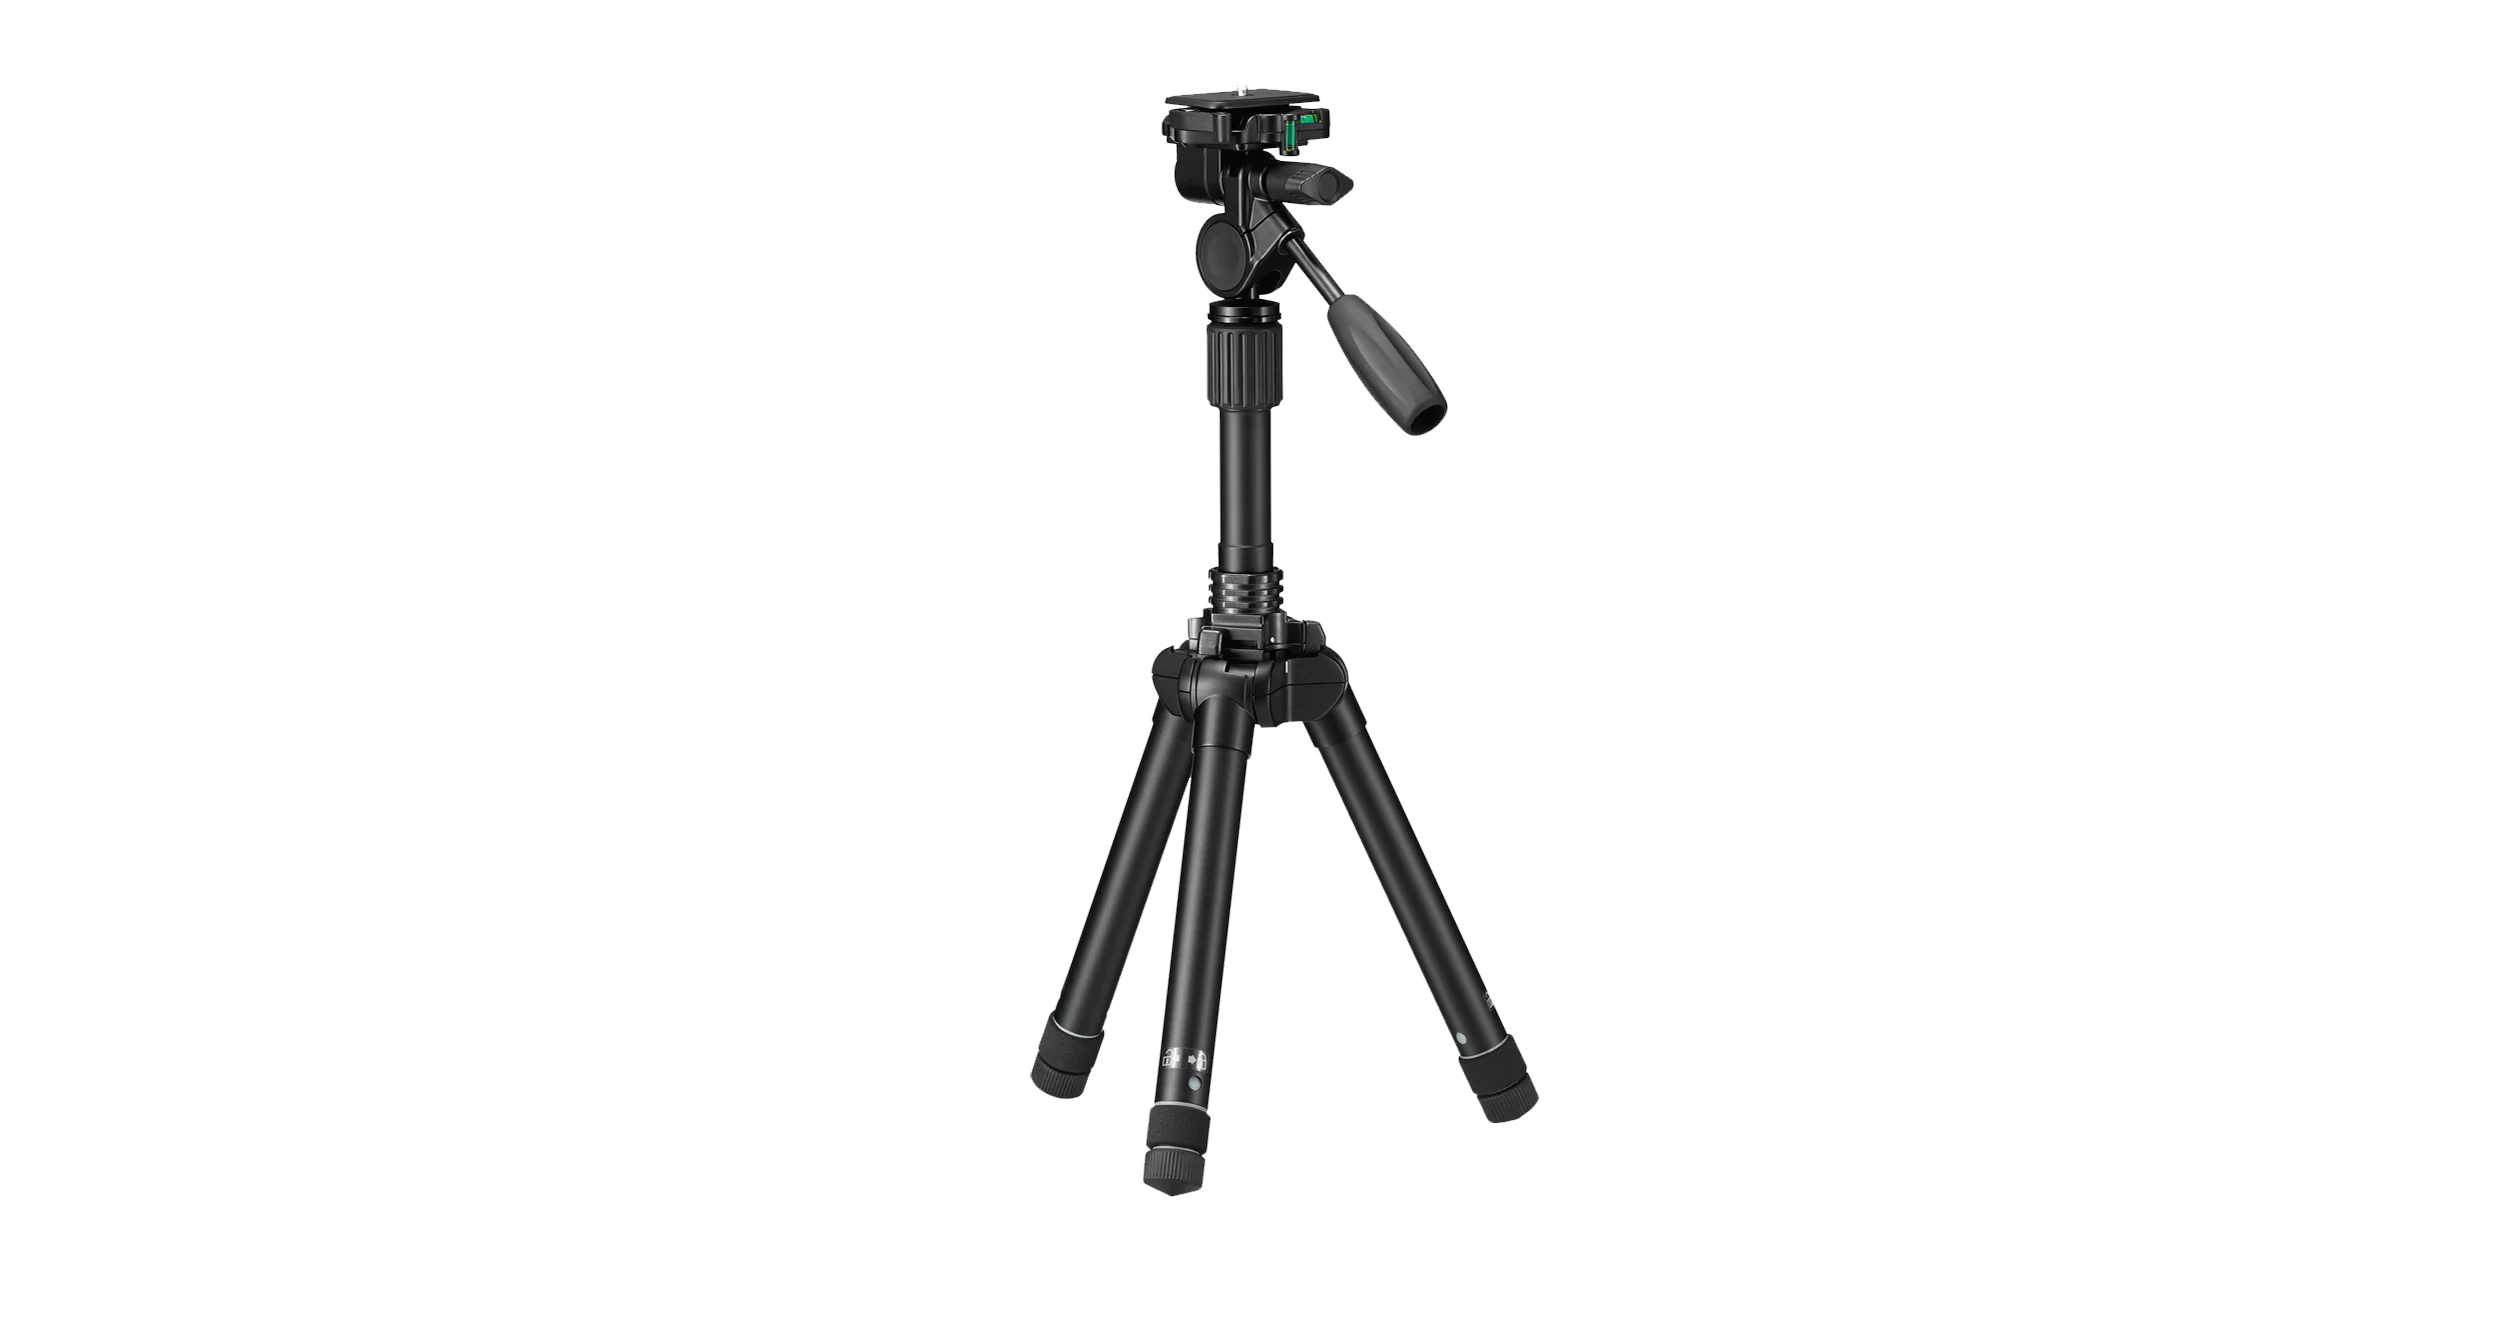
Tripod
Set up the camera on a tripod before taking a single shot. It aids the camera in establishing a stable position, reducing shake, and obtaining the desired results.
Thanks to the tripod, you will be able to get shots from different angles, which gives you a plethora of ways to get consistency in product photography lighting.
Consider a mobile phone with a lens aimed at the subject; it’s difficult to hold it without your hands vibrating.
As a result, the photo may have inconsistencies that you don’t want to put on your e-commerce site.
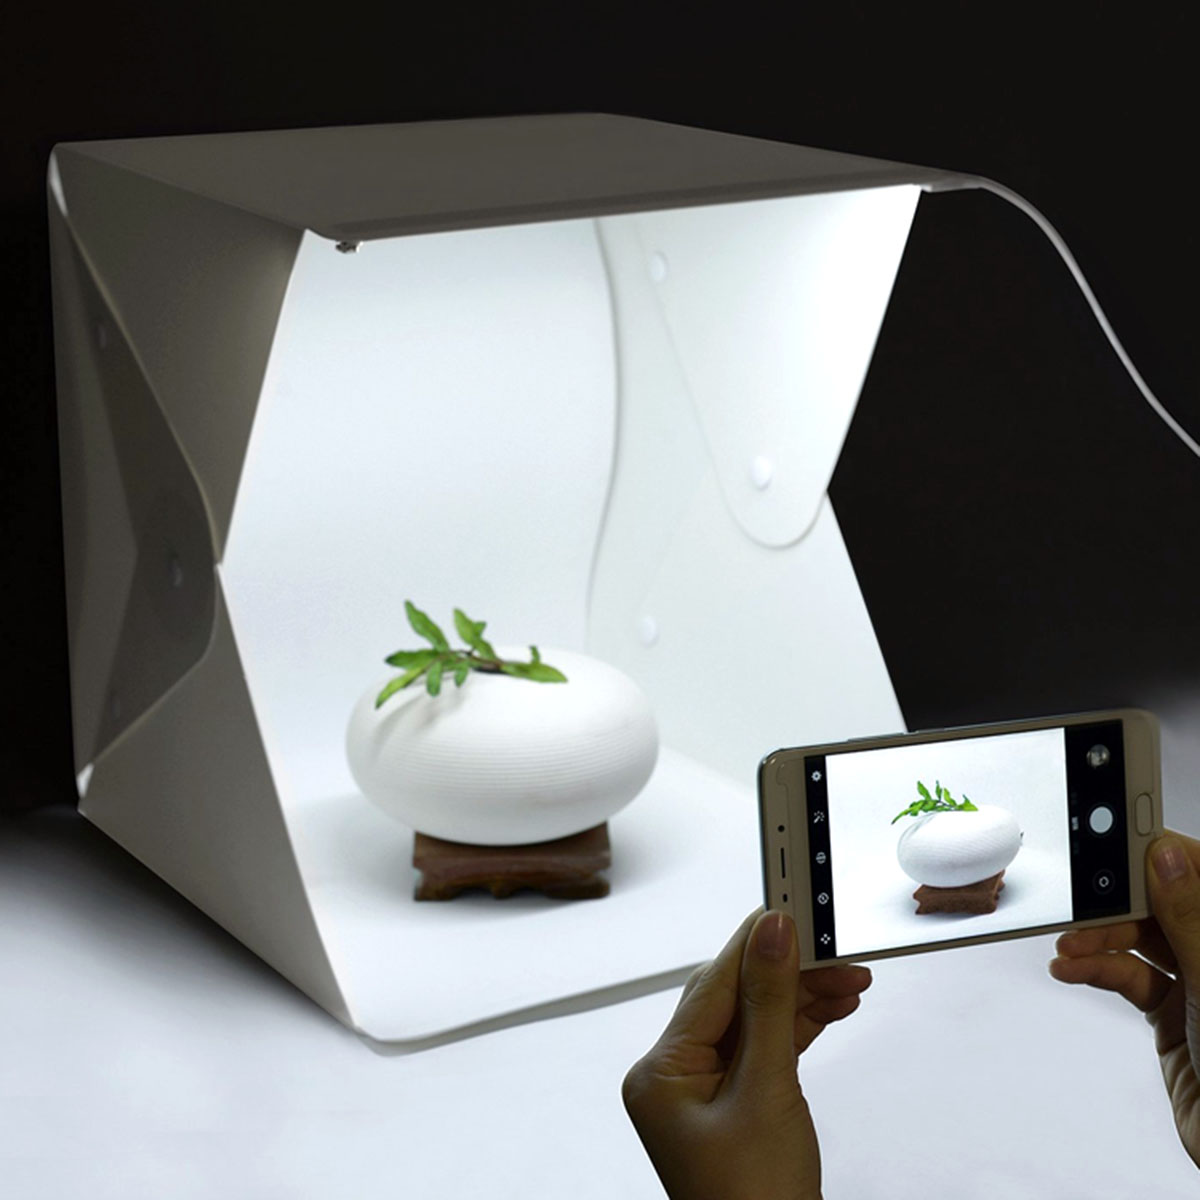
Lighting Tent
One of the best product photography lighting techniques is to use a light tent to create a soft, diffused lighting environment inside.
It’s essentially a wireframe cube covered in thin white fabric with one side open to allow you to point your camera inside and photograph whatever’s inside.
Light tents can be a good alternative to diffusion sheets, but they tend to bounce light around, resulting in a flat result.
White Background
The majority of eCommerce platforms like Amazon and eBay demand that sellers photograph their products in front of a white or natural backdrop.
Professional studio photography is promoted by some as a way for sellers to attract more customers.
Platforms like Amazon and eBay require some rules to keep their quality and standard, and that is what you should care about and build your own strategies to improve overall sales.
If you’re on a budget, you can use a sheet of white cardboard trifold, special background paper, or a white wall.
For very little money and time, you can also quickly construct your own mini-light studio.
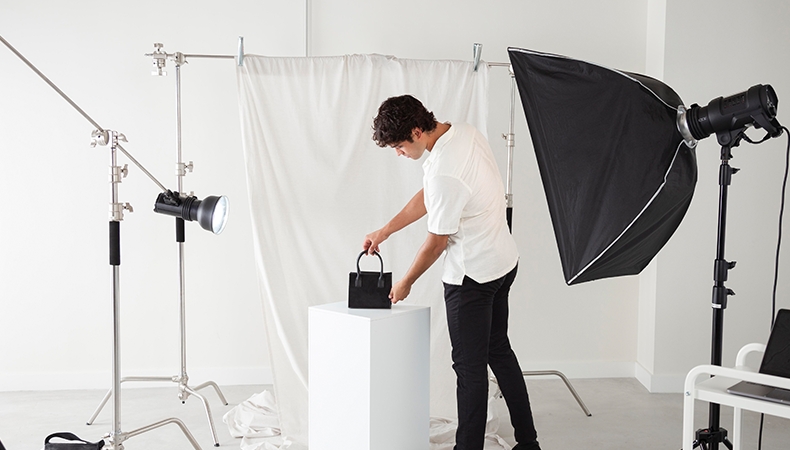
How to Set Up Studio Lighting for More Persuasive Photos
You want your product to have a certain personality
It all comes down to the personality you want to give your product. Yes, it’s just as crucial as deciding on a price for your product.
Consider this for a moment. It’s referred to as “product positioning.”
Do you want it to look like the best thing since sliced bread, or do you want it to be elegant and sophisticated? Perhaps you’d like the lighter side of your offering to be highlighted?
It makes no difference what you want. What matters most is that you have everything planned out before you begin the photo shoot.
Prep Work
When you have everything ready to go, double-check that you haven’t forgotten anything that could cause you problems during the photography.
Gather as many products as you think you’ll need for your photo shoot. If something goes wrong with one product, you’ll be able to switch to another.
The most important part of the preparation work is to imagine a better scenario in your head before taking shots, as this will help you achieve the same result.
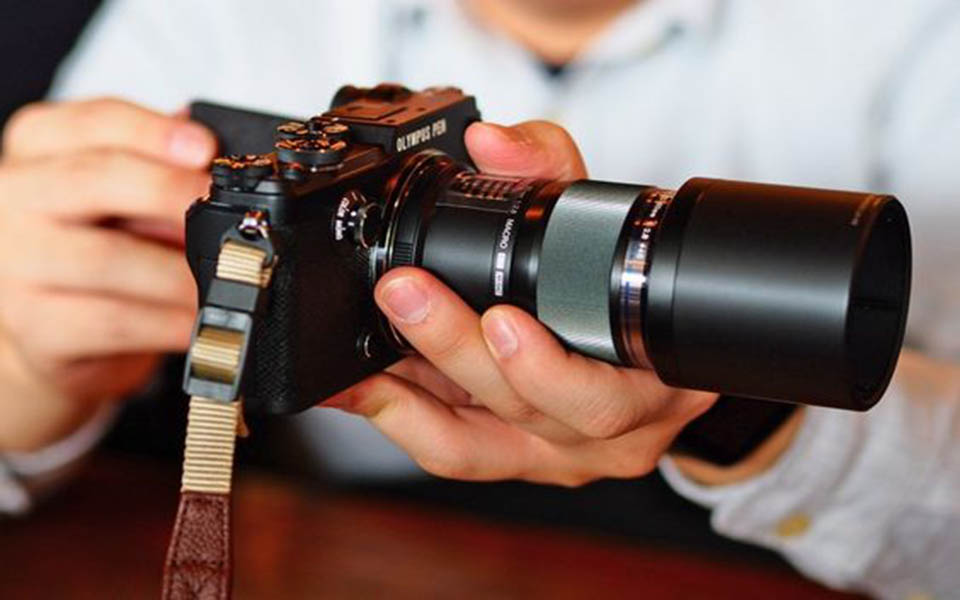
Setting Up the Camera for Better Output
There are numerous settings on the camera to improve lighting output, exposure, and overall color perfection.
Keep the ISO as Low as Possible
ISO refers to the sensitivity of your camera’s sensor. This is one of three key exposure control elements that allow your camera to gain light.
The lower the ISO, the better the image will turn out in most cases.
If you’re taking photos in low light, you can increase the ISO to brighten the image and make it perfect, but start with the lowest ISO possible and gradually increase until your product images look right.
Keep the Aperture as Wide as Possible
The amount of light that passes through the camera lens is measured in aperture, which ranges from F1 to F22.
The lower aperture passes more light to your camera, while the higher aperture passes less light, to represent the right apertures.
You will gain a better understanding if you take multiple shots with different apertures. When photographing product images, keep the aperture as high as possible (F16 or F22) because your product requires more focus.
Keep the Shutter Speed Slow and Steady
The exposure time, or how long the camera’s sensor is exposed to light while taking pictures, is determined by the shutter speed of your camera.
A faster shutter speed, on the other hand, can cause your image to freeze, whereas a slower shutter speed can result in motion blur.
To better position the camera in product photography, all you have to do is use a tripod. It allows you to get the right exposure without motion blur or freezing. Begin at a steady speed to capture sharper and more polite images.
Tripod To Hold Your Camera and Get More Consistent Photos
You have a well-defined shooting zone for focus in any location. To ensure a smooth experience, the product requires a camera and a high-tech tripod.
Because you can’t handhold a camera with a slow shutter or the subject will blur, you’ll need to use a tripod.
Product images must be cleared of dust before being photographed, so pay attention to lighting and a sharp shape when focusing with the camera.
If you want your product photos to look professional and high-quality, you should use a tripod to reduce blur. You’ve clearly defined the focus zone for any given location.
To get the most out of the product, you’ll need a camera and a high-tech tripod. Because you can’t handhold a camera with a slow shutter or the subject will blur, you’ll need a tripod.
Product images must be free of dust before being photographed, so lighting and a sharp shape are important considerations when focusing on the camera.
If you want your product photos to appear professional and high-quality, you should use a tripod to reduce blur.
Using Light Tent
The best way to use the light tent is to place it on a table, place the light sources directly opposite, and center the tripod so that the camera focus can catch the product directly inside the light tent.
It’s easier to see and maneuver the tent if it’s on a table, and it’s also easier to use your tripod for shooting.
You’ll want to make sure your backdrop is spotless and wrinkle-free. If you’re using a fabric backdrop, make sure to iron it for a smooth finish.
Using a white background

One of the most important aspects of professional-looking product images is the background, which is why the eCommerce marketplace requires product photos to have a natural or white background.
It is dependent not only on the backdrop but also on the lighting used in product photography to achieve a consistent background.
A white sweep can be purchased online as a cost-effective product photography background.
What type of sweep should you purchase? It is entirely up to you. A good option is to use a paper sweep. Make sure the white background is seamless as well.
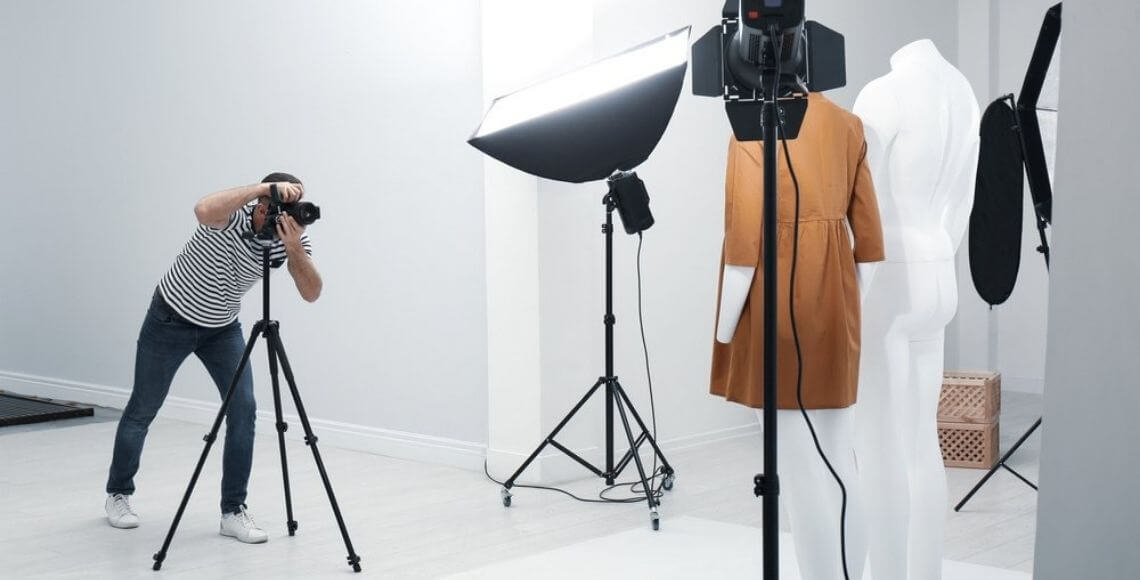
Product Photography Lighting Setup Guide
There are some basic lighting techniques that photographers use in product photography at every step of the process to take professional photos, and these techniques include terms like key lights, fill lights, and backlights.
To understand the composition of a photograph, a novice product photographer should become more familiar with the various lights and their functions. Let’s take a look at those primary techniques in more detail.
The Main Source Of Light
When light is mounted on a tripod in front of a product, it produces direct light to the product, which is referred to as the key light or the main source of light.
You can also use additional lighting that comes with a stand and a lighting modifier like a softbox or an umbrella.
Secondary Source Of Light
It’s also a crucial technique for generating light in your product images. It’s usually mounted on the opposite side of the camera from the key lighting and emits low-intensity light to fill in and balance the light during photography.
The Backlight
The backlight, which is also important for greater consistency in your product photos, is the final consideration. It is typically used in one of two ways.
The placement of the light is determined by the subject and how the photographer prefers to work with a backlight. A backlight is used to illuminate the product from behind or above.
The backlight is crucial because it helps to distinguish the product from the background. Backlights are frequently used by artists to “draw out” the main subject in a painting or to create a focal point.
7 Product Photography Lighting Tips That You Should Care About
Product photography can transform your eCommerce business because the more consistent your images are, the more potential customers you will attract.
Whether you want to take photos with your own photography setup or in a professional studio, you’ll need perfect lighting so that your customers can see the details of your products and increase your sales.
Here, I’ll discuss some product photography lighting tips that will help you improve your professional photography knowledge and skills.
Think First
Make up a scenario in your head and visualize how your product photos should appear.
Take the time to learn how to understand lighting because it is the key to achieving perfection in your photographs.
Light can make or break an image, so think about and get the right lighting from the start before going through the product shoot lighting setup.
Don’t think you’ll be able to get the right light in post-production, since your original photos aren’t in good lighting.
The Size Of the Light
You can control the softness and other qualities of shadows in any photograph by using the right size of light. Shadows will be harder if you use a small light.
Using a larger light when you want soft shadows is the way to go.
Understanding the softness and hardness
You must be aware of the distinction between soft and hard light. If you want to show the texture of a product, use a hard light.
The disadvantage is that it can cause reflections on shiny products.
The right position of the product photography lighting
Another important skill that every professional photographer possesses is the ability to position the light in the best possible way.
So, before you set up the lights for product photography, consider whether you want the light to come from above, below, behind, or to the side. This is something you learn through practice and trial and error.
The closeness of the light
The distance between the light sources is also important. A light that is placed further away appears to be more difficult. Frontal lighting casts fewer shadows, whereas side lighting casts more.
Using Light Modifiers
You can use light modifiers to balance the light during photography. Most of the time, you can shoot through umbrellas.
They soften and disperse the light, and have loads of light spill, which lightens the whole scene.
When a white umbrella (which contains 0% of the amount of light in a scene) is bounced and directed through a soft diffuser, enough change is produced to create color saturation.
Make the backlight slightly brighter
You already know what the key light, fill light, and backlight are because we discussed them earlier. Because it creates a separation of subject and background, makes the backlight slightly brighter than the front light.
Final Thoughts
The importance of product photography in growing an eCommerce business cannot be overstated. People are more interested than ever in product photography.
You’ll be able to take professional and eye-catching shots if you follow some complete lighting guidelines for product photography.
If you follow all of the steps outlined in this article, you will have a complete understanding of product photography, lighting, and how to make it more worthwhile.