If you are in the eCommerce business, high-quality product photography is essential for enhancing your sales. Here are a few easy and cheap DIY setups for product photography that you will require.
Product photographs assist you in communicating the value and usefulness of your items to customers who have never seen or used them in person.
It demonstrates to potential consumers that you are selling a high-quality product that is worth their hard-earned money. However, all online retailers do not have the financial means to engage a professional photographer to create retail-ready images for their online businesses.
This comprehensive section has been put together to simplify you to decide on the supplies and equipment you’ll need.
The Basic Photography Toolkit
- Tape – Tape is used to hold objects in place.
- Pen and Paper – Bring a pencil and paper if you need to write down some notes or sketch out a strategy for your setup.
- Grips – used to secure equipment in place
- Fishing Line – used for holding smaller items such as jewelry.
- Pocket Scissors – To cut the fishing line or any loose fabric threads, use a pair of pocket scissors.
- Glue Dots – Glue dots help hold small items in place.
- Hooks – If you wish to shoot clothing on hangers or towels/sheets in a hanging position, you should use non-damaging hooks.
- Set of batteries and chargers – Have a backup set of batteries or a charger on hand in case your camera dies in the middle of a photo shoot.
- Pins – used for making garments fit correctly – you may pin items from the behind to make them look better on you from the front. Safety pins help make minor changes, such as putting collars in place.
- Coat Hangers – When your items are not being photographed, use coat hangers to keep them looking neat.
Camera

When it comes to DIY product photography, you don’t always need a high-end camera to get good results. A smartphone, a point-and-shoot camera, or a DSLR are all acceptable photography tools.
To determine whether the latest smartphone models will produce high-resolution photos compelling for an online marketplace, try your hand at product photography with the equipment you already have before investing in a better camera.
If cost and convenience are the most important considerations for you, a smartphone is the best option. They are considerably more user-friendly, and you don’t have to fiddle with technical settings as you would with other devices.
Several free smartphone applications may assist you with your shot.
DIY Backdrop
The proper background for the photoshoot will be determined by the size of items you’ll be shooting and your predetermined budget. Here are some suggestions for you based on what you think would work best for your product shot.
Using a larger backdrop when shooting more essential things is necessary because the product will be more significant. When you look through the camera lens, you should see the background filling the whole picture frame.
You can always get a white backdrop from a photography store if you want more durable and professional. Purchasing one has the advantage of including a stand, which is a nice feature. Providing there is adequate space, you may set up your studio almost anywhere.
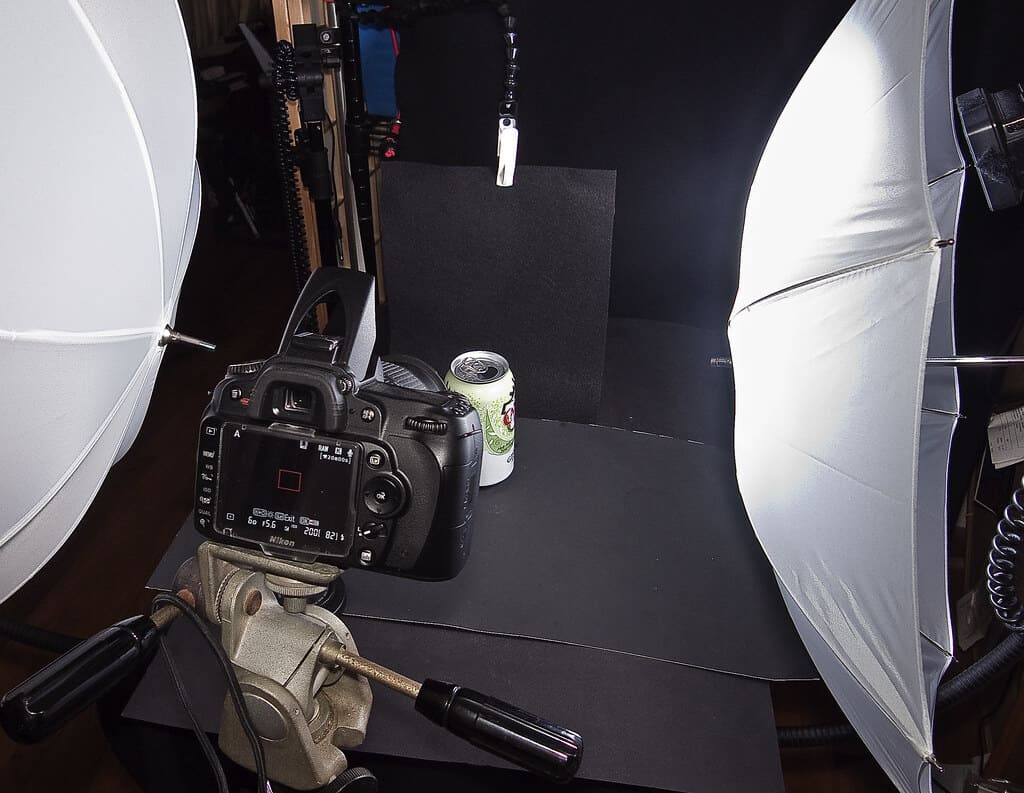
Invest in a Tripod
The use of a tripod is essential for taking steady and crystal-clear photographs. When taking pictures, you can always use your hand to steady the camera. However, this typically results in blurry or out-of-focus images.
Tripods from Mactrem, AmazonBasics, and Dolica are all available on Amazon for less than $60. Fotopro is an excellent place to go if you’re looking for a smartphone mount.
Lighting
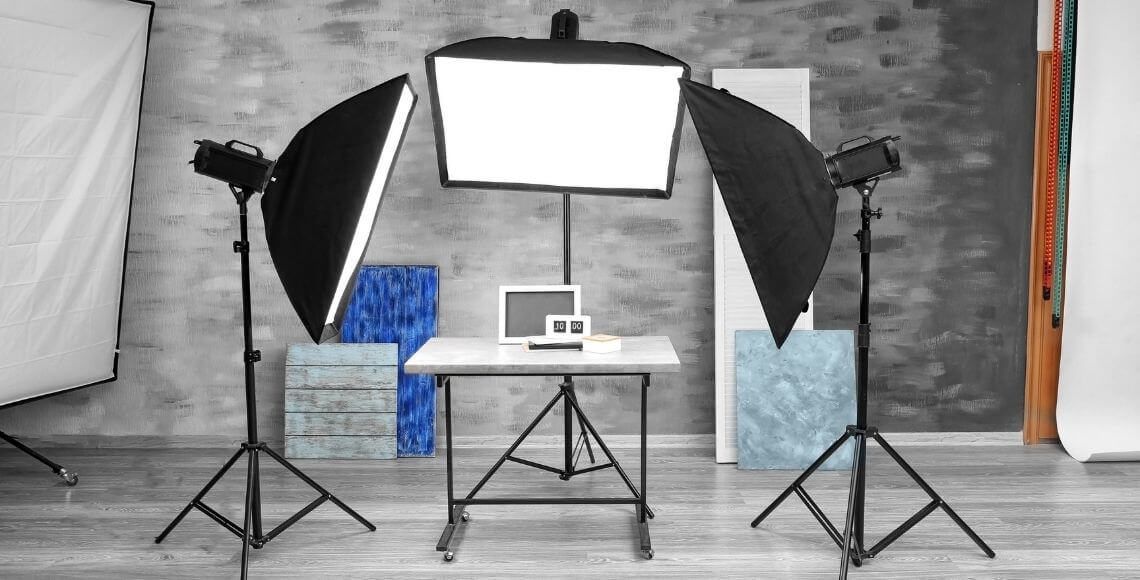
Image source: pixel-shot.com
There are only two ways you can look for light sources: natural lighting and artificial lighting. You will need to make an informed decision because it can make or ruin your entire production.
The selection is mainly influenced by the current season and the timing of the photography session. The budget and the location of the shoot are the other two considerations. For DIY shoots
Natural lighting is the most cost-effective alternative if you want to reduce your expenditure as much as possible. First, however, you must locate your studio near a window to use the sun’s indirect light source, which is essential.
Nevertheless, the primary disadvantage of natural lighting is that it might produce unrequired hues and contrasts in your photographs, which can be influenced by the season, the time of day, and even the weather.
You may still address these problems by purchasing a foam board or a reflector, which will provide you with what photographers refer to as fill light. A foam board or a reflector can help you control and disperse the shadows more evenly when working with natural light.
Furthermore, even if artificial lighting is used, a reflector or foam board may be pretty helpful.
Putting your products together
Put up your items on a smooth and sturdy surface while they are being photographed on a shooting table. Gluing or taping smaller items in place before you begin filming will help to keep them from moving throughout the shoot.
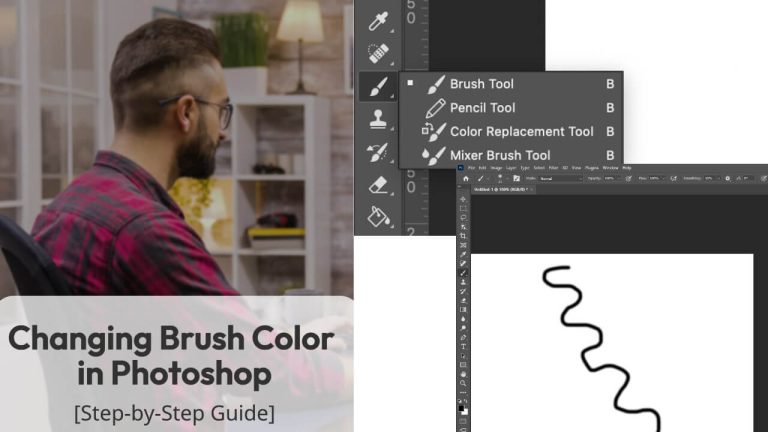
Photo Editing
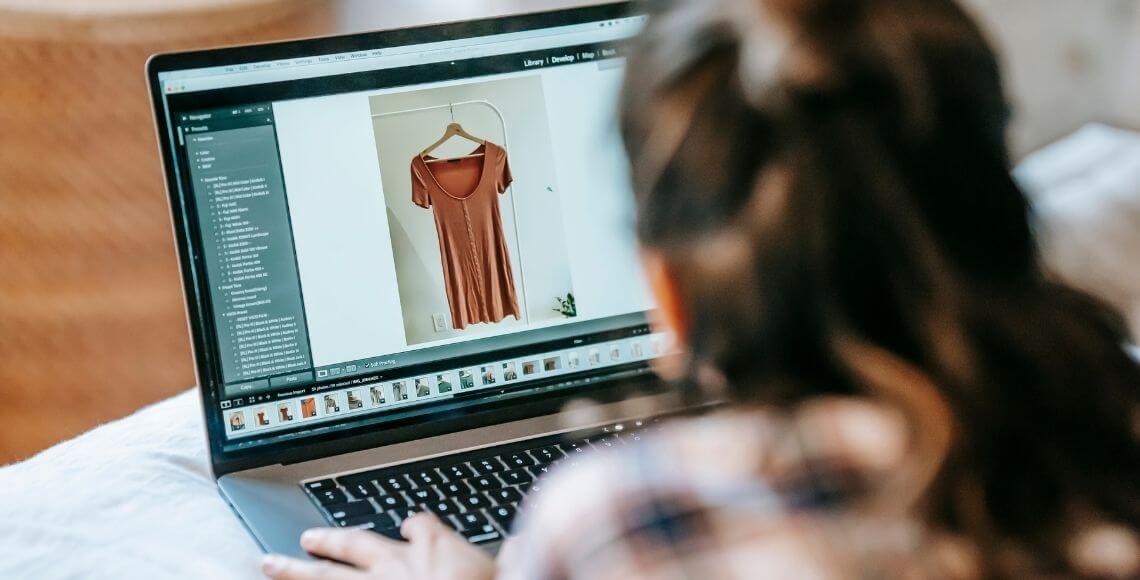
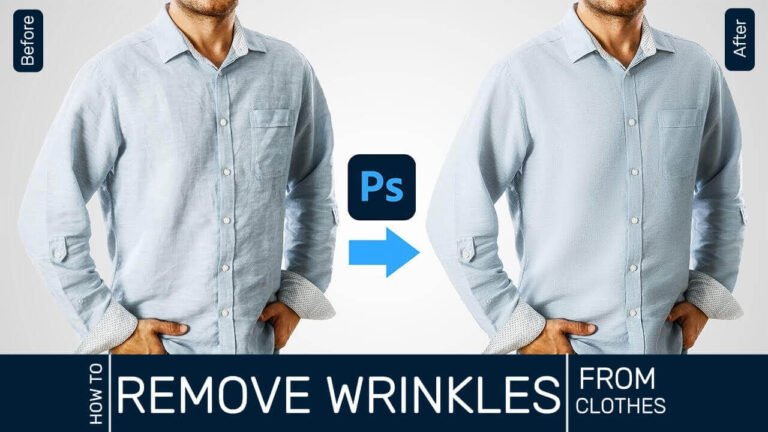
Product photo editing plays a very crucial role in the post-production of photoshoots. However, to display your product to the customers, few edits are essential for product photography.
Editing such as photo retouching, product photo editing service, ghost mannequin service, color correction service, shadow creation needs for product photography editing. We provide excellent product photography editing services at an affordable range. Let’s talk.