
Photography of jewelry is not as simple as it looks; it requires skills, creativity, props, and equipment. With their intricate designs, delicate materials, and intricate details, capturing the true essence of these pieces can be challenging.
However, with the right tools and techniques, you can take stunning jewelry product photography that showcases its beauty and allure. To effectively market and sell jewelry, it is crucial to have high-quality product images.
In this article, we will explore the various steps you need to follow in order to learn jewelry product photography.
What is Jewelry Product Photography
Product photographers must understand jewelry product photography to capture these pieces’ beauty and essence effectively. Many photographers set up a home studio to control the shooting environment, including lighting and backdrops.
When photographing jewelry, attention to detail is crucial. Using a macro lens can highlight intricate designs and textures. However, capturing enough depth in the field can be challenging due to reflections and small sizes.
By following these jewelry photography tips, a product photographer can create stunning and visually appealing images that effectively showcase the beauty and craftsmanship of jewelry products.
Jewelry Product Photography Equipment You Will Need
A Good Quality Camera

Your product images can look more professional in a variety of ways, and the jewelry photography setup doesn’t necessarily need to revolve around one camera. With the right lighting and styling, you can produce images of a professional product photography studio caliber.
Investing in a good-quality camera is vital to capturing high-resolution jewelry images. A DSLR with a macro lens is ideal for close-up shots that highlight the fine details. You can also use your smartphone to take jewelry photos.
Tripod Stand

A tripod is a crucial piece of gear when taking product photos because it helps dampen vibration and noise. A tripod is required because every photographer may need help to eliminate vibration and noise in their hands.
It helps to support the camera and capture clear images. With the tripod, you can take pictures from various angles, giving you multiple choices for consistency.
Jewelry Photography Lighting

Proper lighting setup is crucial for jewelry product photography. It helps eliminate shadows and provides even light across the jewelry piece.
Natural light or a jewelry photography lighting kit can be used to achieve the desired effect. Jewelry is made of highly reflective materials, necessitating a sophisticated lighting setup.
Therefore, you must comprehend the fundamentals of light to become an expert in jewelry photography.
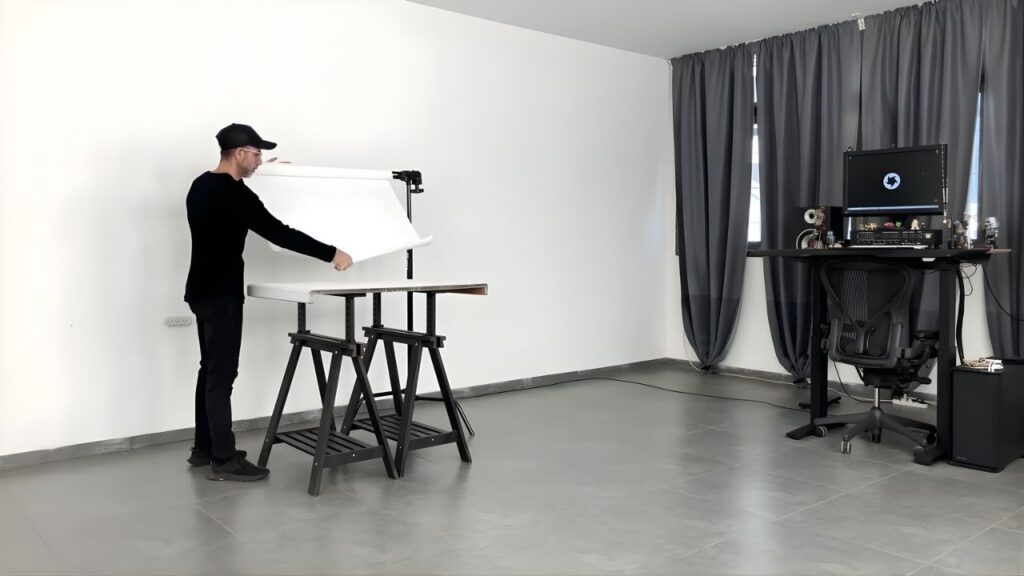
A Simple Table

When taking pictures, a table can help your jewelry product look uniform. Any flat table is acceptable. The ideal folding table is a standard model. Select one with a width of 24 to 27 inches.
Use a Solid Color Background for Jewelry Photography

Avoid using busy backgrounds that may distract from the jewelry. Keep the focus on the piece by using a clean and simple background.
A white background makes the product stand out and is also simple to make. If you want a well-lit, perfectly contrasted image, pick a solid color background.
Foam Boards
Although natural light is excellent for photography, it has some drawbacks, such as a bright side and a dark side.
You will need to use something white to reflect light into the shadows and brighten them because it will be too dark to take photos when the shadow is cast.
A white foam board might be the best choice because it is correct and white. Use a black foam board if you want the shadows to be darker.
Tape or Clamps
When shooting on a table, you’ll need tape or clamps to hold your foam boards and sweeps in place.
How to Take Jewelry Product Photos Step By Step
You must properly set up your jewelry product photography equipment once it is ready. Let’s review how to take jewelry photos and prepare them for your e-commerce store.
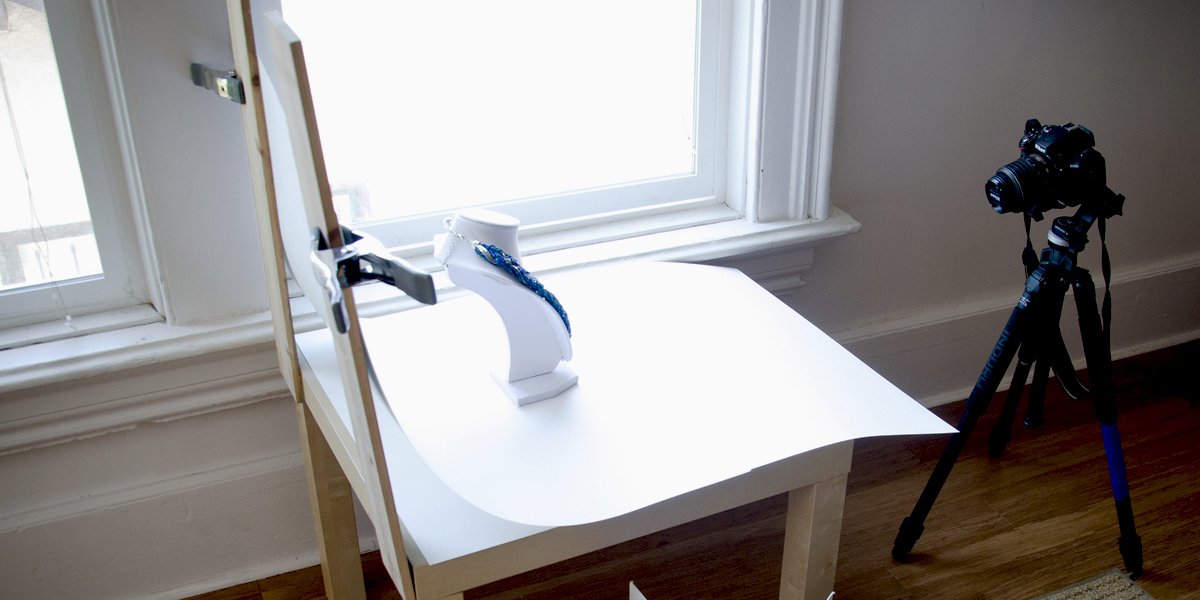
Setting up The Table

Position the table close to the window for the best lighting. To soften the light, place the window at a 90-degree angle to your setup.
Remember to turn off all other lights in the room to avoid affecting the set. Remember to turn the window in different directions for the best light.
You can also use a garage without glass to let light in. Avoid direct sunlight, as it can diminish appeal.
Background for Jewelry Product Photography
To meet your needs for jewelry product photography, position the table properly. For instance, you will have a softer light if your table is close to the window. Remember that there’s a good chance you’ll walk into the shadow of the windowsill.
Place your table 90 degrees to the right or left of it for softer lighting. It’s important to note that to prevent contamination of the set, all other lights in the room must be turned off.
Appropriate Lighting for Jewelry Product Photography
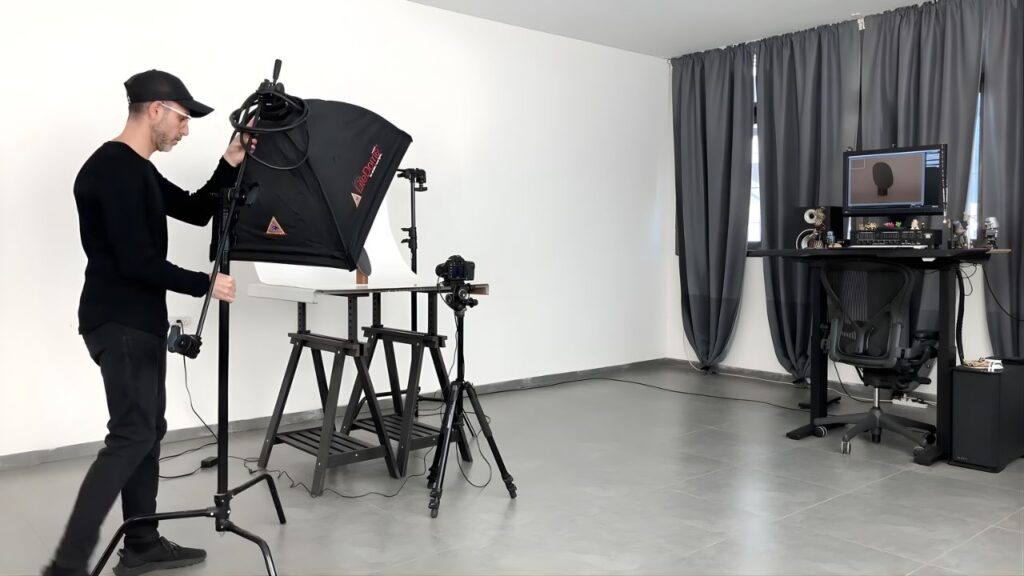
You can get the ideal lighting for your jewelry product photography by placing the light in the proper location. Put one light source, a softbox, or an umbrella in front of the jewelry at a 45-degree angle. This will maintain even and gentle lighting.
Keep your camera facing the jewelry item directly. You might notice some shadows if your product is positioned toward the rear of your sweep. For a completely white background, bring the product closer to you.
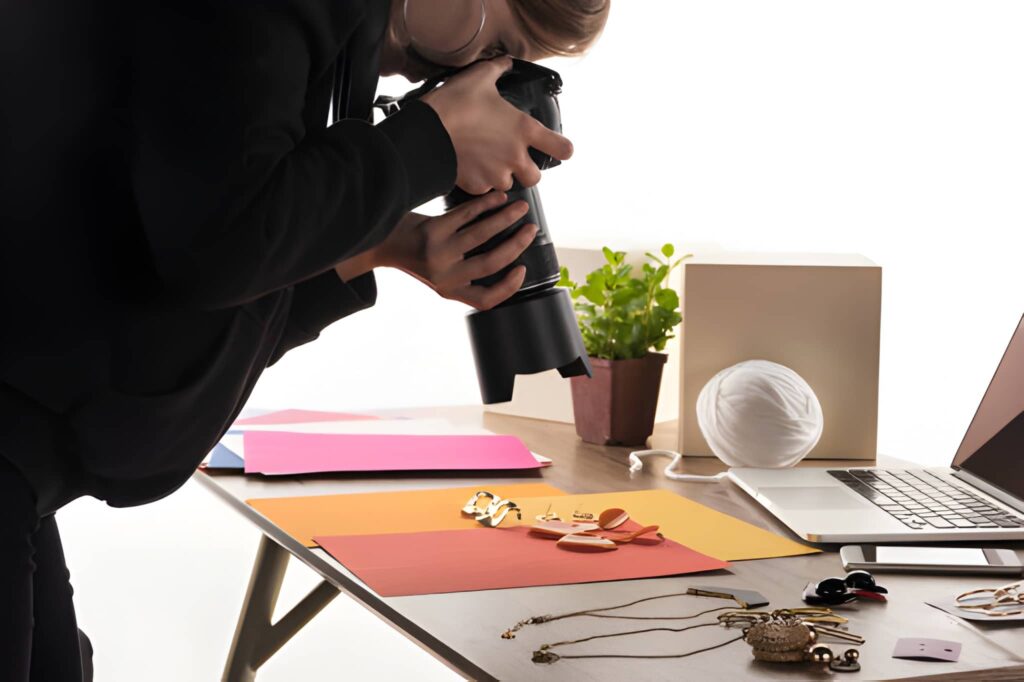
Styling Jewelry Products for Photography

Customers often prefer to see jewelry from different backgrounds and props. While starting with a white background is common, using props can add interest to your photos.
Reducing Reflection From Jewelry Photos

Jewelry is highly reflective, so you might catch a glimpse of yourself wearing it, which is something you don’t want. With jewelry, removing reflections requires a process of trial and error. To reduce reflections and direct more light toward your subject, place a piece of paper under your camera’s lens and all around it.
There’s no need for pricey setups. Additionally, use a tripod to raise your camera just a little bit so you’re shooting down at your product while using a diffused overhead light on each side to provide sufficient lighting without producing excessively reflective spots.
Top Jewelry Product Photography Mistakes You Should Avoid
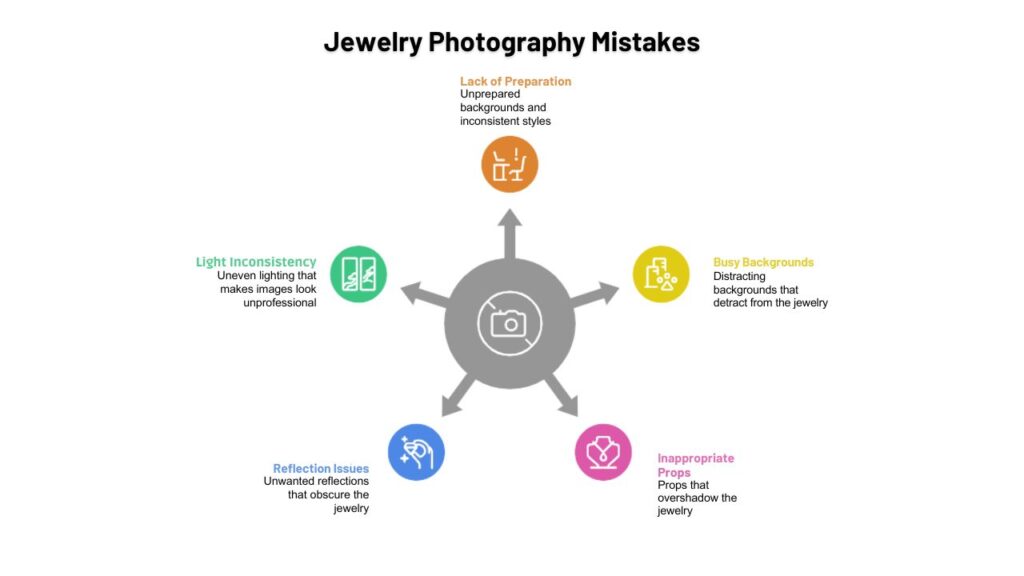
Effective jewelry product photography requires meticulous preparation and attention to detail. To enhance the appeal of your jewelry images and prevent common mistakes, consider the following:
Lack of preparation
Opt for clear and uncluttered backgrounds, often using white or grey to create a timeless look. Consistency in background style throughout your product images is key to maintaining a professional and distraction-free presentation.
Don’t Use Busy Backgrounds
Opt for clear and uncluttered backgrounds, often using white or grey to create a timeless look. Consistency in background style throughout your product images is key to maintaining a professional and distraction-free presentation.
Don’t Use Inappropriate Props
While props can enhance product photography, for small items like jewelry, the focus should remain on the product itself. If you do use props, ensure they complement and don’t overshadow the jewelry.
Avoid Reflection
Jewelry’s shine can create reflections. Experiment with angles and lighting to minimize or eliminate unwanted reflections. Zoom in to inspect and ensure the product appears free of distracting reflections.
Light Consistency
Achieve consistent lighting to avoid inconsistency in jewelry product images. Use soft, natural sunlight or studio lighting to prevent harsh lighting issues. Familiarize yourself with your camera’s manual mode for better control over lighting during photography.
Jewelry Product Photo Editing Procedure
The Need for Background Removal
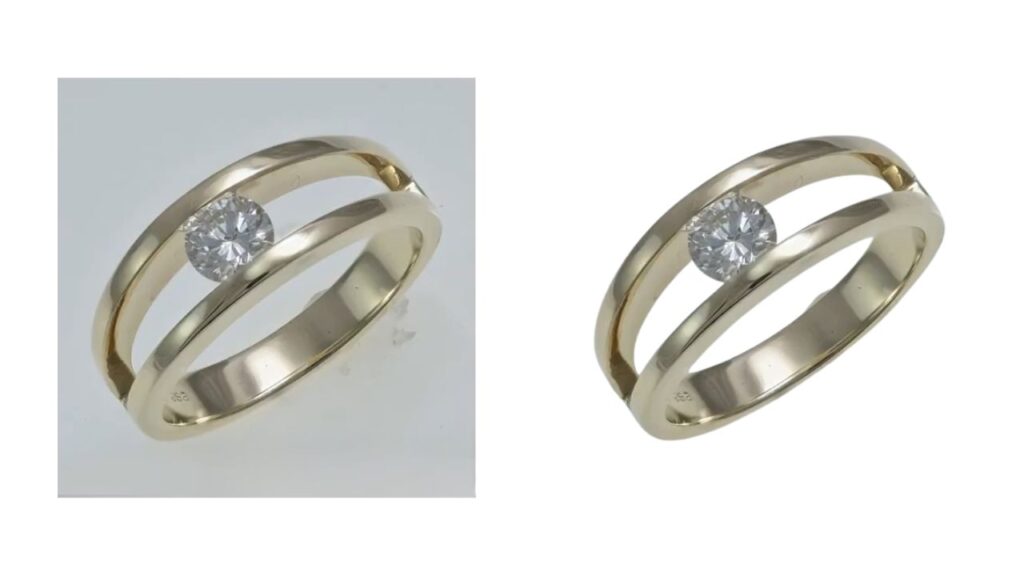
At times, it becomes evident that the backgrounds of jewelry photos need alteration to complement the products better. Background removal is a fundamental technique in jewelry image retouching.
Professional graphic designers employ tools like the pen tool, pen tablet, lasso, magic wand, magic eraser, background eraser, and quick selection tools to achieve this. The variety of jewelry products, ranging from basic to super complex, demands versatile approaches due to their differing shapes.
Enhancing Natural Shadows
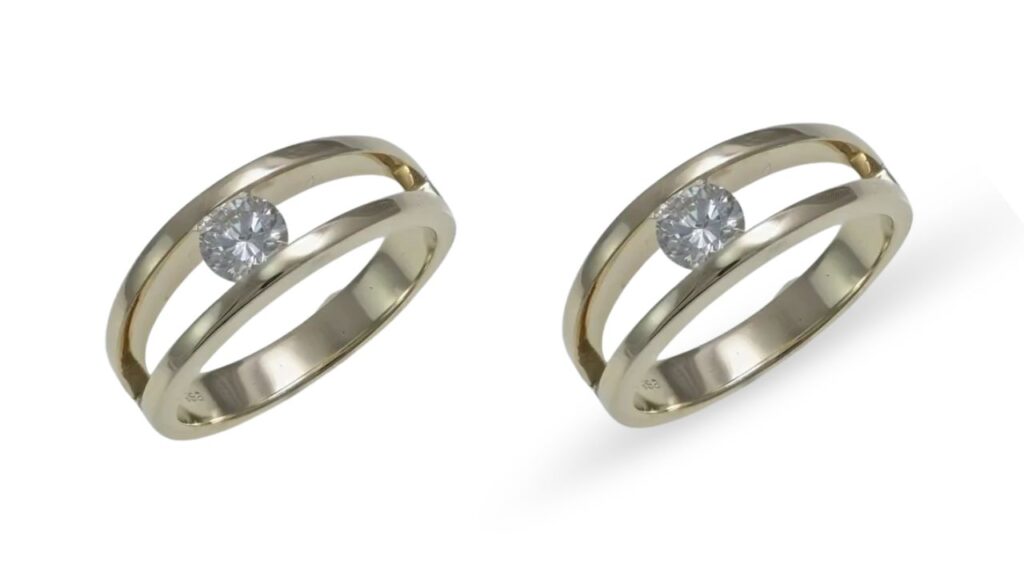
The jewelry product photos frequently appear dull and unattractive in an unprocessed state. The natural shadow of the products may not always be apparent due to a lack of light.
Even if the natural shadow is present, it might not have a pleasing appearance. Experts can add reflection shadow, drop shadow, natural shadow, and sometimes even the original shadow to jewelry items, depending on the specifications of the products.
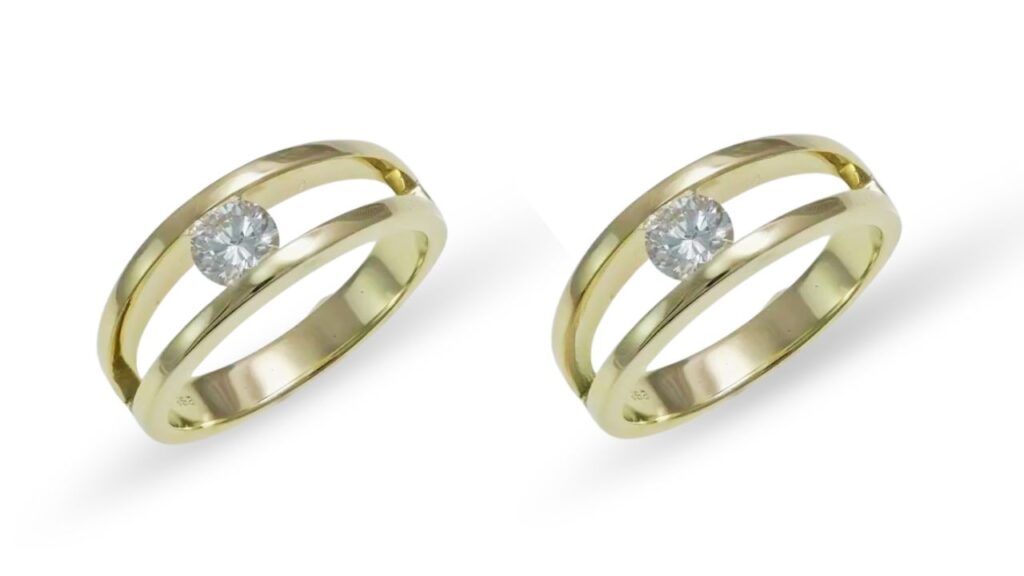
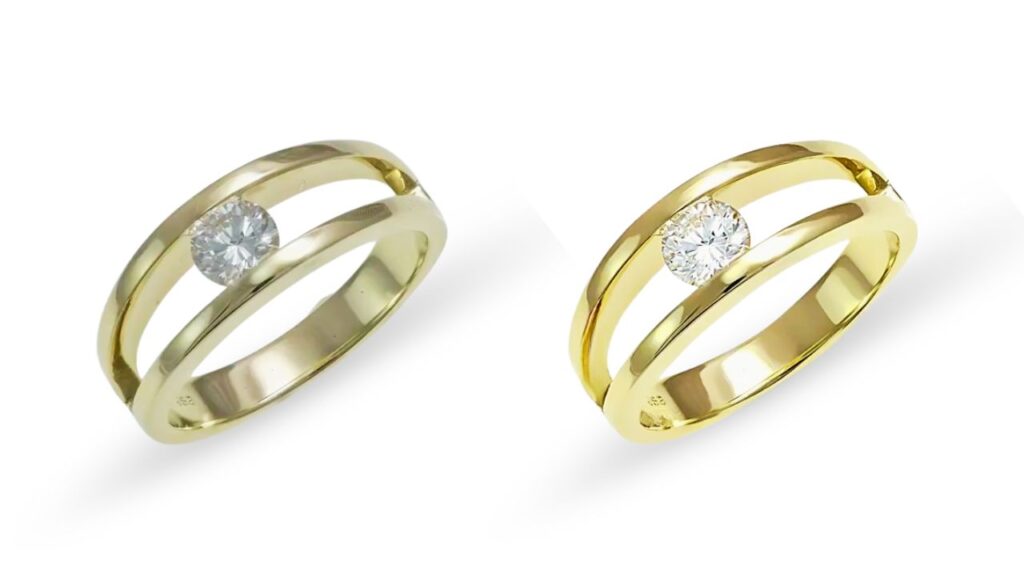
Restoring True Colors
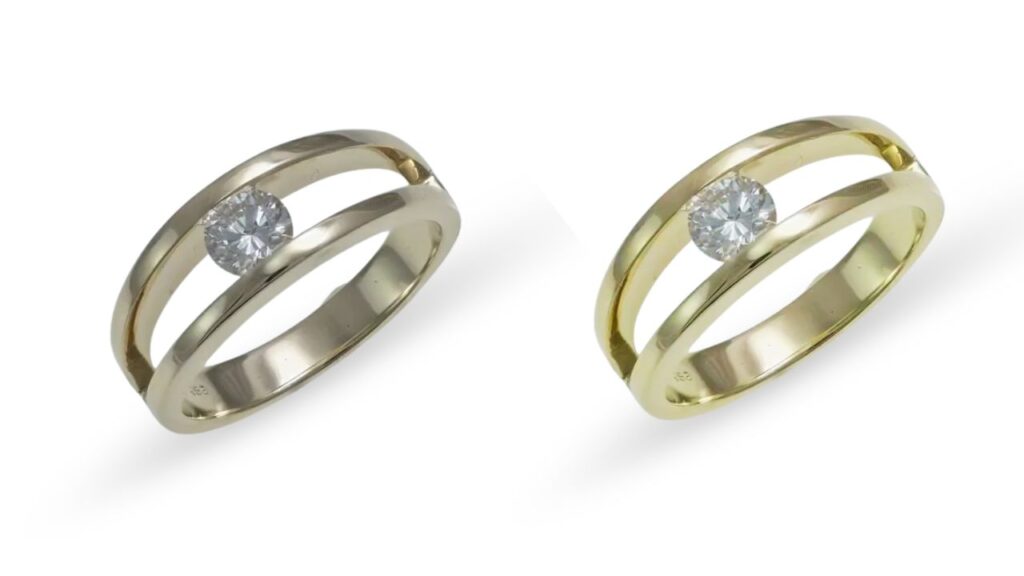
In most cases, the color output after taking a picture will be off due to camera settings, lighting effects, inappropriate positioning, etc.
However, without correcting the color, these cannot be used for either personal or professional reasons. The color correction technique can be used to adjust jewelry photos that lose appeal due to inappropriate color.
Skilled image editors correct the jewelry photos’ color using a combination of their talent and knowledge. They carry out their duties using a pen tablet, Adobe Photoshop, and Adobe Lightroom. They concentrate on white balance and appropriate image exposure as they work to produce the desired result.
Removing Unwanted Elements
Unintentionally, jewelry like rings, necklaces, bracelets, anklets, etc., is added to photographs along with noise and other unwanted items. These photographs also have dust, blemishes, and scratches that severely detract from the image’s original appearance.
Professional jewelry cleaning is essential to reclaiming these ornaments’ authentic appearance. The jewelry image is given a resplendent and elegant appearance by photo manipulators who remove unnecessary and distracting objects using programs like Adobe Photoshop or Lightroom.
Eliminating Flaws and Elevating Appeal
There are areas in every piece of jewelry that have flaws after the photographer takes the picture. High-quality jewelry image retouching is necessary to draw customers to buy your jewelry online. The jewelry image enhancers add professional touches and details to create a stunning appearance.
To make the images perfect and outstanding, they use the most up-to-date photo editing software to change the color, size, shape, and texture. Buyers consequently find these images alluring and spectacular and go on to effortlessly purchase these jewelry products from e-commerce websites.
Wrapping Up
Beautiful product photos are a feature shared by all the top online jewelry retailers. You can make images that sell and help you establish your brand by following the instructions in this tutorial.
As you gain experience in jewelry photography, you can incorporate additional elements and use your imagination when creating your images. You’ll quickly reap the rewards in the form of increased sales and income by investing in high-quality photos and properly showcasing your jewelry.