
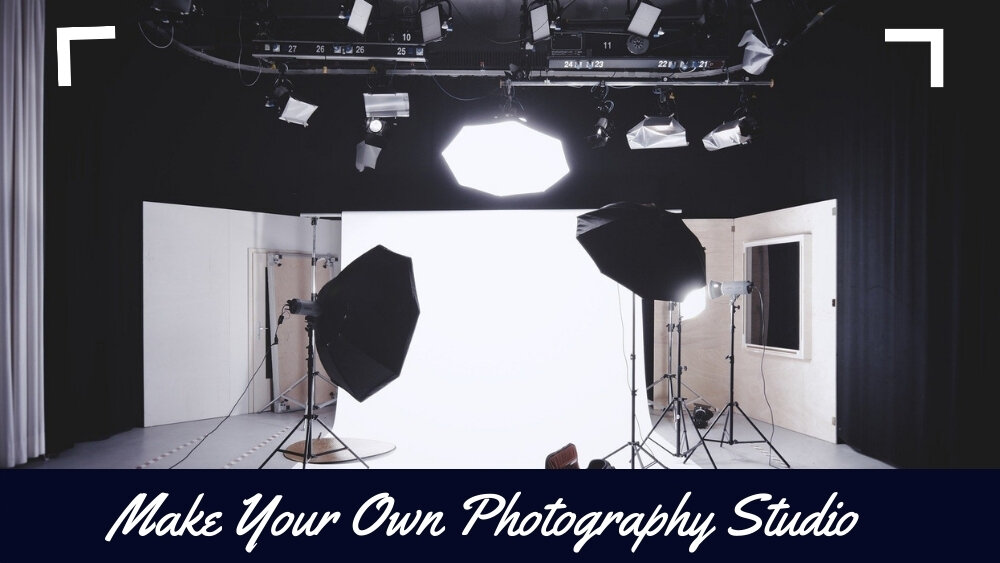
Regardless of portraits or editorial photography, every photographer wonders how to build a photography studio for themselves.
Unlike a DIY setup, a professional photography studio allows the opportunity to emphasize photos and capture the imagery with more grandeur.
It is challenging for photographers to excel at their work if they move around frequently and run from one area to another, or if they constantly chase from one appointment to another.
A few things to remember before setting up a photography studio:
- The first and most crucial point is to go out to only a few shops that sell photography equipment and purchase everything. There will be different models for every piece of equipment. I suggest doing some research according to your budget.
- Building a photography studio, take one step at a time, only purchasing the necessary instruments to start your project and move forward with the flow.
- Try to get everything on time. Give yourself and your studio time, and it will come together one at a time. You must find and discover yourself first to make your place feel unique.
A Swiss photographer, Robert Frank, once said,
“There is one thing the photograph must contain: the humanity of the moment.”
Photography is an art, and it requires space and ambiance to show its uniqueness to others.
In addition, photographers need to represent creativity through their work, and for that, a private room or a studio plays an important role.
10 Steps of a Perfect Photography Studio Set Up
The proper photography studio will enable the photographers to add more creativity, reflecting on the products.
Therefore, setting up a good photography studio is essential to capture an exclusive photoshoot with proper photography ideas for products and portraits.
Below are 10 steps and essential factors in building a photography studio.
1. Define Space Requirements

Before looking for a space, it is wise to ask oneself a few questions: What is the required studio size? How large or small should the room or area be?
In addition, make sure to consider other factors such as lighting setup, high ceilings, and cornered or uniform square rooms.
These questions will help the photographer filter their criteria and make choosing a space for their studio.
Selecting a photography studio space is often a difficult choice to make. First, it is essential to make sure that your clients are comfortable in the area.
It is not always about how large the studio is, but how welcome your clients feel when visiting your studio.
Professional photographers agreed that 1350 square feet is a good size for a professional photography studio setup.
Though I have seen many studios built on half the space of that, having extra space allows you to do things more comfortably.
For a functional photo studio setup, two primary areas are essential. Firstly, a product preparation space, which can double as an office, storage, makeup room, and bathroom.
Secondly, a dedicated product photo-shooting zone with versatile backdrops, high-quality lighting, tripods, and organized equipment storage.
On the other hand, it is crucial to remember that you will need a generous ceiling height.
The rule is to have at least 4 to five feet above the model or the lighting equipment. 10-12 feet is the ideal size.
2. Select Studio Location
It’s imperative to get the correct spot to set up your studio, particularly if you don’t have plans to move it at any point shortly.
The fundamental thought here is lighting, yet there are also other reasonable considerations like the size of the room, how frequently you’ll need to reassemble it, and so on.
Having access to natural light is a blessing. Accessibility and security are the other two important things to consider.
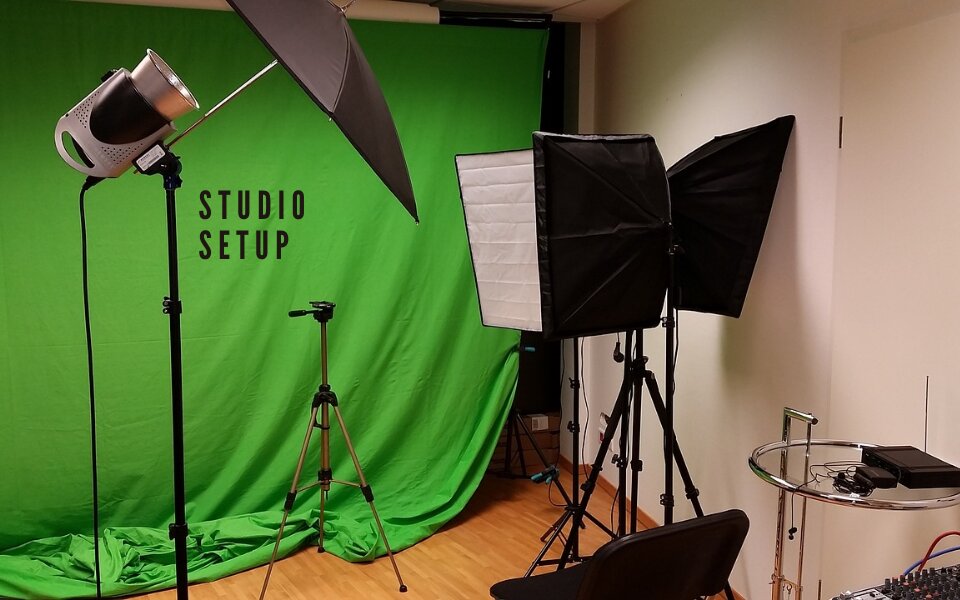
3. Pick Your Lighting Equipment Carefully

Connor Mollison, a famous commercial photographer, stated that –
“Lighting is what makes or breaks an image.”
Lights are the most important in the photography profession. However, which light is the correct light to utilize during a photography shoot?
Window light can go one of two different ways. It can either substantiate itself delicately and even, with no reason to utilize the flash on the camera focal point, or it could add extra ambient light, making it, at last, more difficult to control.
To get rid of window lights, get a simple blackout curtain and fix them around the windows.
Speedlights are lights that can be moved around the studio. These lights are small, and they’re known to give close consideration to the zones you point them in.
Studio strobes are powerful spotlights that should be connected to a divider. They might be costly, and you will be unable to manage their cost from the outset, yet they’re worth the venture.
4. Set up a Photoshopping Environment with Backdrops

The secondary and most crucial part that people notice in an image is the background.
While there are endless backdrops to add to your home studio, the two vital essentials are a white background and a non-white background.
Keep in mind that almost all businesses and brands, especially niche labels that need fashion photography, use white backgrounds for product photography.
Furthermore, eCommerce sites such as Alibaba, Amazon, and numerous other third-party online business marketplaces even necessitate pictures with a white backdrop.
However, when it comes to non-white backdrops, choosing your backgrounds can prove to be quite tricky. Hence, having the proper knowledge and refined palate is highly crucial.
While white sets are the go-to for eCommerce photography, sometimes, those just don’t do the job depending on the product, brand, and context.
Besides, having a non-white plain background usually gives off a high-end or editorial sequel feel to it.
Backdrops will give your studio an exceptionally professional and clean look. Anything is possible with these foundations.
If you’re attempting a simple look, it is wise to choose neutral-hued backdrops or neutral-colored backdrops.
You can buy gelled lights and spring them off the neutral backgrounds, as these lights will change the overall shape and color of the fabric.
You can utilize Photoshop to make various looks on your sets, too.
There are consistently beautiful scenes you can buy as backdrops. However, these may look fake, so be cautious about what you take to your studio.
Wall mounts are convenient to have around, as well. They’ll allow you to hold up a few rolls of paper in a compact unit; take out the one you need to utilize, then set it aside when you’re done.
5. Pick Some Light Modifiers to Achieve Different Moods

Light modifiers are set over the flash to alter or modify the light emerging from the camera. The following light modifier equipment is generally utilized in photography:
- Umbrellas spread light; they attempt to light multiple zones overall quite well.
- Softbox modifiers give you more control over where the light is shining. These can be appended to speed lights and studio strobes.
- Continuous lighting kit
There are a few other light modifiers that you might consider having:
- Reflectors
- Grids
- Gels
- Flags
- Reflectors: Exactly what its namesake suggests it does, this tool helps to reflect light to the shot by letting light rays rebound off it. 5-in-1 glasses provide various white, black, silver, gold, and see-through options.
- Grids: These modifiers move the light in close bars, turning the direction of light to a specific region.
- Gels: These are translucent sheets that change the shading and colors of backgrounds and pictures to give a special effect. Gels are of many sizes, depending on the size of the shot, and are affordable.
- Flags: Their main job is to minimize or completely stop stray light beams that might ruin the images. Anything that blocks light can be used as a flag, from curtains and cardboard to the black opposite side reflectors.
Remember that the bigger the light modifier is, the milder (however, more fragile).
6. Buy Props to Make Your Photos Interesting and Fun
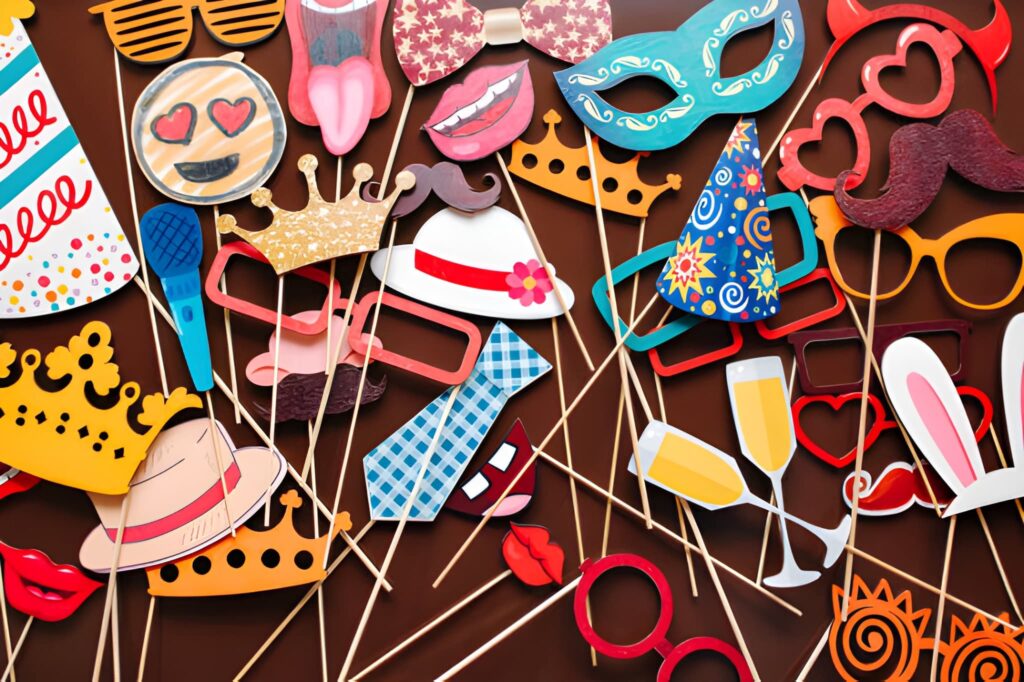
Anything from clothes to accessories or from furniture to background can be counted as a prop. It makes a scene look hectic, and it can also bring out the emotions behind the photographs.
Buying expensive props is unnecessary to make your photo look extraordinary. Instead, try your best to use things in different ways. You likely have something around the house to prop your photography products.
“Don’t shoot your product straight-on. Find a unique way to angle your product. Maybe it is leaning on something or slightly tipped.” – Olson
7. Pick Tripods for Indoor and Outdoor Photoshoot

An essential piece of equipment for photographers, serving to stabilize the camera and prevent unwanted movement.
Especially when a photographer would like to take slow shutter speeds or use lenses with extremely long focal lengths. Portrait photography must use this tool for better and sharper photos.
Tripods give stability and more sharpness in the photo. Also, for better composition, a tripod helps to deliver stable photos.
A professional studio must have a tripod for delivering professional-looking photos, even if you have a home photography studio setup or any kind of studio.
In both still and motion photography, a tripod is a daily driver for every photographer.
When you choose a tripod, pick carbon fiber as it’s the lightest and strongest material used for tripod legs.
8. Decorate Your Studio With Furniture

When furnishing office or waiting spaces, choose comfortable and stylish furniture. Consider adding plush couches, chairs, and a coffee table for a cozy touch.
Add some plants to freshen up the space and use them as props for certain photoshoots.
Consider incorporating artistic elements like sculptures, wall decals, or unique light fixtures that align with your studio’s theme or your style.
A good sound system with soothing background music can create a relaxed atmosphere for your clients.
Create a dedicated area where clients can preview their photos on a large screen. Because this will improve client experiences and show your professionalism.
9. Basic Gear Setup for a Mini Photography Studio
There are vast loads of studio gear to look over, and it’s hard to tell which ones to purchase first. So what equipment do you need for a photography studio?
Try not to fixate on buying all the stuff as you begin assembling your studio. It’s incredible how minimal the gear you need for most photoshoots is.
Basic gear setup for a small home studio:
- Photography Lighting Setup
- Flash Trigger
- Lighting modifiers
- Light stands
- Background/ Backdrops
- Tripod
Other optional gears:
- Step ladders
- Temperature control equipment
- Extensions and power strips
- Furniture
In case you are interested, a shooting commercial photo here is the guide to making a product photography studio.
10. How much does it cost to assemble a photography studio?
Regarding how to assemble a photography studio, you need to ensure that your photography gear addresses your needs.
It is always best to try not to spend a ton of cash on a light that you won’t ever utilize.
Photographer’s Equipment:
| Item | Cost | Quantity | Total Cost |
|---|---|---|---|
| Camera + Lens Kit | $4,500.00 | 1 | $4,500.00 |
| Tripod | $700.00 | 1 | $700.00 |
| Sync (4x) | $100.00 | 4 | $400.00 |
| Cable | $60.00 | 1 | $60.00 |
| PC | $1,600.00 | 1 | $1,600.00 |
| Strobe (3x) | $1,400.00 | 3 | $4,200.00 |
| Softbox (2x) | $600.00 | 2 | $1,200.00 |
| Softbox | $450.00 | 1 | $450.00 |
| C-Stand (3x) | $200.00 | 3 | $600.00 |
| Backdrop | $60.00 | 1 | $60.00 |
| Backdrop Hold System | $70.00 | 1 | $70.00 |
| Hooks for Backdrop | $20.00 | 1 | $20.00 |
| Photo Table | $850.00 | 1 | $850.00 |
| Accessories | $350.00 | – | $350.00 |
| Software: Capture One Pro 12 | $350.00 | – | $350.00 |
| Mannequin/Male | $650.00 | 1 | $650.00 |
| Mannequin/Female | $800.00 | 1 | $800.00 |
| Desk | $220.00 | 1 | $220.00 |
| Chair | $70.00 | 1 | $70.00 |
| Stylish Furniture (Sofa/Couch) | $1,200.00 | 1 | $1,200.00 |
| Guest Chairs | $50.00 | 3 | $150.00 |
| Total for Photographer’s Equipment | $19,370.00 |
Retoucher’s Equipment:
| Item | Cost | Quantity | Total Cost |
|---|---|---|---|
| PC | $1,600.00 | 1 | $1,600.00 |
| Tablet | $350.00 | 1 | $350.00 |
| Software: Adobe Photoshop CC (Yearly) | $240.00 | 1 | $240.00 |
| Desk | $220.00 | 1 | $220.00 |
| Chair | $70.00 | 1 | $70.00 |
| Total for Retoucher’s Equipment | $2,480.00 |
Total for Entire Studio Cost: $21,850.00 (Approximate)
At UK Clipping Path (UCP), we help reduce photo editing costs through client-focused services, efficiency, passion, affordability, and data security.
Their commitment to excellence helps businesses achieve visual appeal and accelerate growth.
Final Words:
Making and building your studio might seem frightening, but on the other hand, it’s satisfying, considering it’ll end up being your own! Start by choosing the space you need to work on, researching, and going to different stores instead of purchasing all the materials from one store.
The more attractive the photographs are, the more they encourage buyers and clients to hire the photographer. It will increase their chances in the industry, forming a ladder for future success.
Frequently Asked Questions (FAQs)
Is it possible to have a small studio space at home?
A home photography studio is a comfortable way to do photography and can help you explore your creativity. It’s possible to have a small photography studio space at home. A proper plan is mandatory. With efficient use of space, you can create a functional and productive studio, even in a small area.
How do I set up a photography studio at home?
Go slowly and set up all arrangements in a proper way. To set up a photography studio at home, you will need to designate a space, invest in lighting equipment, set up a backdrop, and arrange your camera and other necessary gear.
What are the basic gear requirements for setting up a home photography studio?
The basic gear setup for a home photography studio includes a camera, lenses, lighting equipment (such as studio lights or flash units), a tripod, a backdrop, and light modifiers.
Should I invest in studio lights?
Studio lights can significantly improve the quality of your home photography studio. While natural light can be used, investing in studio lights allows for better control over the lighting conditions and desired effects.
What is the difference between a professional photography studio and a home photo studio?
A photography studio typically refers to a professional setup, including dedicated space and equipment, while a home photo studio is typically a smaller-scale setup within a residential setting.