

In this tutorial, we will learn how to mask an image in Photoshop. It is very common for you to ask yourself, “How do I start masking an image in Photoshop?”
Don’t worry, we are here to help you out with the easiest Photoshop masking tutorial you can get! First, introduce what a clipping mask is and why it is crucial to learn how to do it in an image.
What is a Clipping Mask in Photoshop?
In Photoshop, clipping masks are a way to control the visibility of layers in an image file.
To control the visibility of one layer, a clipping mask is used to modify the transparency and content of another layer, unlike a layer mask, where black and white hide and show various parts of the layer.
Two layers are required to create a clipping mask in Photoshop.
The bottom layer controls the visibility of the upper layer, which means the layer on the bottom is considered the mask, and the upper layer is the clipped layer to the mask layer.
Although it might seem a little confusing or complicated, it is absolutely easy to create a clipping mask in Photoshop.
How to Mask an Image in Photoshop
The steps will help you understand and guide you on how to mask in Photoshop.
Step 1: Open Photoshop and browse the image to edit


Launch Photoshop and open the image by File> Open > Select the photo from the folder > Click Open.
Step 2: Make a mask with the pen tool in Photoshop

Select the pen tool to make a clipping path from the main toolbar, usually on the left side of the screen, as shown in the image below.
Step 3: Create a new path

Select a new path, as shown in the image below, before using the pen tool.
Step 4: Create a clipping path

On the image, start creating a clipping path around the main subject and draw the path line very precisely and carefully.
Step 5: Done with clipping path

While drawing a clipping path around the product, be careful with getting the details and being more careful with the edges and corners.
Step 6: Select by clicking Ctrl + Enter

Use ‘Ctrl + Enter’ to select the clipping path that you have just created.
Step 7: Use the feather option for smoothness

After creating and selecting the clipping path, apply 0.5 feathers to the image by choosing> Modify > Feather or using the keyboard shortcut Shift + F6.
It will help you with the smoothness of the path that you have just created using the pen tool.
Step 8: Select ‘Layer From Background’
Select ‘Layer From Background’ and make a new layer, as shown in the image below.


Step 9: Click ‘Mask’ and create a clipping mask
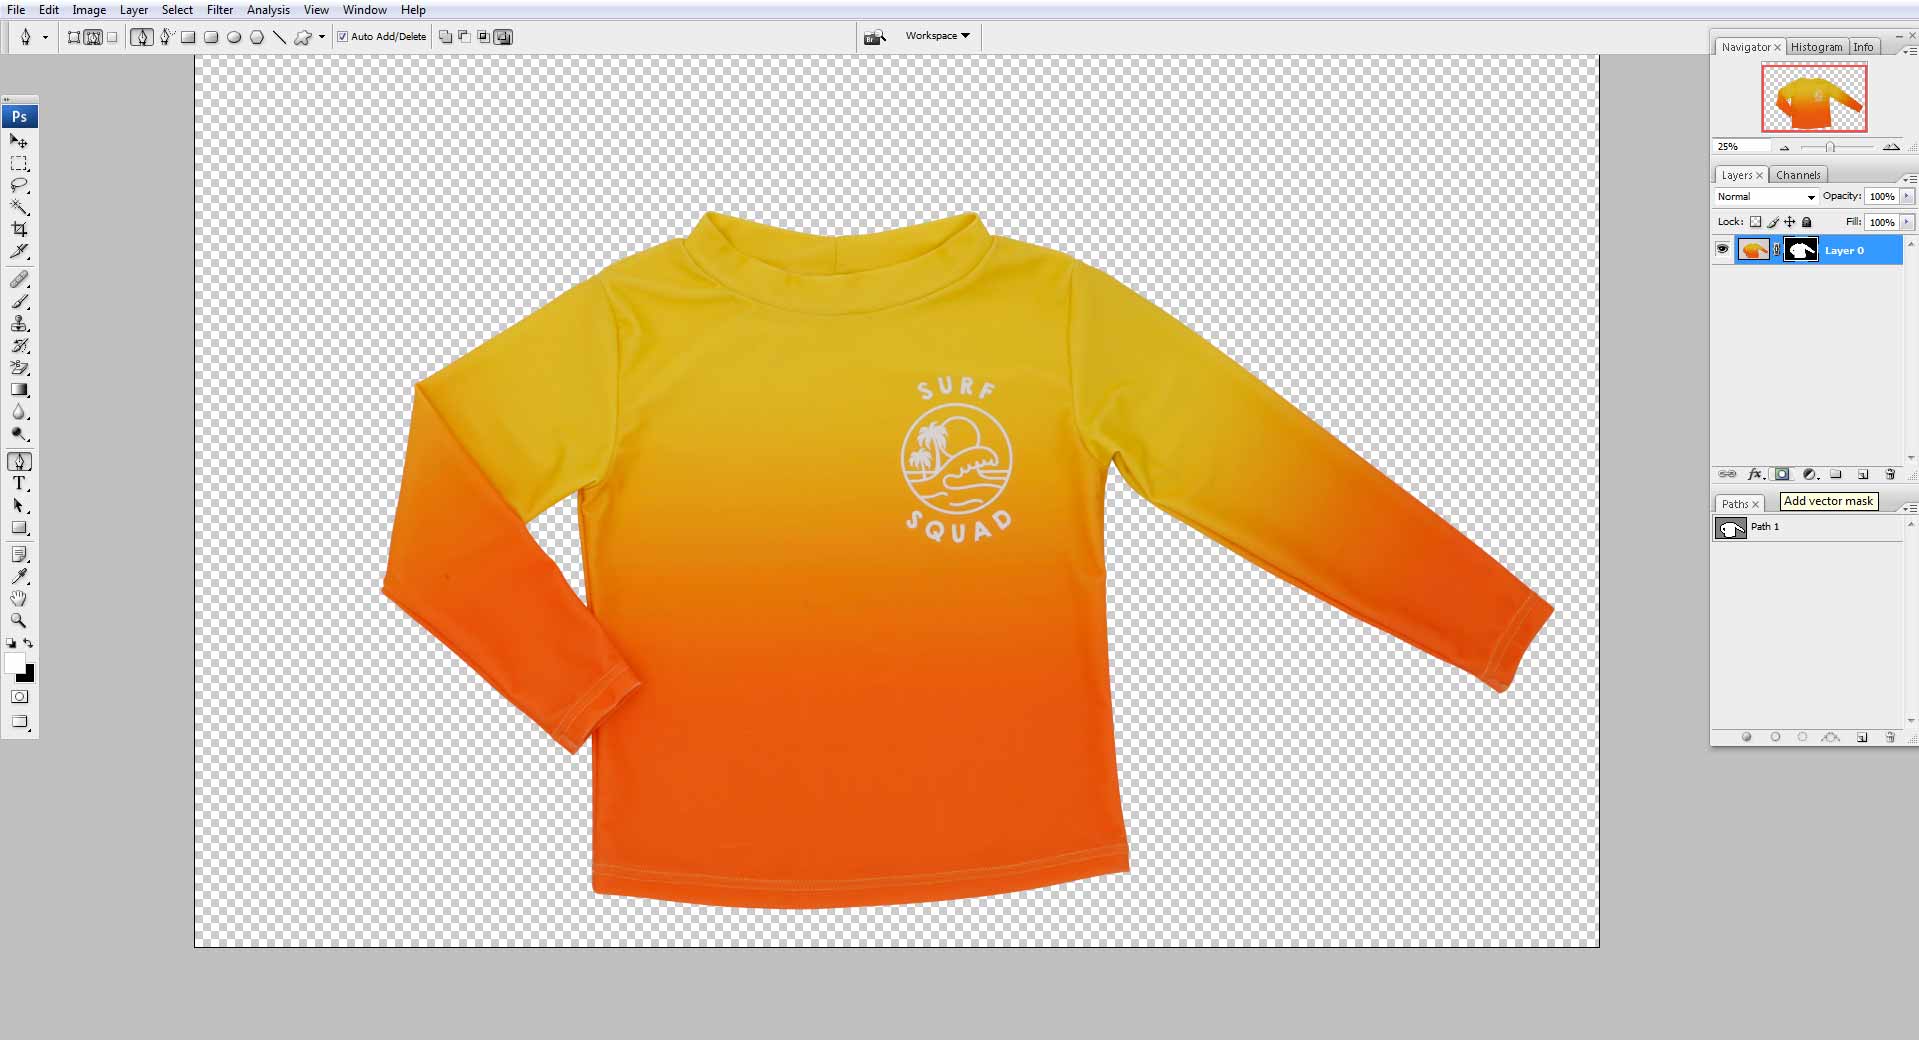
Select the mask option and create the clipping mask for your image. Finally, your task to create a clipping mask in Photoshop is completed.
Conclusion
Photoshop is a great software to edit and manipulate your images for better representation and visualization.
Now, you know how to mask in Photoshop. It is important in many aspects.
Learning how to mask in Photoshop will help you work with different backgrounds, allowing you to blend your photos and do excellent edits for your e-commerce products.
Many large eCommerce and online businesses get their product photographs edited through Photoshop with different elements of the software.
To make your product images stand out and get buyers’ attention to increase your sales, learning Photoshop skills will help you in various ways.
To get your image editing instantly, you can make use of our tutorials.
However, Photoshop is an advanced software. Therefore, it might take a little bit of time to get used to the tools and techniques of the application.
It is always recommended to seek a professional’s help if you need it because efficiency is the key to success.
It is essential to be proficient in image masking services and post-processing of your product image to continue sales.