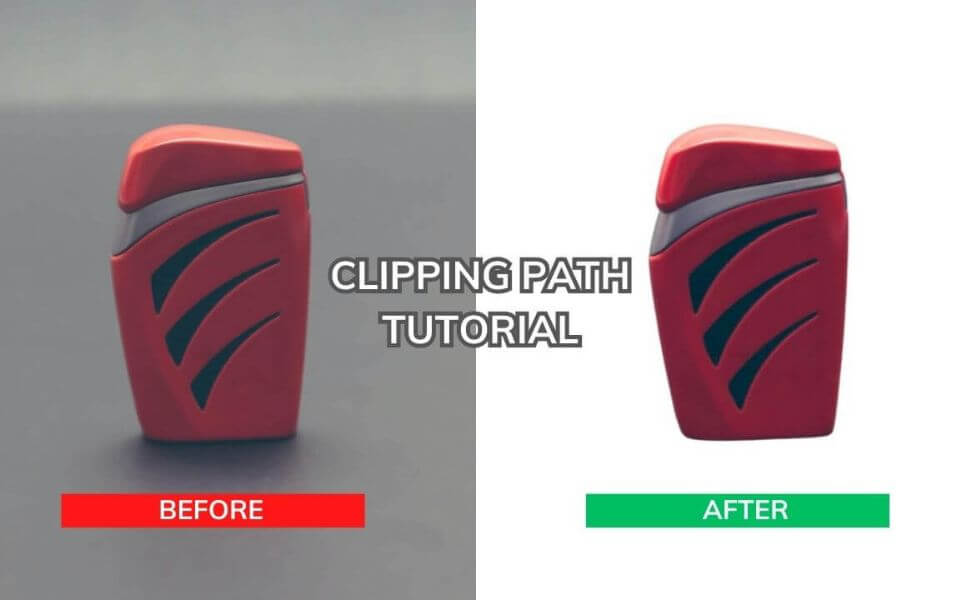
Creating a clipping path in Photoshop is a useful technique to isolate an object from the background. This is a step-by-step tutorial on drawing clipping paths using a Photoshop pen tool. Photo editors use this technique to manipulate the background or remove, or cut out a solid object from the image.
We know a clipping path is a closed vector path or an individual shape traced around the image in Adobe Photoshop and Illustrator software. This can be done by Adobe InDesign but sometimes for a beginner, it’s much harder to execute so we will use Photoshop software to make life easier. There’s no better software for clipping techniques than ‘Photoshop CC’. The process of removing the background is significantly simpler and easier with Photoshop.
In this article, I am going to explain how you can create a clipping path and show easy step-by-step procedures for beginners. Let’s start learning…
Here are the Steps on How to Create a Clipping Path in Photoshop
Follow this exeat tutorial step-by-step for drawing the path like a professional. In this tutorial, we use Photoshop cc 2023, however, you can pick whatever PS version you have.
Step 1: Upload your Image After Launching Adobe Photoshop
After you successfully open Photoshop cc, go to File > Open or Ctrl+O. Browse through your photos and upload the image or PSD file that you want to edit. Here we’ll use a gold ring for example.

Step 2: Select the Pen Tool
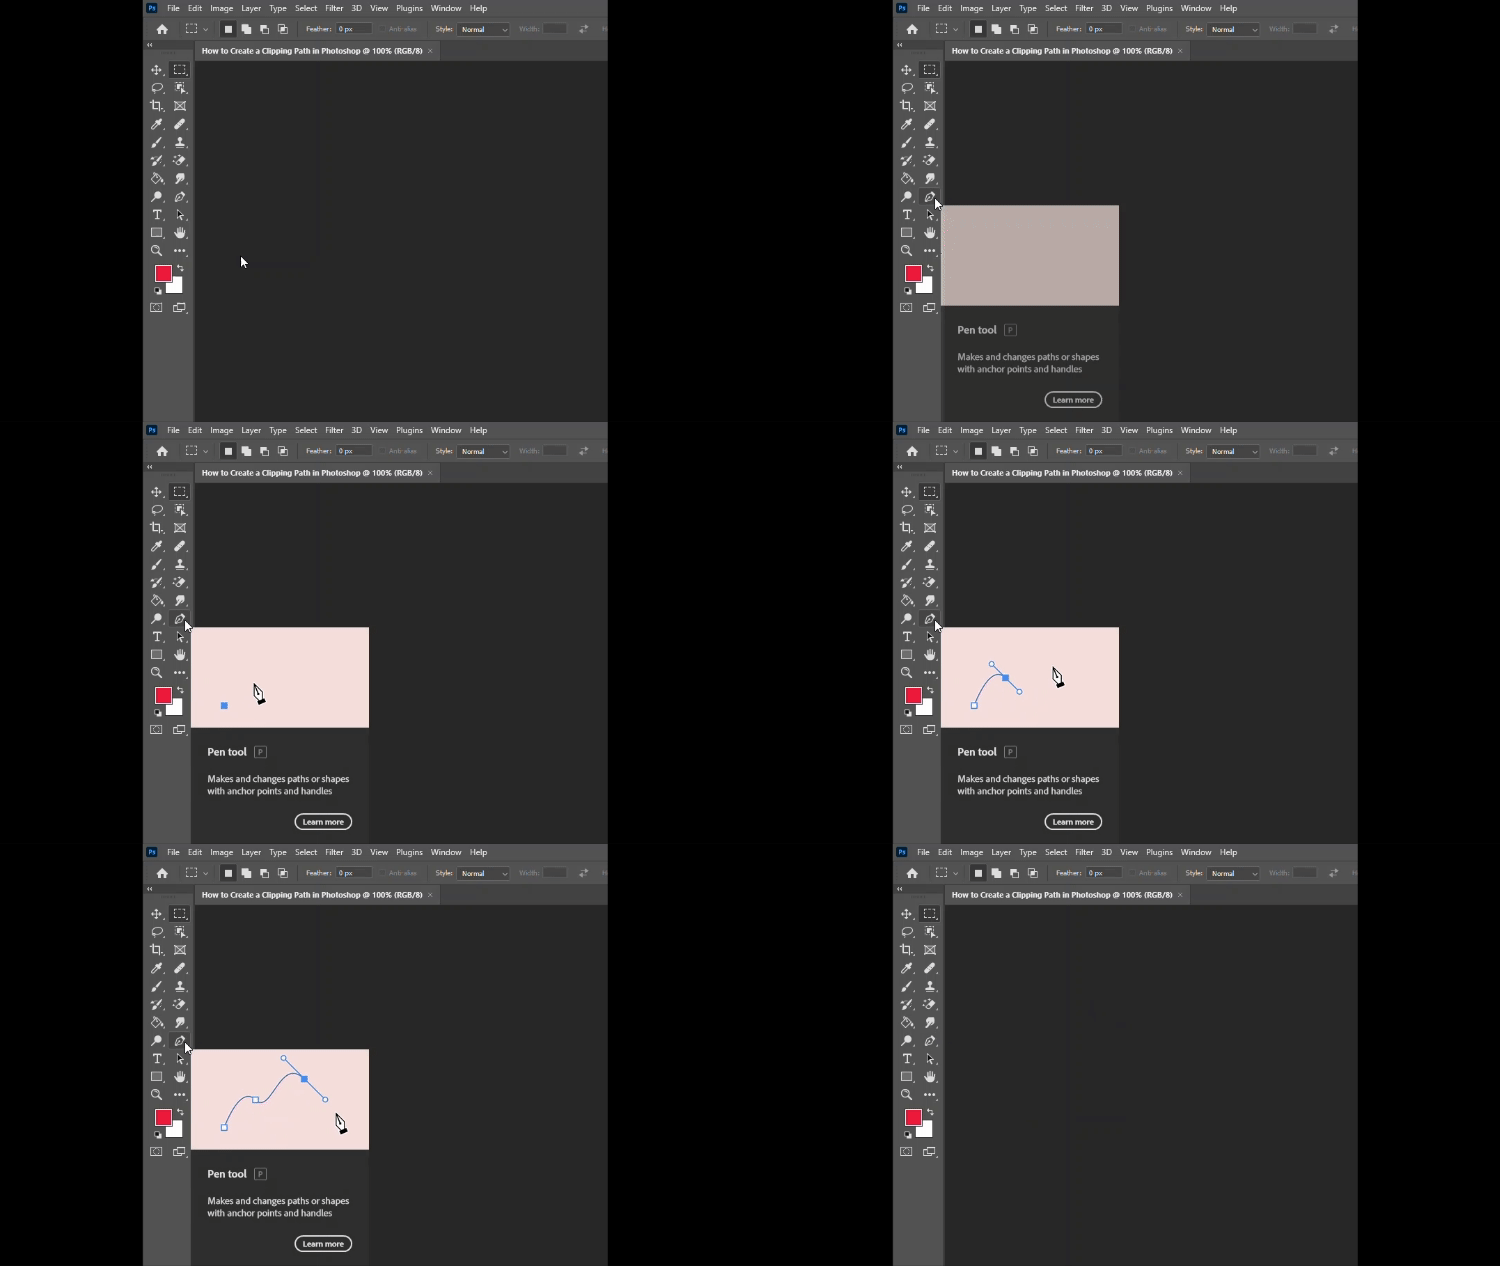
Go to the main toolbar on the left, as shown in the image below, and select the Photoshop pen tool or Freeform Pen tool. To get the best results from this tool, a good amount of practice is required. After that zoom in on the subject you want to clip and carefully trace its outline using the Pen tool.

Step 3: Select a New Path and Adjust the Clipping Path Settings
Select a new path as shown in the image below to create a clipping of the image. If you cannot find the path option automatically, you can select the path from Windows from the above menu. Leave the flatness setting blank then click OK.

Step 4: Start Creating Clipping Path
Click on the edge of the object you want to clip to create your first anchor point. This marks the starting point of your path.

Step 5: Draw a clipping path and Create Curves and Angles
Then, carefully create an anchor point and draw a path around the subject you want to select from the image. Make sure that the path is accurately clipped, and spending on the object’s shape time to draw a clipping path might vary. To create curves, click and drag the Pen Tool after placing an anchor point. Adjust the direction and length of the control handles to shape the curve.
Keep clicking and adding anchor points along the object’s outline, following its shape closely. Adjust control handles as needed to maintain the desired curvature.

Step 6: Use ‘Ctrl + Enter’ for selection
For selecting the clipping path that you have created, use the shortcut ‘ Ctrl + Enter ‘.

Step 7: Use ‘Select > Modify > Feather’ or ‘Shift+F6’ for Smoothness
Apply 0.5 feathers for smoother edges. Go to ‘select from the above menu, then ‘modify,’ and then select ‘feather.’ You can also use the shortcut Shift + F6.

Step 8: Convert Path to Selection:
Right-click on the path, then choose “Make Selection” from the context menu.
In the “Make Selection” dialog box, you can set the feather radius (usually set to 0 for a sharp edge) and click “OK.” Make a copy of the background layer from the layer panel and copy the layer mask to mask the image.

Step 9: Save the Path
In the Paths panel (if it’s not visible, go to “Window” > “Paths” to open it), you’ll see your path listed as “Work Path.” Right-click on the “Work Path,” then choose “Save Path.” Name the path and click “OK.” This will save your path for future use.
You can now use this clipping path when placing your image into other applications like Adobe InDesign or when exporting it.

Watch the full videos For Best Processes
Why Clipping Path is Important?
- it is a powerful technique for image manipulation such as background removal, object cut-out, or making transparent backgrounds. This resulting image can be remarkably improved in terms of its overall appeal.
- It allows one to make pixel pixel-perfect using the selection pen tool in Photoshop. This gives superior advantages over any other selection tools like the magic wand tool.
- Besides, you can create multiple Photoshop clipping paths in a photo. And also modify content by mastering image manipulation.
- Tracing or making a selection path creation is faster and provides more accurate results.
- Graphic designers can also utilize this technique to remove logo backgrounds or clipping masks.
- You can also save your clipping path in Photoshop EPS, PSD, TIFF, and also in JPG.
- For e-commerce product images this is an essential photo manipulation technique to make the white background.
- Clipping path is in high demand for different industries. Most of the sectors include the fashion industry, electronic companies, toy companies, jewelry businesses, marketing companies, architecture, and interior design businesses.
If you want a reliable clipping path service, contact us and get the best photo editing service for your business. We give priority to providing the best clipping path service and never compromise on quality.


