
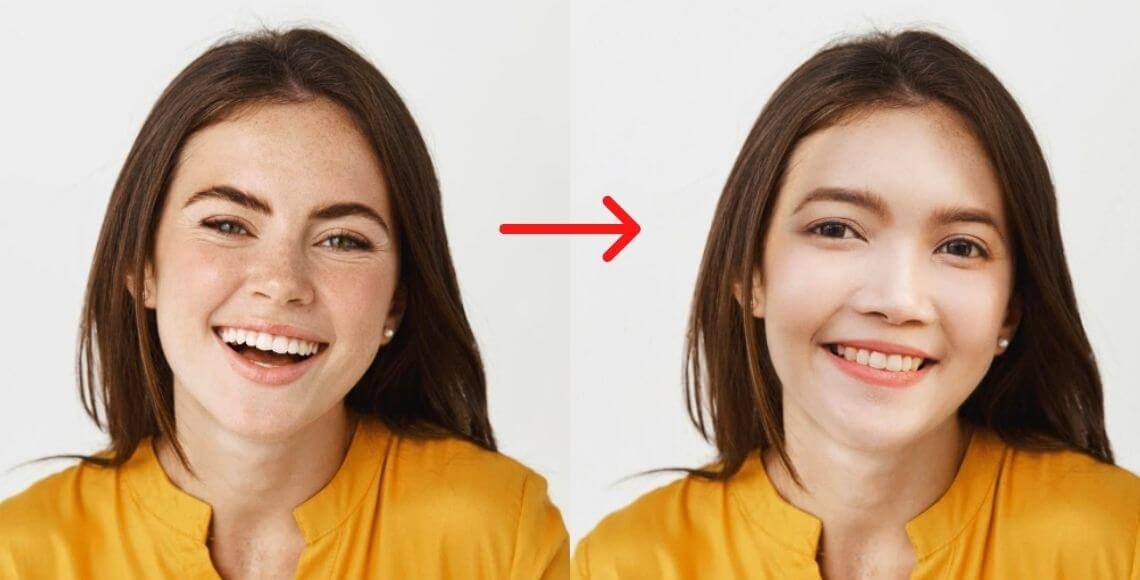
Want to swap faces in Photoshop?
Adobe Photoshop offers a myriad of possibilities that one can’t ignore. One of its many use cases includes the ability to replace one face with another – a task that can sometimes seem difficult to beginners.
Replacing a face in Photoshop is a useful skill for fun visual pranks, touch-ups, or professional editing.
However, with the right guidance and patience, this photo editing task can be accomplished with ease.
This tutorial will guide you through each step to perform a face swap in Photoshop.
Step-by-step guide on how to swap faces in Photoshop
To start your project, choose two photos carefully. Consider these factors:
- Ensure both images have the same size and resolution. If not, the face you want to swap should be larger to avoid pixelation.
- Make sure all subjects face the same direction for a natural swap.
- Keep the lighting similar for a more convincing result.
- Begin with faces that have fewer intricate details and avoid portraits with flowing hair or complex elements.
Step 1: Open your image files in Photoshop and make any necessary adjustments.
Irrespective of having two images or more, the swap faces in Photoshop begins by deciding on the face you want to change.
The first step requires using the selection tool to isolate the face and body.
Choose your preferred two photos of someone’s face. Bear in mind that the new face’s size, angles, and lighting must ideally match the original image to make the face swap in Photoshop believable. This careful choice of images is essential.
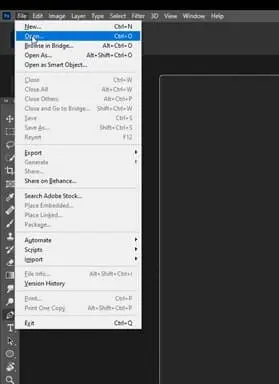
Upload the two headshots (two faces) in Adobe Photoshop by selecting File> Open from the drop-down menu after clicking on the File button.
It will open two new windows where you can choose whatever images you want to use.
Holding down the CTRL key (COMMAND on a Mac) while clicking the second File will allow you to pick both files.
Open both the pictures in Photoshop at the same time. Alternatively, you may choose to retain them as tabs, which is the standard view.
Or you can choose to arrange them in different windows if you like to see them side by side. The latter perspective is advantageous since it ensures that the faces match this type of job.
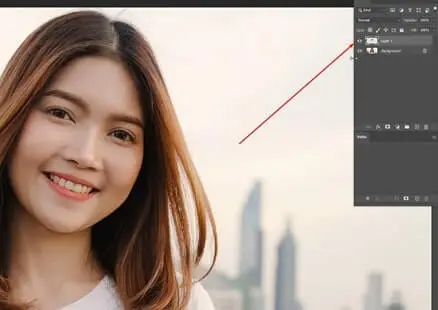
Step 2: Choose the Lasso tool
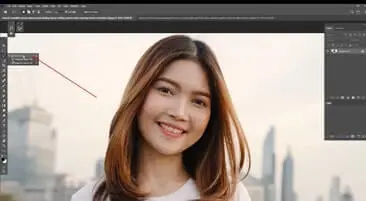
To isolate the face layer, you’ll need to select the lasso tool, then click and drag around the face onto another body.
Please don’t forget to mark the eye icon on the layers panel to make the layer visible.
Please select the file tab that corresponds to the face you want to appear in the final shot by clicking on it.
Press “L” on the keyboard to activate the Lasso Tool, or choose the tool from the toolbar. Precisely draw around the brows, nose, and lips using the tool.
You should choose only the most prominent features of the face so that you may exchange faces and achieve a more realistic result.
The area surrounding it will be highlighted with a flashing dotted line when you’re completed.
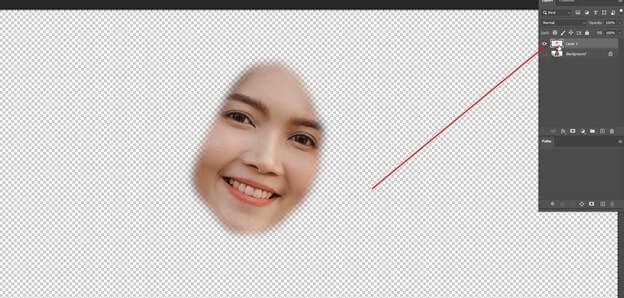
Step 3: Make a Clipping Path of the face

The background layer plays a crucial role in the face swap technique.
The background layer correlates to the body layer on the face you want to swap onto the new face, adding a natural blend to the final output.
While clicking the thumbnail of the face layer, hold down CTRL (COMMAND on Mac). On all layers, this will choose the face’s form.
Need help? Read our article on how to create ca lipping path in Photoshop!
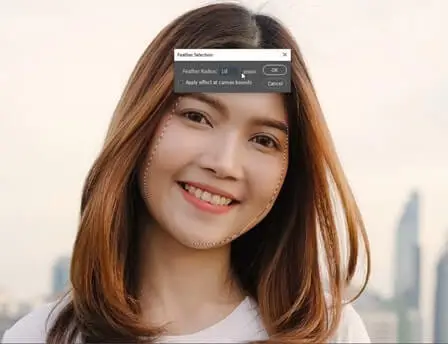
Step 4: Select the face area
After you are done with the clipping path, make sure to select the face area and add 10 pixels to the feather selection.
Step 5: Create a new layer
Create a new layer. Choose Layer > New > Layer. You can also choose a new layer from the layers menu.
Step 6: Duplicate the clipping path layer
Duplicate the layer by selecting CTRL+A on your keyboard or right-clicking on the existing layer to avail of the duplicate option.
Step 7: Paste the cutout layer in the main picture
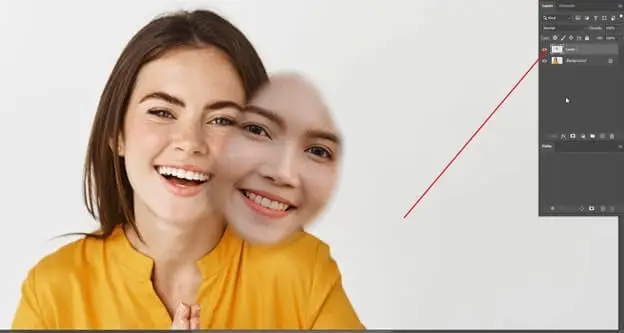
In your active layer in the layers panel, press ‘Ctrl’ to copy and paste the face.
Use the brush tool along with the layer mask for resizing and accurately positioning the new face onto another body.
In the main image, paste the cutout layer carefully so that it seems natural.
Step 8: Adjust the layer that you have pasted

Adjust the layer on the overlap according to the first image to make it seem natural. Layer mask plays a prime role in achieving seamless tones and colors to swap faces in Photoshop.
It enables you to blend layers, which brings about a natural look by merging the pixel colors and qualities of the two faces involved.
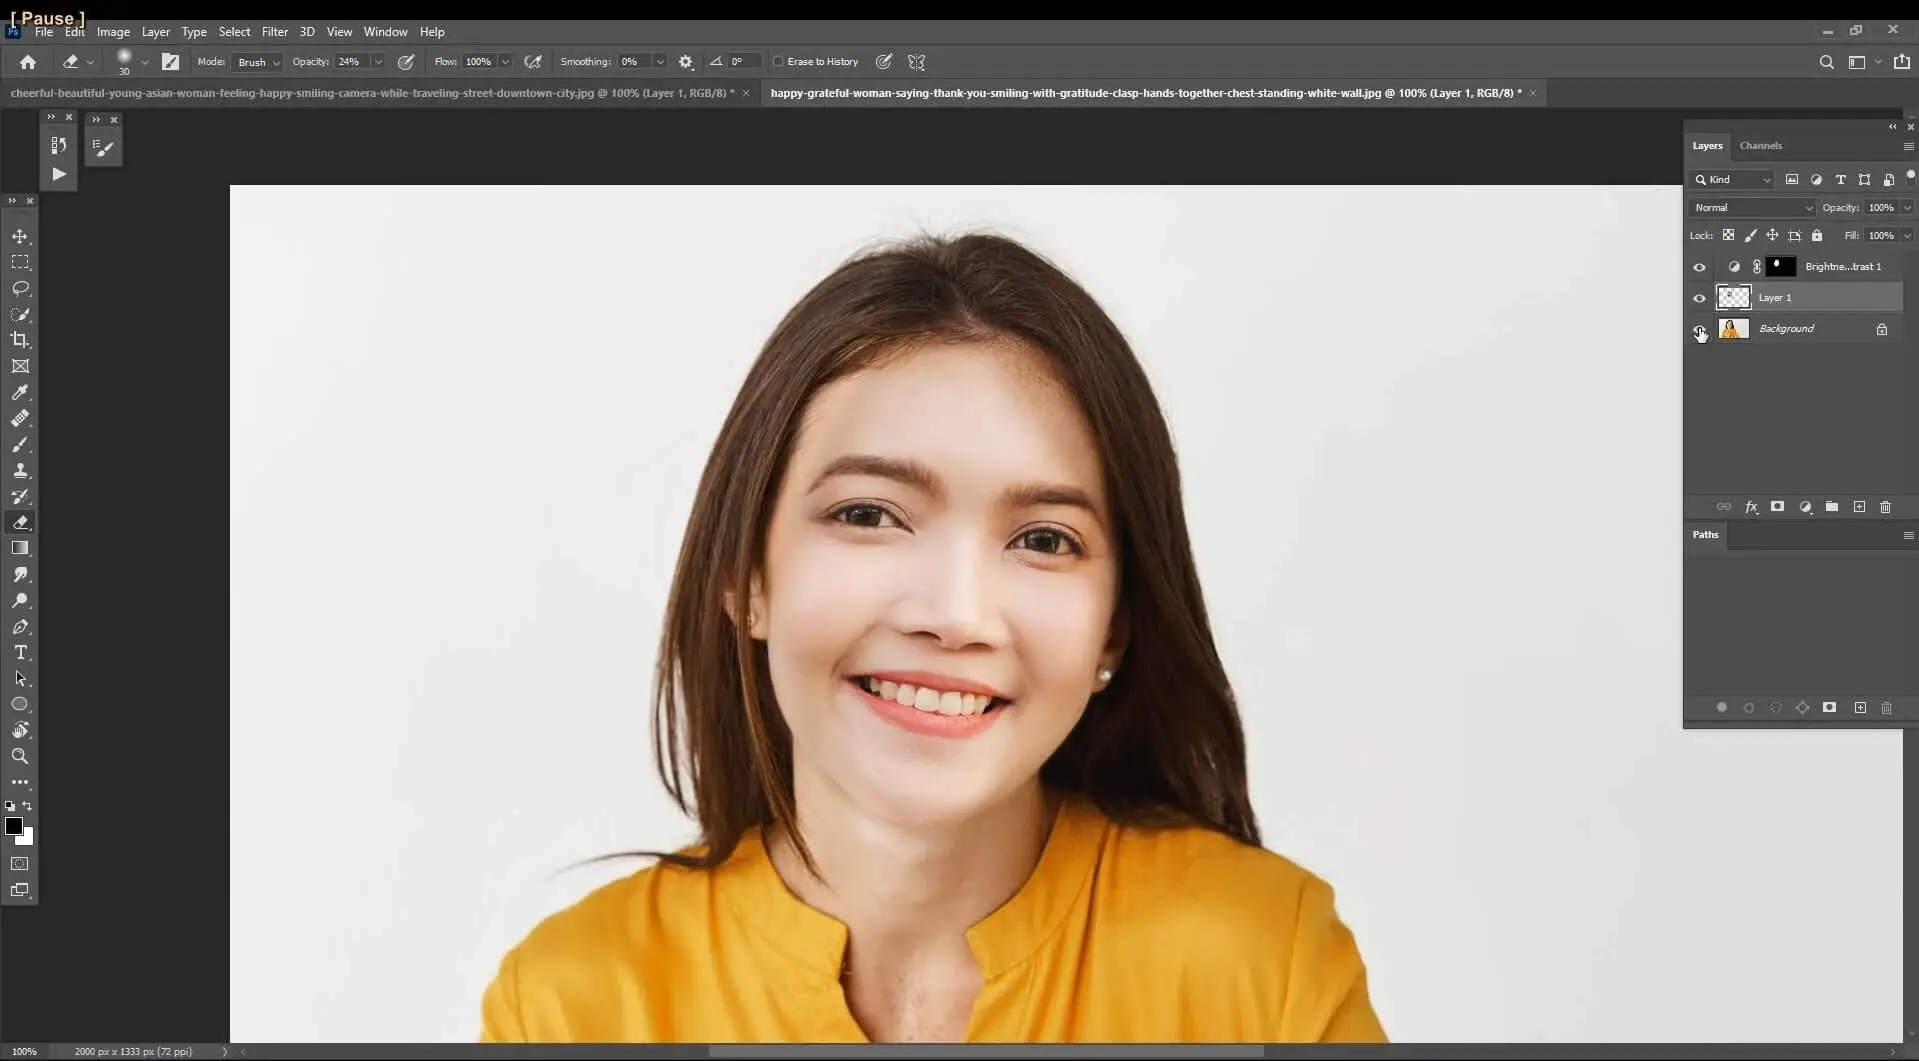
Step 9: Use the eraser to blend the photos
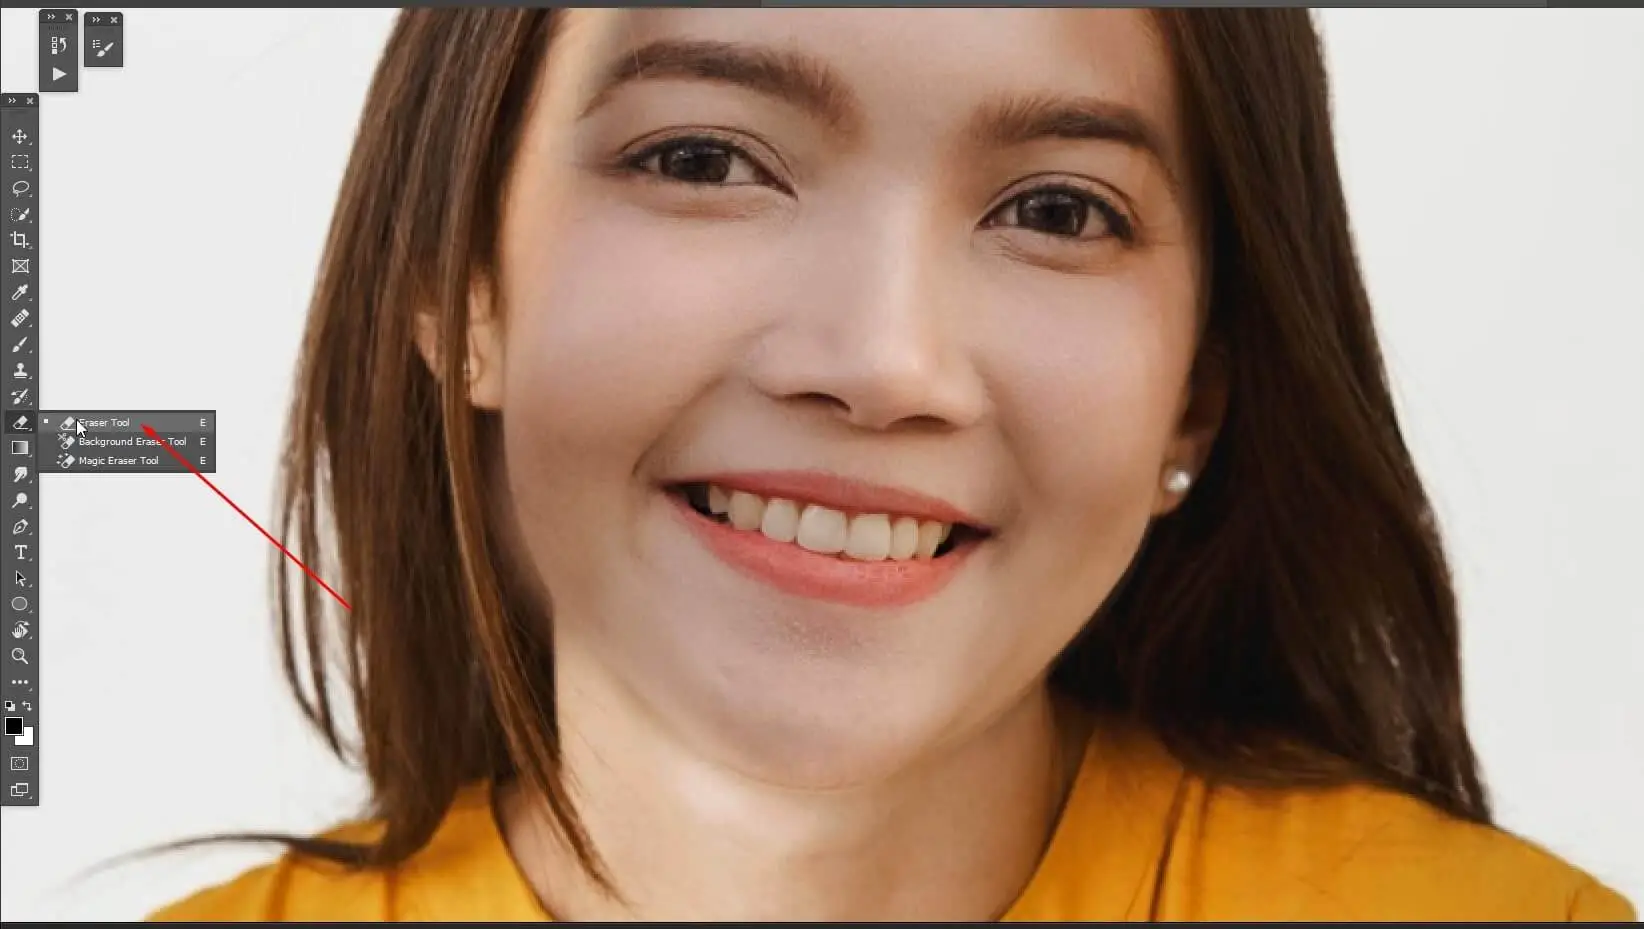
Make use of the eraser tool from the left toolbar to blend in both images nicely. After swapping faces, one important refinement to make is adjusting the opacity and pixel quality.
This manipulation ensures the swap does not appear obvious, offering a natural look to the image.
Step 10: Adjust the properties of the layer
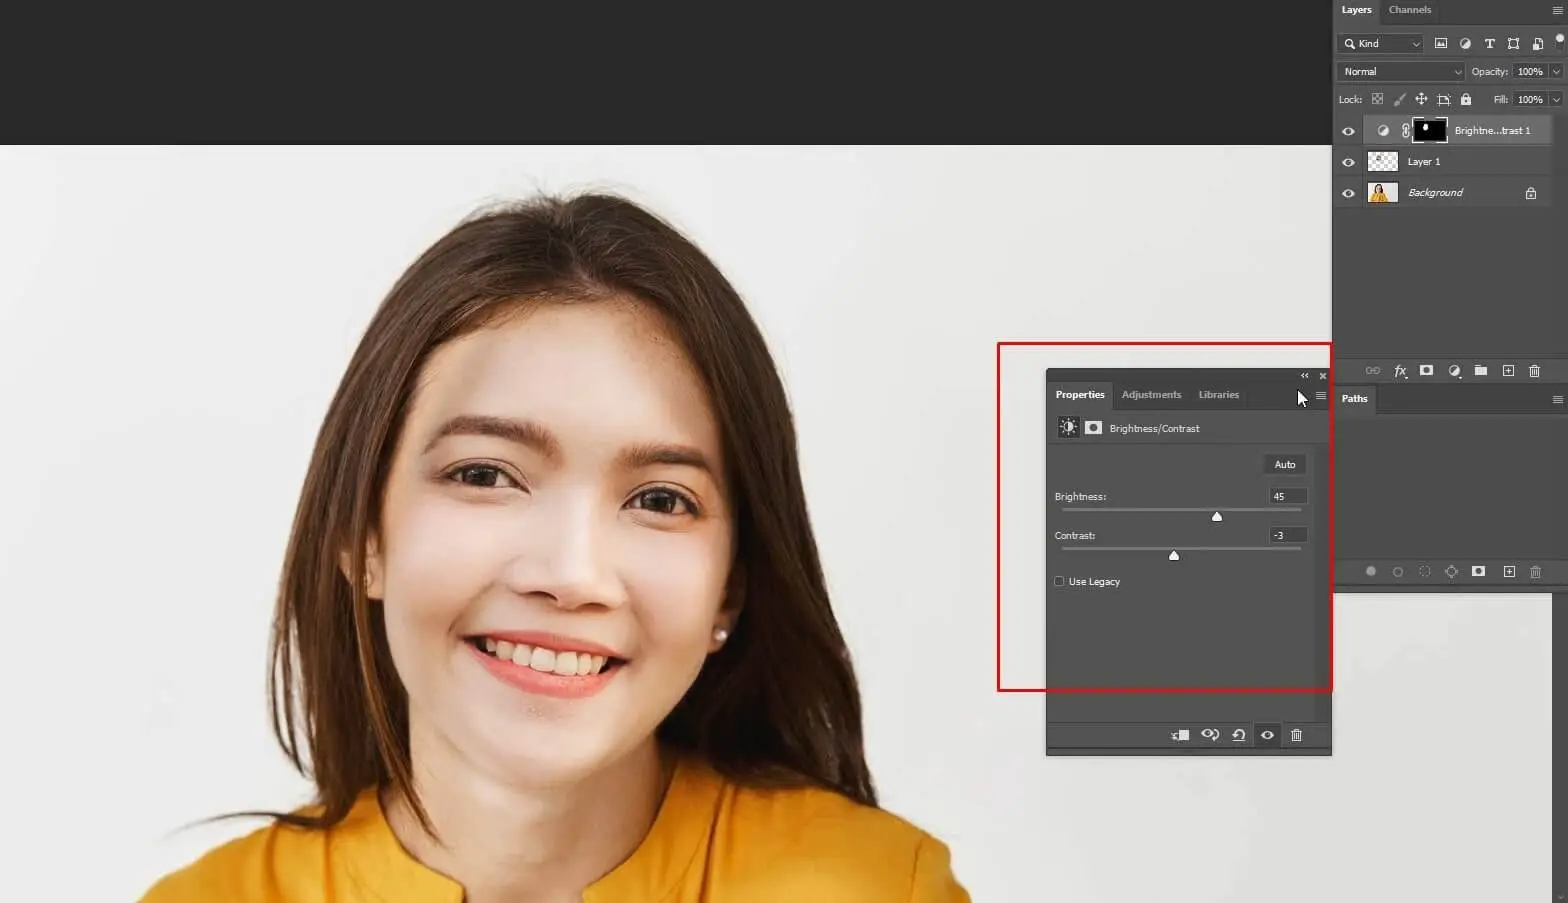
Make use of the eraser tool from the left toolbar to blend in both images nicely. Create a ‘new fill or adjustment layer from layer section’.
Details such as facial expressions, skin texture, and color harmony are crucial to the final output.
These intricate details will contribute substantially to the realism of the swapped face, thereby enhancing the final glimpse.
Step 11: Save the file
Done! You have successfully learnt swap faces in Photoshop. Although it may seem a bit difficult, a little look around will get you started on the editing process.
What you absolutely need is a little bit of patience!
Final Tips
By reading the article, you can learn how to do a face swap in Photoshop with a few easy steps.
Practice now to enhance your face-swapping editing skills. After practicing face swaps repeatedly and achieving success, you can use face swaps to create social media posts, memes, marketing and advertising posters, and high-quality group photos.
If you can’t do face swaps yourself due to a lack of time or experience, you can outsource a retouching service provider. For affordable, cost-effective photo retouching services, please connect with UK Clipping Path. We have been an expert retouching service provider since 2010, with 100+ experts.
FAQ
How do I begin the face swap in Photoshop?
To begin a face swap, open the two photos in Photoshop. One photo should be of the face you wish to swap, and the other is the photo onto which you would like to paste the new face. These photos can be opened by pressing CTRL + O and then selecting the desired photos.
How can I use the layer mask for the face swap in Photoshop?
The layer mask in Photoshop is a crucial part of the face swap technique. After copying and pasting the face onto the new body, add a layer mask to the face layer in the layers panel. This can be done by selecting the icon next to the “fx” button. The layer mask allows you to hide or reveal parts of the layer with the face, making blending easier.
What is the role of “auto-blend layers” in face swapping?
Auto-Blend Layers is a key feature in Photoshop that enables you to blend the face layer with the body layer seamlessly. After moving and resizing the face, go to Edit > Auto-Blend Layers. This should smooth out the edges and color mismatch between the two photos to create a more realistic result.
What is the best way to select faces for swapping in Photoshop?
The Polygonal Lasso Tool is an ideal tool for making precise selections around the faces you want to swap. When using this tool, take your time to go around the entire face, including the hair, as this can make a difference to the outcome. Zooming in can also help make more accurate selections.