
Jewelry photos should look perfect. A great photo sells the product. A bad photo can make even an expensive piece look cheap. That is why editing is so important. Taking the photo is just half the job.The other section is creating them look good in Photoshop.
In this tutorial, you’ll know how to retouch jewelry in photoshop. I will make it easy for you. Soon, you’ll see amazing results.
I’ll show you how I create precise selections, enhance jewelry, adjust backgrounds, and apply finishing touches so every piece truly shines.
Why Jewelry Retouching is Matters
Jewelry is small and shiny naturally. But while you take a closer shot, little flaws appear. You may see scratches, dust, or uneven colors. The customer does not want to see this. They want a perfect piece.
That is why retouching is needed. But be careful. Do not make it look fake. The goal is to make it real. Make the jewelry look clean and bright. Keep the natural lighting and details.
A good photo makes editing easy. If the real image is clear and sharp, you will find the perfect outcomes. If the real image is clear and sharp, you will find the perfect outcomes. Here you can find creative jewelry photography ideas.
Tools I Need for Jewelry Retouching
- Adobe Photoshop (Latest Version)
- Pen Tool for precise selections
- Healing Brush & Clone Stamp for imperfections
- Layers and Masks for non-destructive editing
Jewelry Retouching in Photoshop: 8 Essential Steps to Follow
To retouch jewelry in Photoshop, start by removing dust, correcting color, enhancing shine, and sharpening details using tools like Pen Tool, Healing Brush, and Curves. Here i share step by step guide of retouching jewelry in photoshop:
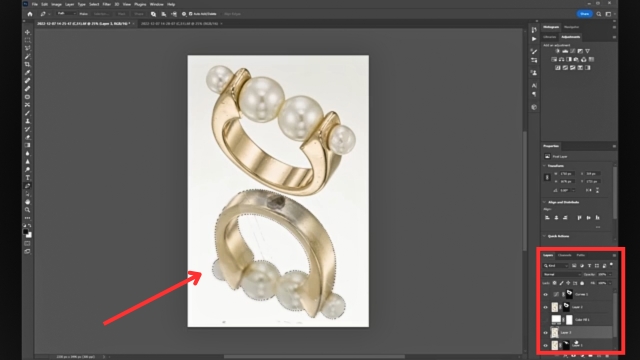
Sometimes, one photo is not enough. I might have one shot with perfect lighting on the main piece and another that shows the tiny beads better. In this step, I’ll combine them to get the best of both for advanced jewelry photo editing. Now, follow these steps:
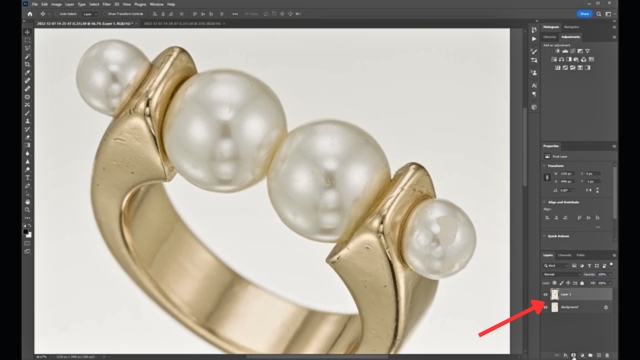
Step 1: Combine Multiple Shots
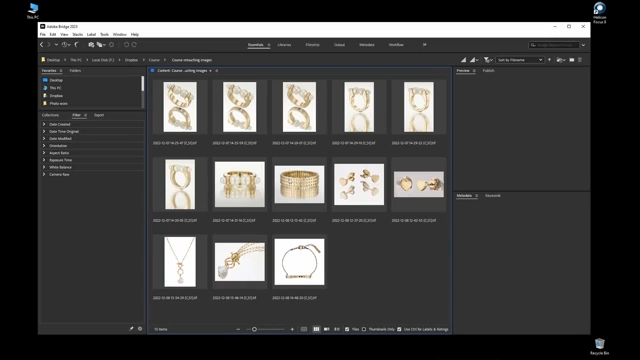
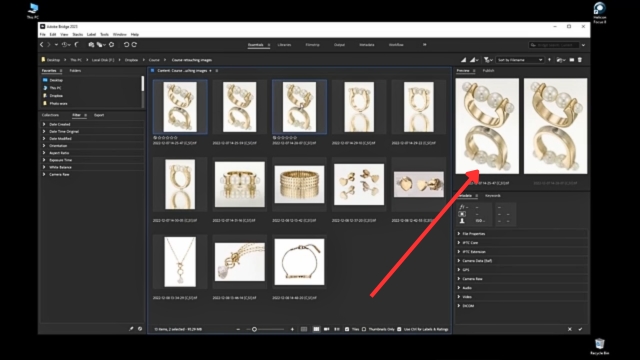
- Open both images in Photoshop.
- Drag the second image onto the first. Hold Shift while dragging. This keeps the position correct.
- Lower the opacity of the top image. Check if they align.
- If not, press Ctrl + T to transform and fix the position.
- When it looks good, set the opacity back to 100%.
- Add a Layer Mask to the top image.
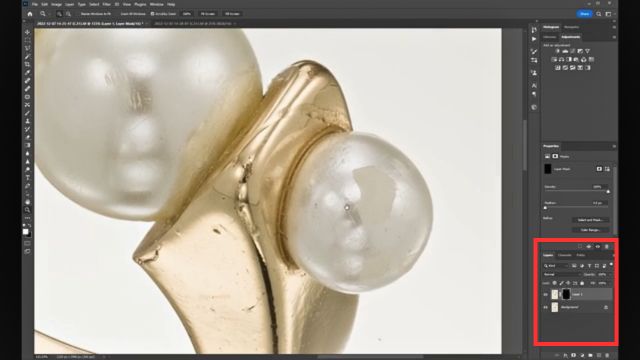
- Use the Brush Tool with white color. Paint on the mask to show the beads only where needed.
Great! Now both images work as one.
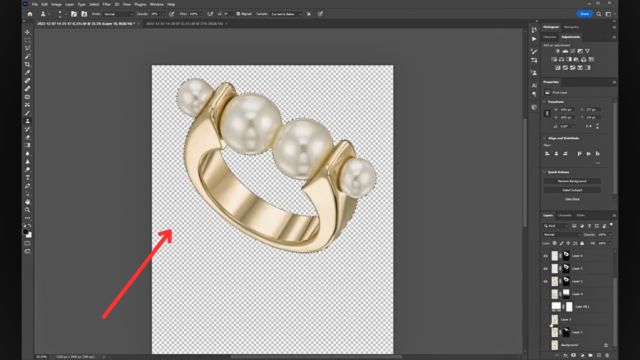
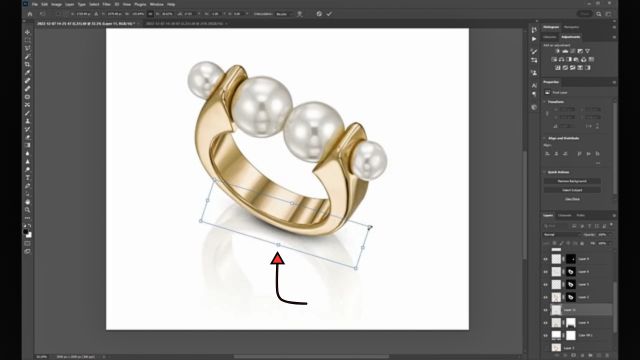
Step 2: Cut Out the Jewelry
Next, we need a clean background. To do this, we cut out the jewelry.
- Select the Pen Tool (P)
- Zoom in and click around the jewelry edges. Make smooth curves.
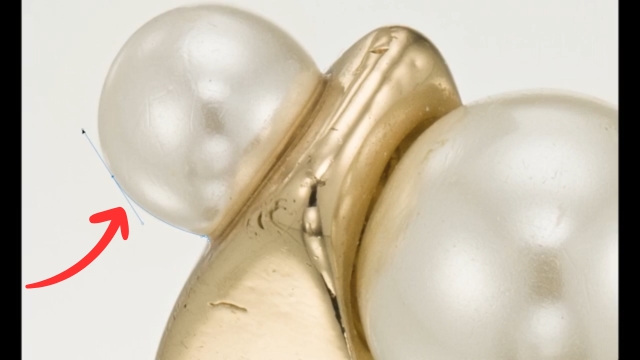
- Make a path. When you finish, save the path.
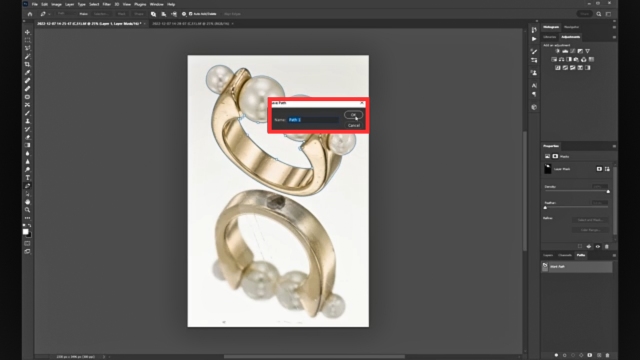
- Press Ctrl + Click on the path to make a point.
- Add a Layer Mask to keep only the jewelry visible.
- Make a new layer with a white background. Set it under the jewelry layer.
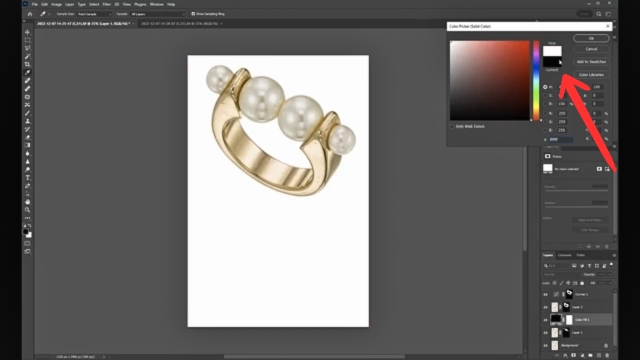
Now the jewelry looks clean on white.
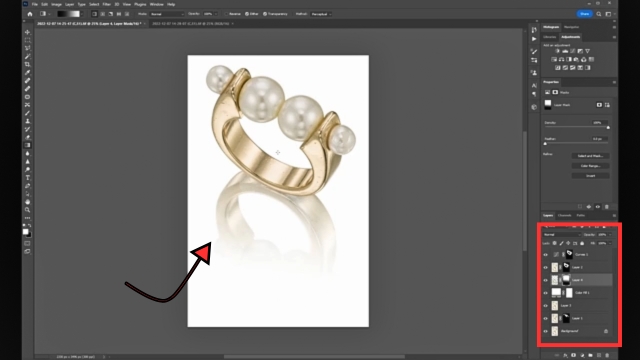
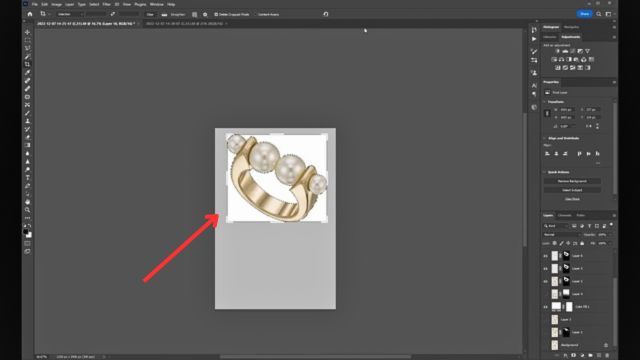
Step 3: Add a Reflection
A reflection makes the photo look more natural. It adds depth
- Make a new path for the top reflection area.
- Make a selection and copy it to a new layer.
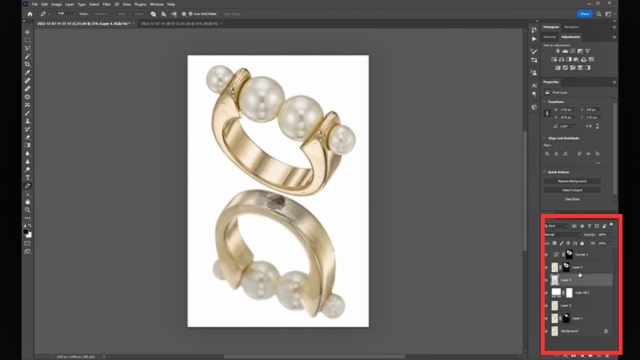
- Move this layer under the jewelry.
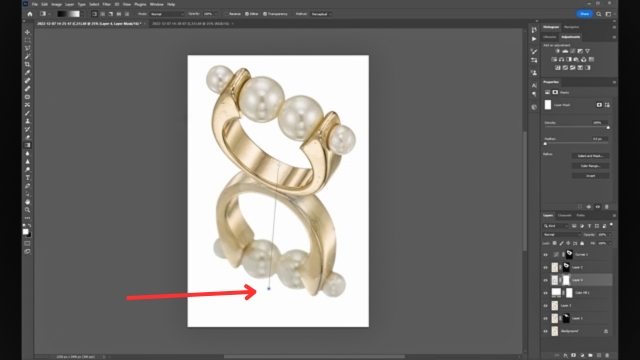
- Use the Gradient Tool on a mask to fade it slowly.
- Lower the opacity. Keep it soft. Do not create it too strong.
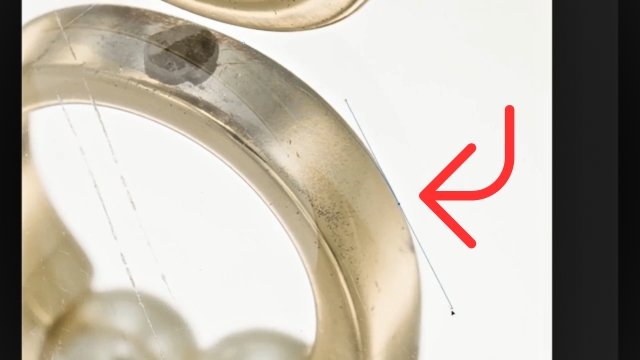
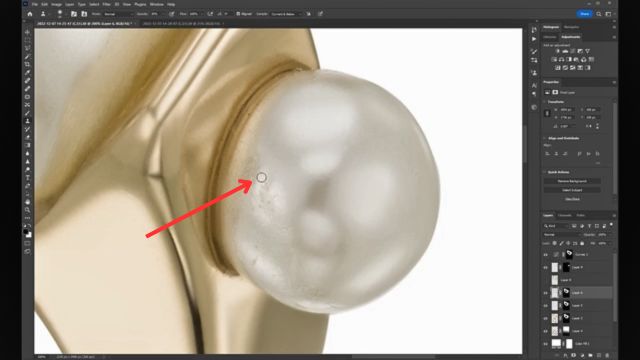
Step 4: Remove Dust and Imperfections
Jewelry often has tiny marks. These can ruin the photo. Let’s fix them.
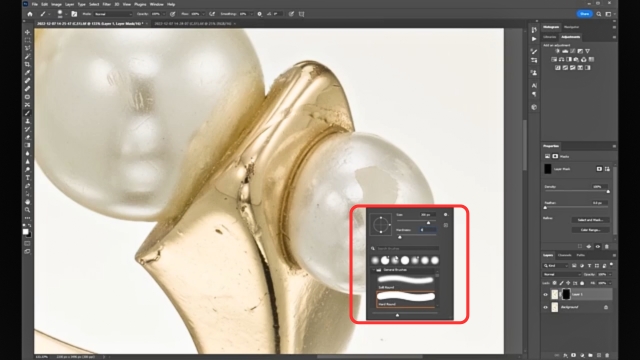
First Pass: Spot Healing Brush
- Create a new blank layer. Clip it to the jewelry.
- Select the Spot Healing Brush Tool (J).
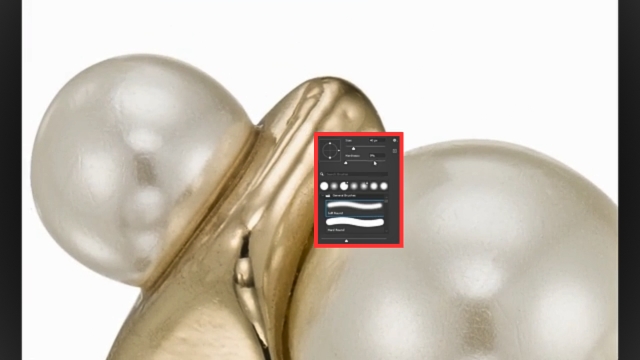
- Zoom in. Click on each dust spot or scratch.

- The tool will blend the area.
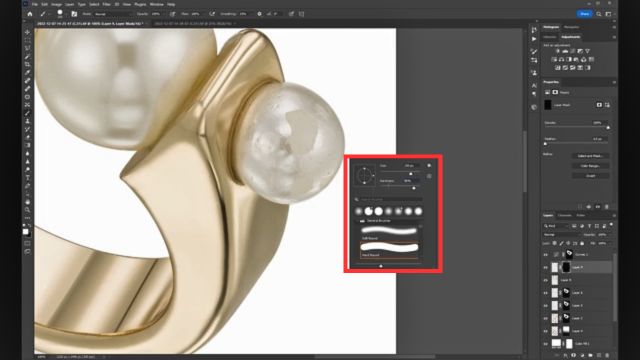
Second Pass: Clone Stamp Tool
- Create another blank layer.
- Select the Clone Stamp Tool (S).
- Set Hardness to 0% and Opacity to 30%.

- Hold Alt and click to section a clean spot.
- Paint gently over bad areas.
- Sample new areas often.
Use frequency separation to smooth surfaces without losing texture for professional jewelry photo editing. This keeps the original shine and details. This keeps the original shine and details.
Step 5: Fix Broken or Bad Beads
Sometimes a bead looks bad. We can replace it.
- Duplicate the jewelry layer.
- Use the Marquee Tool to select a good bead.
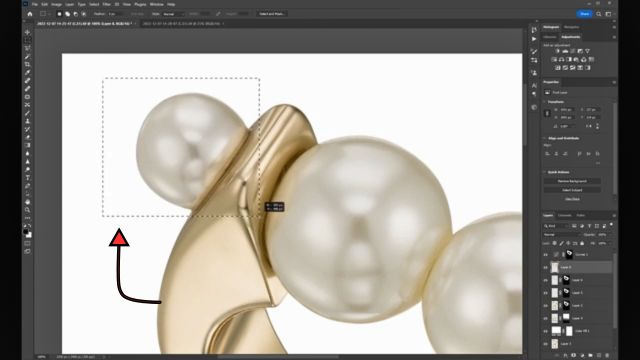
- Copy and paste it.
- Press Ctrl + T and flip it horizontally.
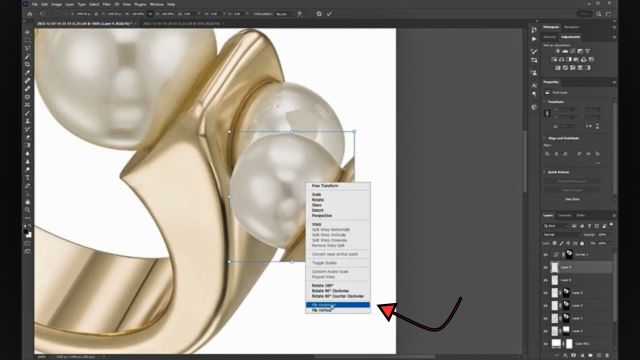
- Move it over the bad bead.
- Add a mask and paint to blend it.
- Use Clone Stamp for a natural finish.
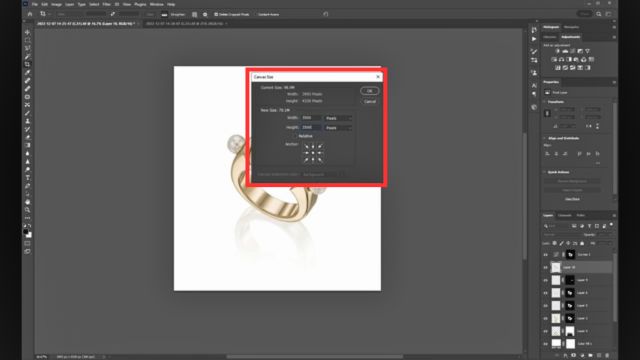
Step 6: Center and Resize the Photo
The jewelry should look neat in the frame.
- Merge all sections into one new layer (Shift + Ctrl + E).
- Select the Crop Tool (C).
- Center the jewelry.
- Convert the canvas size to a square such as 3500 x 3500 px.
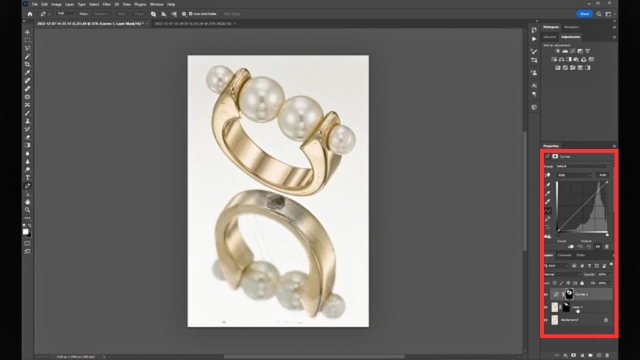
Step 7: Make It Shine
Time to enhance the details.
- Add a Hue/Saturation Layer. Lower yellow tones in beads.
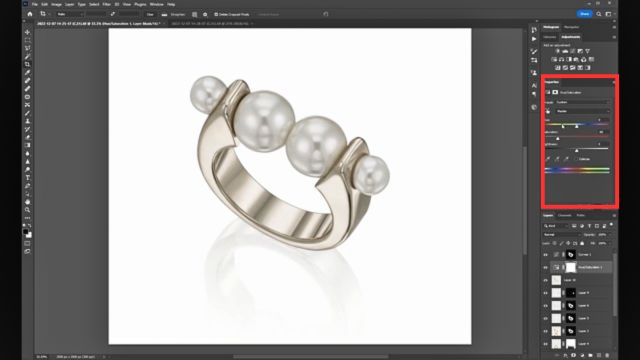
- Add a Curves Layer for contrast. Make highlights brighter and shadows deeper.
- Add a soft shadow under the ring. Use a soft black brush.
Use Dodge & Burn for highlights/shadows and advanced color correction with Levels and Curves for professional results in jewelry photo post-processing.
Step 8: Sharpen and Save
Merge all layers.
- Go to Filter > Sharpen > Unsharp Mask.
- Use these settings: Amount: 100% &Radius: 1px
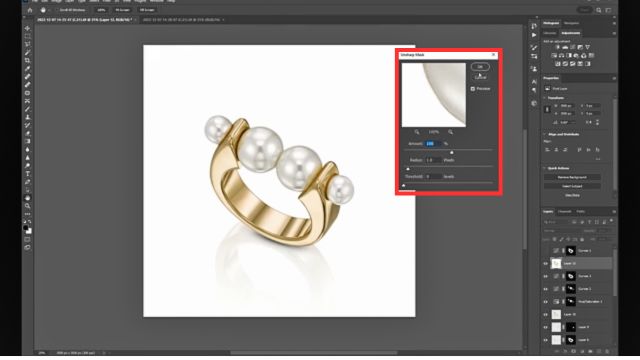
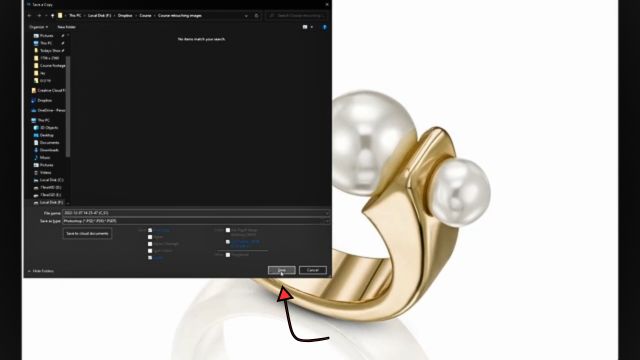
- Save as PSD for future edits. Export as JPEG for clients.
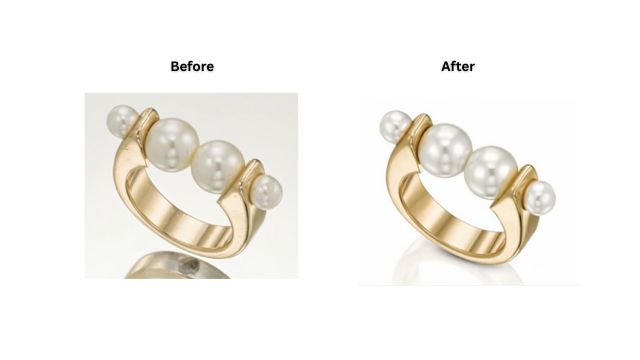
Final Result
Your jewelry should now look:
- Clean
- Bright
- Realistic
The before and after will amaze you. The jewelry will look natural and perfect at the same time.
Pro Tips for Best Results
- Always work on duplicate layers.
- Do not over-edit. Keep it real.
- Be patient. Jewelry retouching takes time.
To make it easier to understand, I will ask you to watch this video. Watch the full process in the video: How to retouch jewelry in photoshop.
Conclusion
Jewelry photo retouching is easy if you continue the correct steps. Clean the background. Remove dust. Fix broken parts. Adjust colors and lighting. Make it sharp.
Want to see the difference professional retouching can make? Try UKClippingPath for a free trail and bring your jewelry photos to life!”
Perfect images sell jewelry. While your pictures look great and shiny, everyone will love them. Try these steps, and soon you will edit like an expert. For more tips and insights, visit UK Clipping Path.
FAQ’s of Jewelry Retouching in Photoshop
What is jewelry retouching in Photoshop?
Jewelry retouching is the process of enhancing jewelry photos using Photoshop so they look clean, sharp, luxurious, and ready to sell. It includes removing dust, scratches, reflections, color issues, and improving shine without changing the actual design of the jewelry.
Why is jewelry retouching so important?
Jewelry photography captures everything even tiny flaws the human eye barely notices. Retouching helps eliminate those distractions so customers focus on the beauty, craftsmanship, and sparkle of the piece.
Will retouching change how the jewelry actually looks?
No. Retouching doesn’t change the design or shape of the jewelry.
It simply cleans it up—like removing dust, tiny scratches, or bad reflections. The goal is to make the jewelry look the way it should have looked in real life, not fake or overdone.
Will retouching help increase online sales?
Yes, it really helps. When jewelry photos look clean, bright, and professional, customers feel more confident buying online. Clear and polished images build trust, especially for high-value jewelry, and that often leads to more clicks and more sales.