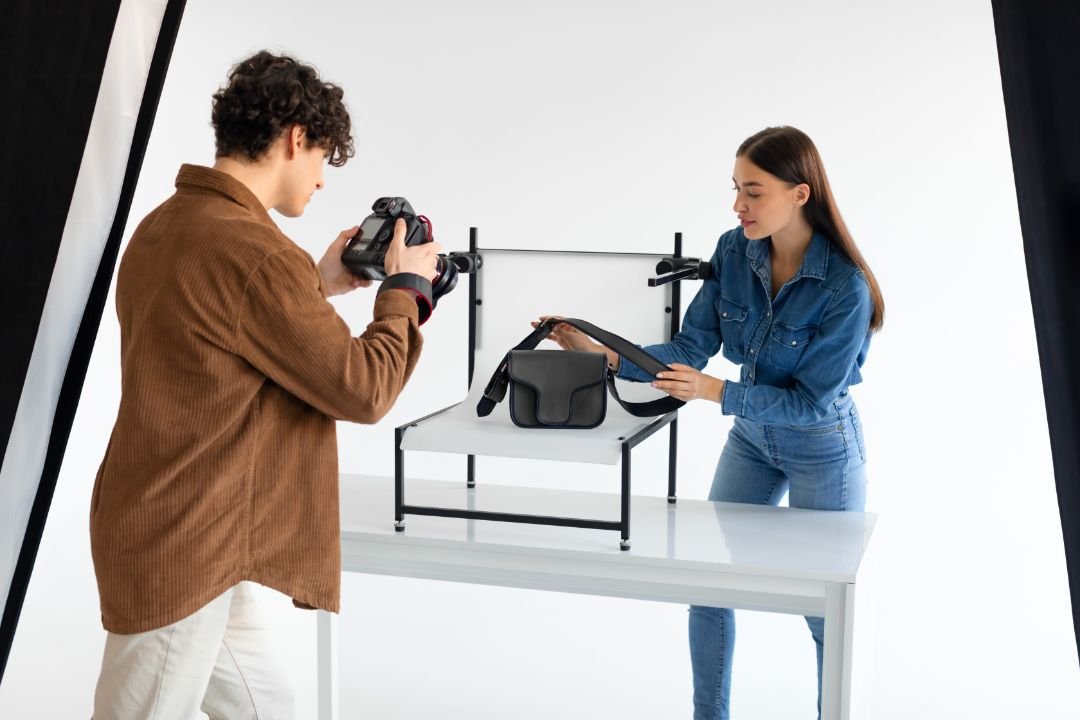
As e-commerce dominates the world today more than ever, it’s all about really great product images. Product photography is perhaps one of the most invaluable skills in today’s modern-day era for the e-commerce seller, the budding photographer, and the brand marketer.
A study shows that 75% of customers make purchasing decisions based on product photography. Good-quality product photos make or break online sales. They are an active driver for customer decision-making and building brand perception. Our professional editors can be a great help as they provide the best product photo editing services for you.
This article will go through everything that is required for getting started in product photography to stunning product image tasks.
What is Product Photography?
Product photography is the art of capturing quality shots of the products required for advertisements, online sales, or marketing. Whether one is selling clothes, electronics, jewelry, or even food, the most important thing will be to make the product look good and the best in light-literal and metaphorical.
Why Product Photography is Important
Professional product images do more than show your products and build trust. Often, customers perceive the quality of a product through the quality of the product image.
The photo can be blurred, with inadequate light, or shot poorly-which nobody likes, while sharp, clear shots convey the sense of quality and reliable products.
Types of Product Photography
There are tons of product photography ideas to enhance the quality of your images and increase sales. Before delving deep into details about how to get started with product photography, let’s take some time to understand the different types of product photography.
Each has a special purpose in both the product and the platform. They are given below:
1. White Background Photography
This is the most common form of product photography used on online listings. Put a product in front of a clean white background and enable the product to be shown undistracted. Amazon requires product photos to be on a white background.
2. Lifestyle Photography
Lifestyle shots involve photographing the product in situations or environments that are as realistic as possible. Visualize shooting a pair of shoes at somebody walking in a park. This photograph is there to help the potential buyer visualize that with which they are about to “fall in love” in action.

3. Detailed or Macro Photography
Macro photography applies to products that have minute details, like jewelry, watches, or even pieces of electronics that are to be showcased to capture minute features setting them apart from similar products.
4. 360-Degree Photography
This usually involves photographing the product from several angles to give the customer a fair view of the item on sale. Examples of this kind of photography are high-ticket items, which might range from cars and furniture to electronic gadgets.
5. Single product photography
Product isolation is one form of product photography where only a single product is captured.
It may be done at times to draw special attention to details concerning the product, like its design, material, or functionality.
Generally speaking, photography would cover almost any category of products, but in a more precise manner, it would apply to photography of jewelry or other small items like electronics.
6. Group product photography
Group product photography is a style of product photography in which several products are shot together in an appealing thematic or curated setup.
This will work great for product collections or complementary things. Fashion, cosmetics, homeware, and lifestyle will be more common industries for this type of product photography.
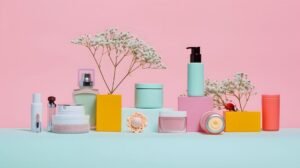
Group product photography may be more dynamic and visually interesting to present and help customers visualize the use of different products together or styled in various ways.
7. Packaging photography
Packaging photography is a class of product photography in which the packaging design of the product and its brand are shown. Very often, it is used for cosmetics, food, beverages, and consumer goods.

Packaging photography is done to emphasize the overall presentation regarding the shape, color, and typography of the packaging.
This kind of photography can be used to create some sense of anticipation and excitement about the product and help in allure towards the brand.
How to Getting Started in Product Photography
You will need a proper photography setup to get the best quality images. Let’s know how to getting started in product photography in the details below:
Essential Product Photography Equipment
First of all, what you need to know about product photography is that it requires an investment in some equipment. You do not have to break the bank for that, but having the right gear will make a difference in the quality of shots.
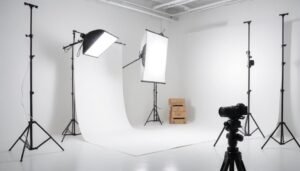
Invest in the best product photography equipment you can afford. Experiment with the settings to get those artistic pictures and remember that consistency and quality of shots are key.
1. Camera
First and foremost, you will have to procure your camera. You will need the best camera settings for product photography. But you do not need the very best DSLRs; in any case, for product photography, you will need a good enough kind of one with manual settings.
Well, most of today’s flagship smartphones have pretty good cameras, capable of taking superb photos if used properly.
So, something like a Canon EOS Rebel T7i or even a Nikon D3500 would be great quality without being overwhelmingly complicated.
Moving into higher-end offerings is a needed step from here on, and the Sony Alpha A7 III does so here, recommended as much stronger in terms of versatility and sharpness at one time.
2. Lenses
A good lens will help you frame the tiniest details with beautiful depth-of-field effects.
Prime Lens 50mm: It offers an important and natural field of view while shooting any product.
100mm Macro Lens: A lens used to shoot minute details of small objects, including but not limited to any type of jewelry or electronics. More than just cameras themselves, photography involves the use of lenses.
3. Tripod
First, it is important to ensure stability with a tripod; this way, you will not have blurry images, especially when the light condition is poor.
A tripod also provides consistency for your shots, something quite vital when you are taking multiple pictures of the same product from different angles.
4. Lighting Equipment
Proper lighting makes a great product photo to evoke the emotions of potential customers. Natural light works, but investing in some basic artificial lighting equipment will pay off in consistent results.
Softbox or Umbrella Lights: These soften the light and reduce harsh shadows that will make your product look far more professional.
Ring Lights: These ring lights will be ideal for shooting small products or close-up shots that require even lighting.
5. Backgrounds
Most of the e-commerce platforms indicate that products should not be photographed on anything other than a clean white background. You can use a white background or lightbox for smaller items.
Best Camera Settings for Product Photography
Product photography is way beyond just pointing a camera and clicking; it’s telling a story through images that build confidence in one’s product.
With practice, you’ll be off in the right direction to shooting captivating images that create sales and will last in your customers’ minds.
The best camera setting for product photography will go a long way in the quality of your product photos. So let’s have a look at what setting works best for sharp and well-lit images of products.
Aperture
The aperture controls the amount of light coming into the camera and further affects the depth of field. In doing product photography, you usually want a larger depth of field so that the whole product is in focus.
Set your aperture between f/8 to f/11 for maximum sharpness.
ISO
ISO controls the sensitivity of the camera. The lower the ISO, the less grainy your image will be. You want to stay as low as possible while still capturing a well-lit image. For sharp clean images, keep your ISO between 100 and 200.
Shutter Speed
A slower shutter speed allows more light into the camera, but you may also want a tripod so that you can avoid the camera shake that gives you motion blur.
If you are using artificial lighting, you might want to think about moving to a faster shutter speed. Stick to about 1/125 to 1/200 for most product shots.
White Balance
White balance is important in having the colors of your product photos look true to life. You can set the white balance on your camera to auto, or you can do it manually, depending on the lighting setup that you have.
Adjust according to your lighting arrangement or let it set automatically for ease using your camera’s auto white balance setting.
How to Take Great Product Photos: A Step-by-Step Guide
Product photography studio can be intimidating to jump into, but with the right approach, it is a rewarding skill that will bring a whole new level to the way your brand communicates imagery.
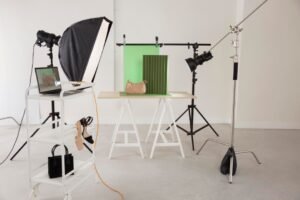
Whether you are shooting with a high-of-the-line DSLR or a smartphone, great product photography comes down to preparation, equipment, and attention to detail.
Now that you have the right equipment and camera settings, let’s walk through how to take great product photos.
Step 1: Prepare Your Product
Clean the product so that not one speck of dust or fingerprint even exists. High-resolution images do tend to bring out even slight imperfections, and the product is to be blemish-free in every image.
Step 2: Set Up Your Background and Lighting
Now, put your product in front of a clean background; it is better if it is white or light in color. Keep your light at an angle with your product, as this will further help in avoiding shadows. In case you are using natural light, then the source should not be direct; otherwise, there may be sharp shadows.
Step 3: Use a Tripod and Set Your Camera
Place the camera on a tripod. Set the manual mode in your camera using the pre-set settings: aperture, ISO, shutter speed, and white balance.
Step 4: Take Multiple Shots
Take your products from different angles. Be creative in the composition, and set up your lighting. If you shoot lifestyle or 360-degree shots, shoot as many photos as you will have to show in one full view of the product.
Common Mistakes to Avoid in Product Photography
There are several common mistakes people tend to make even with the best equipment and settings. Here’s how one can avoid them:
Poor Lighting: You can always avoid poor lighting by trying to keep off overhead lighting or direct sunlight mainly because it creates harsh shadows.
Ignoring reflections, and shooting shiny products such as jewelry or glassware can be a real pain. For that, you will want to minimize those using a diffuser or a lightbox.
Carelessness: Fingerprints, dust, and smudges show in a high-resolution product photo. Always check the product before shooting.
Too much Smoothing: Smoothing is essential; it is, however, quite apart from over-smoothing, a factor that makes the product look unreal. Go for natural and clean editing that will enhance the product without distorting its look altogether.
Hire Professionals for Perfection in the Post-production
For eCommerce business images need to be polished and professional. You will need professional editors to get the best photos. They can handle the bulk amount of images with proper care.
Editors will keep the consistency of the images which is great for branding. After seeing the product photo, people will instantly know that it’s your product. Also, editors are great for maintaining deadlines. As soon as you want the images they will provide you the images with the best quality.
Getting started with product photography can be done easily with professional photo editors. For the best quality product photo retouching, the UK clipping path is one of the trustworthy platforms.


