
Flat Lay Product Photography Tips can help you capture eye-catching images that highlight your products and tell a compelling brand story.
Using flat-lay photography, you can exhibit your items in an original and eye-catching way without having to go out of your way to get the perfect shot.
Flat lay photography is a sort of product photography done from above on a flat surface in its most basic form. The key benefit is that a bird’s eye view will without distractions show the product.
However, if that’s all your flat lay photos do, you’re missing out on a huge opportunity.
Flat-lay photos provide a fantastic opportunity to tell a tale. It’s not only about the product in the picture. But about your entire business help your customers form an emotional bond.
Do’s and Don’ts of Flat Lay Product Photography

Putting together the perfect flat-lay takes more time than you might imagine. Generally, you’re attempting to create a photograph that appears as though you happened across your product by chance.
6 Do’s of Flat Lay Photography
- Have some fun with your photo’s colors. Don’t be afraid to play around with it because it’s one of the first things you notice about an image. Consider the visual tale and the emotions you want to create.
2. Every time you photograph a product, do that at the same time of day. Any photoshoot requires consistency. Maintaining consistent lighting across the board, on the other hand, is essential for every image.
To keep your photos consistent, use natural light as much as possible once you’ve decided where to take them.
3. Get a better understanding of the product. As you constricted the shot by bringing in the props and closing up some of the white space, most photos felt wrong or unfinished.
Spread out your belongings, take a wide shot, and keep a good amount of white space for the product to breathe.
4. Always aim for subtle shadows and balanced lighting. At the same time, light and dark patches are acceptable in a photograph, attempting to keep the image as balanced as possible. For a spotlight with lots of dark space, a flat lay isn’t the best image.
5. Make your props as diverse as possible. The goal of your flat-lay is to tell a story visually in the most casual way possible.
Take it into account in which your potential consumer will use your item. Have fun with it and use your props to create depth to the image. Rearrange things until you have the perfect imperfect photo.
6. Focus solely on your main product. Keep in mind why you’re taking the photo. What distinguishes your brand from the competition? Highlight any unique aspects and draw attention to any noteworthy features you want your clients to see.
6 Don’ts of Flat Lay Photography
- Don’t overlook applying texture to your design. Using a variety of colors, lights, and shadows contributes to telling your item’s visual story.
The use of lighting alone can produce a three-dimensional effect and provide depth to a scene. Using props with various textures can also help create a tactile and realistic touch to the overall photograph.
2. Don’t forget that you have the option of photographing outside if there isn’t a lot of natural light in your house or studio.
As an alternative, use an outdoor table to put up your flat-lay photography. Make sure that your camera’s settings are correct to avoid taking too dark or too bright photos.
3. Don’t take images of your subjects in a square frame. However, while a square shape may appear to be the most appropriate shape for asymmetrical flat-lay, you want to be able to repurpose your image in a variety of forms. It’s also preferable to have options in case future content requirements change.
4. Don’t overlook the shadows. A picture with too much shade can become unfocused, yet a photo with just a little shadow can have a natural depth and attraction to it.
You can experiment with your props and use them to generate shadows in the photograph that draw attention to your product in unexpected ways.
5. Don’t forget to keep the colors in proportion. You want everything in your flat-lay to have a natural flow to it.
Avoid applying too much of a single hue, make sure it’s distributed evenly, and stick to the brand’s guidelines. When in doubt, stick to a similar color scheme when selecting your hues and shades.
6. Don’t forget to ensure that too many props do not surround the picture. Sensibly arrange any additional support, but make sure the buyer can distinguish the product from the rest of the display.
You don’t need your target audience to be in confusion about what you’re trying to sell them.
A flat-lay photograph should be from exactly overhead, giving the viewer a flat surface to interact with.
It may be a little too restrictive. Rules are made to be broken, not to be followed blindly. Moreover, no one enjoys a flat lay! Instead, we enjoy experimenting with different angles to add interest and depth to a photograph.
Take the best clean shot possible by shooting directly overhead and with a completely symmetrical frame if you want to go for a more literal flat-lay image.
How to Take Flat Lay Product Shots
Step 1 – A dining or coffee table, a desk, a couch cushion, your bed, or the floor can come in use to create flat lays. You’ll be off to a good start as long as the surface you’re shooting on is generally flat.
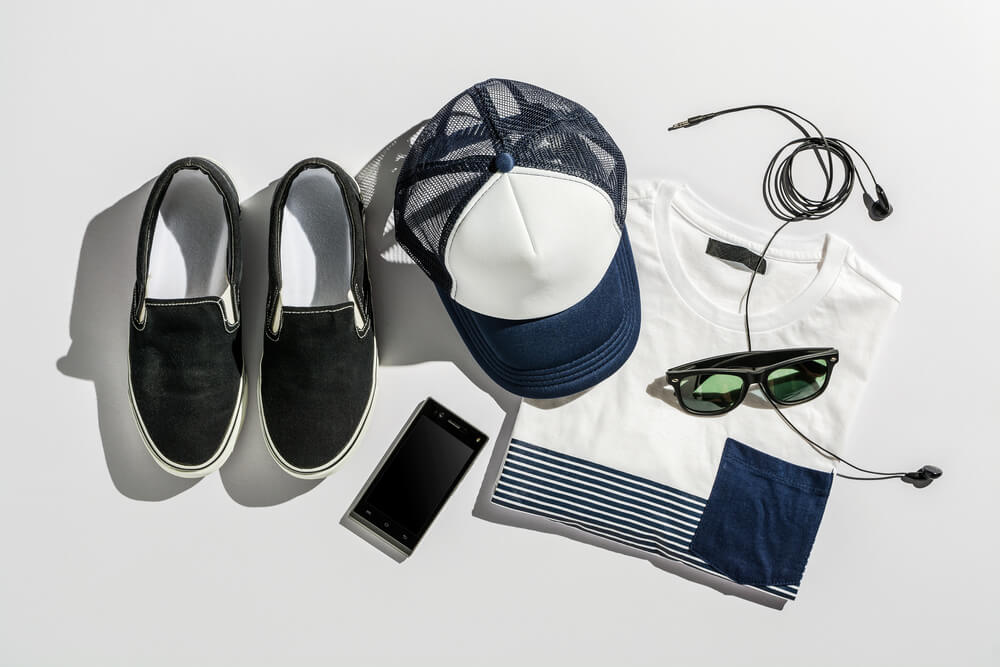
Step 2 – When there are a lot of products put out against a blank background with no distracting patterns or textures, flat-lay photography works exceptionally effectively.
Step 3 – Object placement and lighting are two ways to create movement in a flat lay. Rather than arranging all of your things in the middle of the image with a border of negative space around them, place your objects such that they overflow out of the frame and only parts of some things are in the frame for object placement.
Step 4 – Place your flat lay scenario near an open window or somewhere with plenty of natural light.
Step 5 – If your frame looks a little too flat, layering is a terrific method to add depth and movement. By stacking different-sized plates and placing your primary subject on top, you can give depth and texture to your image.
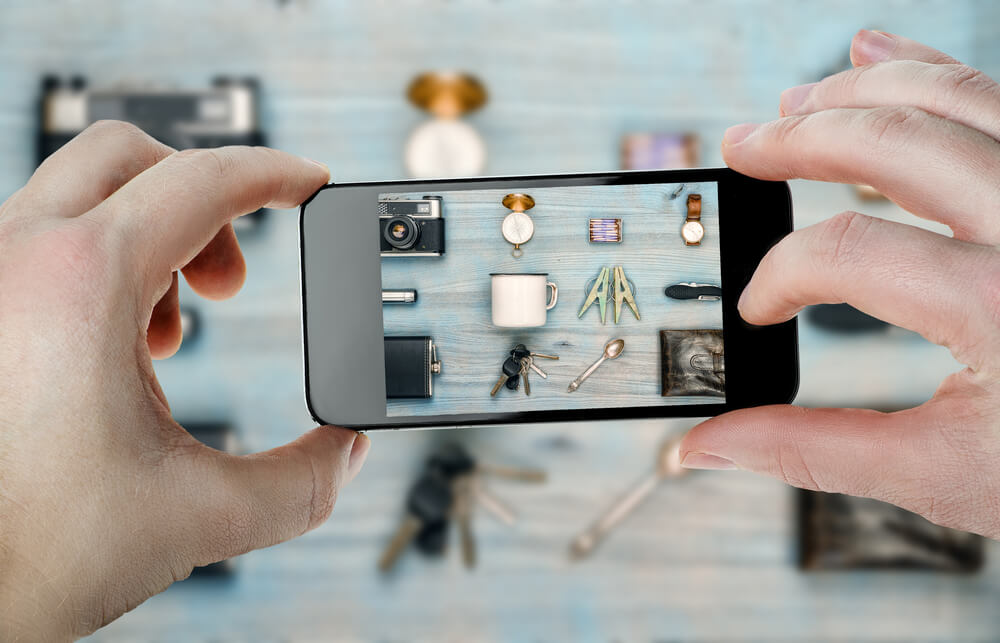
Step 6 – The trick to capturing a nice flat lay is to shoot parallel to your hard surface from an angle. It would be best if you got directly above your topic to accomplish this.
To position your camera directly above your scene, you may need to use a step stool or shoot your things on the ground.
BONUS TIP
Photo Editing of Flat Lay Product Photography
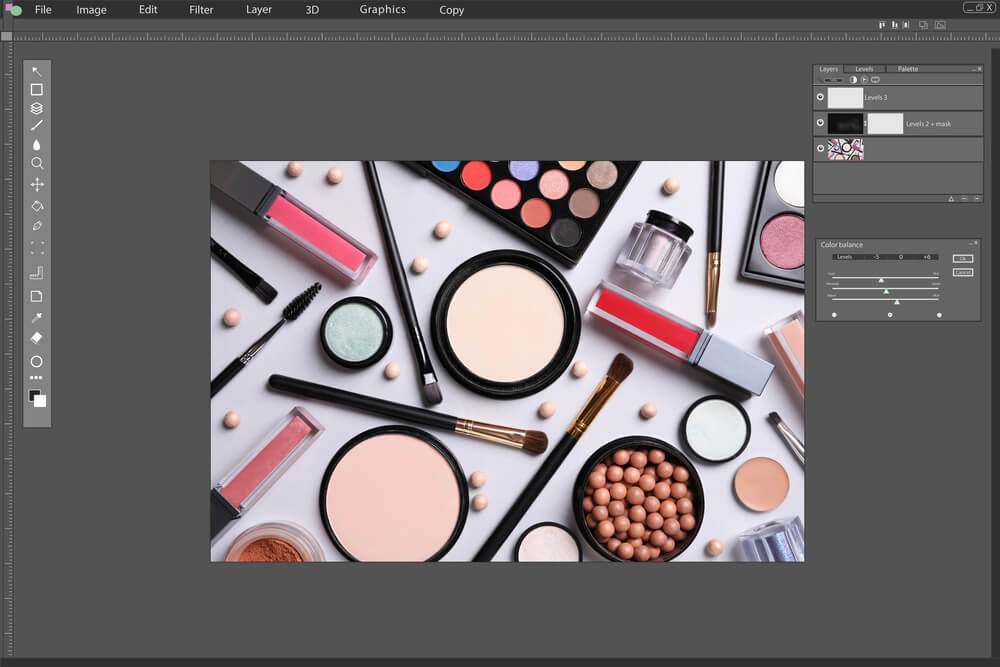
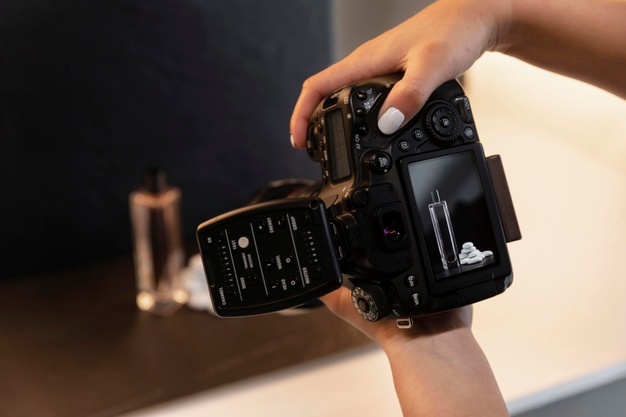
After all of the work and effort of preparing and photographing your flat-lay product photography, it’s time to get creative with your image by editing it to perfection!
For any photography, photo editing is a must. It gives your photograph a touch of perfection and makes it usable for different selling platforms, which is essential for your eCommerce business.
To avail of an affordable photo editing service, you can try out UK Clipping Path, which offers you different eCommerce photo editing services such as clipping path service, background removal, shadow creation, ghost mannequin services, and more.
For any eCommerce business, these photo editing services are most necessary and are most needed to display their product to the customers.
Experiment with Different Styles to Discover Your Own
Set up your flat-lay photographs with care. Don’t rush it, and don’t be afraid to change your props a few times to get the shot just right. You’ll develop a sense of how you like your photographs to be set up with some practice.
Final Words
Any flat-lay photography should aim to tell a story. Therefore, the materials you use to set the scene will aid in conveying the message you wish to express. The beauty of flat-lay photography is that it allows you to use a variety of objects cohesively.
Choose objects of diverse sizes and shapes, as well as two or three unifying colors, to create a coherent setting for your image, keeping your goals in mind.
You’ll be unstoppable now that you know the keys of flat lay product photography tips to capturing and editing perfect flat lays ! Your flat-lay photography will flourish if you know how to generate movement, organize items, and enhance photographs as never before.