Packshot photography ideas take photos of a product or service to represent it online and boost conversions for eCommerce stores. When used correctly, it can make a product enticing and communicate the business’s brand identity recognizably.
What is Packshot Photography
Packshot photography is a specialized type of commercial product photography. It places great emphasis on capturing the product in high resolution with exceptional detail. A professional product photographer is typically responsible for executing this type of commercial photography style. Here, we’ll share creative product photography ideas that you can take without a photographer.
Moreover, packshot photography is fundamental in e-commerce and advertising, where a compelling product image could mean the difference between a sale and a missed opportunity.
Good packshots are becoming more and more critical for businesses over the years. As more people switch to online shopping, many buyers never see the product in person until it is delivered. Over two billion people purchased a product online in 2020. And with this number set to climb, it is vital to maintain competitiveness through images in an online world.
Best Packshot Photography Ideas
1. Draw Attention to the Product with a Composition

The main point of packshot photography is to draw attention to your product, especially for beauty products and cosmetics. And should well translate this aim into your compositions. As a rule, the product being advertised should appear front and center. Many cameras have grids that can be overlayed when taking images to ensure the product is entirely central.
Composition is also an excellent way to add scale to your image and inform the viewer about the size of the product while also catching the buyer’s attention. There are so many accessible composition rules to learn and see what works best to convey your message.
2. Be Open to Inspiration

Inspiration for packshot photography can be anywhere. In your day-to-day life, you may see natural lighting hit an object in such a way that makes you do a double-take. You can take a photo and keep it as a reference. You may want to recreate this lighting for your product photography since it influenced you, which will likely have a similar effect on your audience.
Alternatively, you may discover inspiration from your favorite brands or even competitors. Although copying them will not allow your images to stand out, certain elements and be taken and incorporated into other ideas to create a fresh and original look.
3. Take a Variety of Images
Once you find your style, it may be tempting to take one image per product to use. However, the more images, the better. Take multiple photos for your main photo, and you may find subtle differences not picked up on by the naked eye.

When considering a product, consumers will also be interested in seeing the product from different angles, and if using lifestyle photography, use different scenarios. It can be a great way to show the versatility of your product if relevant.
Do not delete images when doing the shoot. A photo you may not have liked at the time could end up being extremely strong with the proper cropping and editing.
4. See if Lifestyle Images work for you
Though it may be enticing to go straight for the polished product on a blank background, in some cases, lifestyle photography can add more of a story to your product. Lifestyle photography incorporates people into the images and allows the viewer to live vicariously through them. It will enable the product to seem more natural and add context.
When putting together settings for lifestyle photography, you should have in mind what the product is for, where you would use it, and who your target demographic is.
5. Experiment with your image

There are undoubtedly many common ways and general rules when taking product photography. But it is not as black and white as that. Going against what is expected and having visually appealing images can be a great way to set yourself apart from the competition and become an even more recognizable brand. In this case, your sense of judgment is your best friend.
Starting with the general guidelines and then giving it your flair is an excellent way to progress. It is good to take to time to find a formula that works for your brand identity. While showcasing your products in the most appealing way possible. However, it can also use excellent product images for social media content to engage with your audience.
6. Custom Backgrounds
Consider using backgrounds that are customized and tailored to the product or brand. This could include backgrounds with the company logo, relevant patterns, or thematic elements associated with the product. A custom background adds a professional and branded touch to your packshot photography.
7. Seasonal Themes
Align your packshot photography with the seasons or specific holidays. For example, use warm, vibrant colors for summer, cool tones for winter, or incorporate holiday-themed props for festive occasions.
Seasonal themes make your product images more relevant and timely, catering to the current market trends.
8. Minimalist Approach
Embrace simplicity in your packshot photography by focusing on the essential features of the product. Use neutral backgrounds to eliminate distractions and highlight the product’s design, form, and functionality.
A minimalist approach often conveys elegance and sophistication, allowing the product to speak for itself without unnecessary clutter.
Packshot Product Photography Equipment
1. Use the right camera
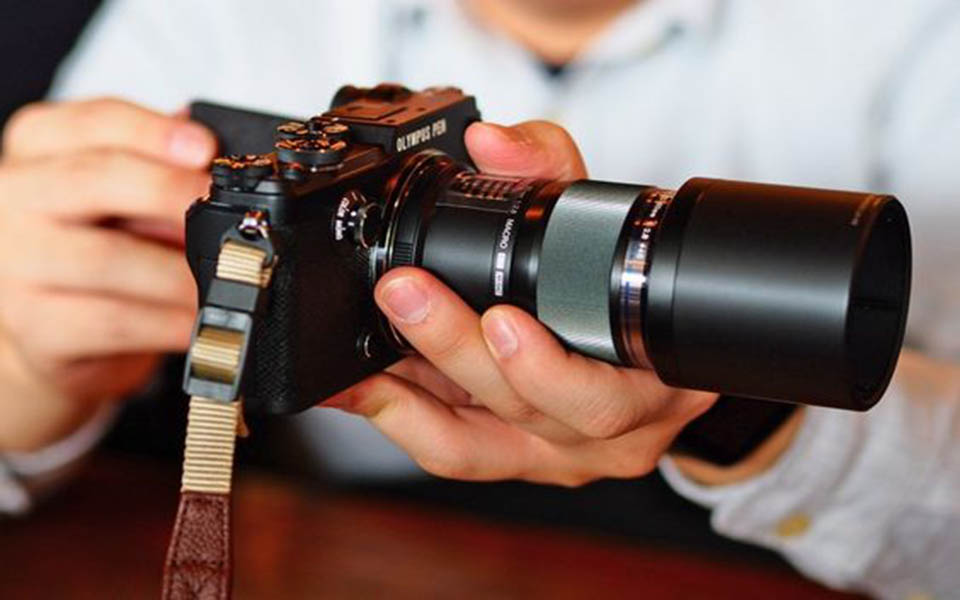
It is possible to use a smartphone camera for packshots. It is now very typical for a phone to come out with an almost professional-level camera, multiple lenses, adjustable aperture, and ISO. If you’re using a smartphone for your packshot, it should be a relatively new phone. The phone camera should also have more than 12 megapixels so the image can be expanded to a good size and not lose details. If you want to stick with a smartphone camera in the long term, investing in some phone lens attachments can improve your image quality.
2. Experiment with Lighting
When it comes to packshot photography ideas, there are two primary choices; natural lighting or studio lighting.
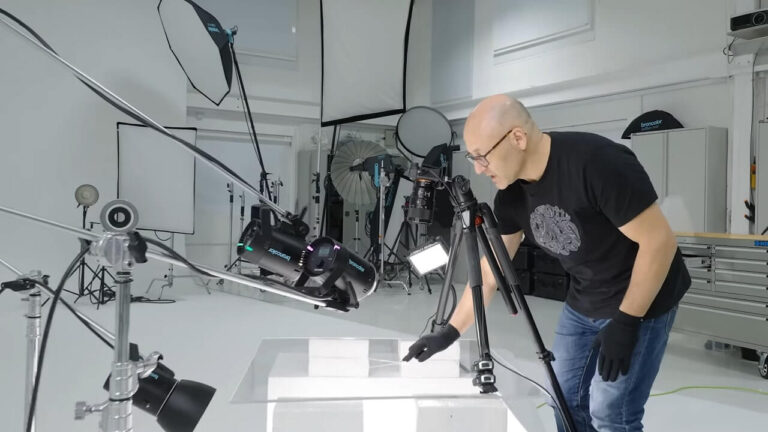
Studio lighting, or hard lighting, requires some equipment and can range from a DIY setup to a fully functional professional studio. It allows you complete control over how lights and shadows will appear in your images. If you take photos for multiple products and want them to be consistent, artificial studio lighting is an excellent way to ensure this.
3. Get your Shadow Rights

Shadows can add drama to your packshot, but they can also be a hindrance. When using natural lighting, especially, it can be challenging to find a way to get the composition. Set up at the perfect angle and then take a photo that does not cast a shadow. But this can completely ruin your image and change where the focal point is entirely. Pay attention to where you are standing and casting shadows.
Shadows, when utilized correctly, can add depth and dimension to your image, making it more appealing to look at. If you are not able to do this naturally, then our expert team can assist.
4. Learn to use editing software

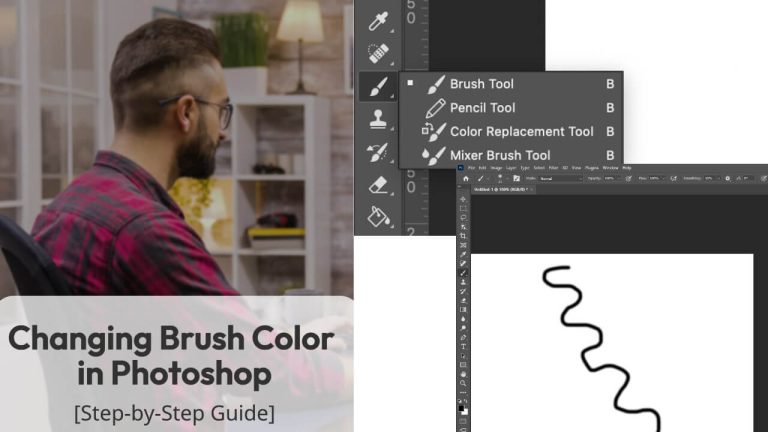
There are many editing programs on the market, ranging from being free to costing hundreds of pounds. It is worth looking into the available opportunities and finding out what suits your needs best. Taking a class, whether it’s a paid or free tutorial, will also help kickstart your editing journey, which, in turn, can generate many more ideas for your campaign. It may benefit you here if you are having trouble or do not have the time.
Though editing software is recommended for subtle changes, filters can pose a problem. Filters, such as those found on Instagram, can change the image’s color, which causes your brand to come off as untrustworthy. It can also make it appear that you are hiding something about the product and will therefore cheapen it or cause the buyer to question the quality.
5. Consider the best background for your brand

Though the background should reflect your brand identity, a general rule is to ensure it is consistent throughout all your products or a running theme through specific collections. Many companies opt for a simple one-color background, so the promoted product is the main focal point. When going for a blank background, it is essential to consider using shadows and even reflections. If you’re opting for a busier background, then experimenting with aperture is a must.
Packshot Photography Tips
1. Enhance images with aperture

Image Source: Picturecorrect
Aperture refers to how wide the lens opening is when taking a photo and how much light can pass through. Aperture is shown in terms of f/stops and is written as numbers, such as 1.4 or 11. The lower the f/stop, the larger the aperture and therefore the higher the exposure. Aperture affects depth of field and is therefore significant to use for products with busier or moving backgrounds.
2. Think About Shutter Speed

Shutter speed is how fast the shutter opens and closes when the image takes, affecting the lens’s amount of light. If you’re changing the shutter speed, then it should adjust the image lighting accordingly. For example, a long shutter speed in a well-lit room will cause overexposure.
3. Use ISO to your Advantage

Image Source: Alyn Wallace Photography
ISO is a camera setting that modifies how sensitive the camera’s sensor is to light. Higher numbers cause the camera to be more sensitive to light, allowing images to be taken in lower light without increasing shutter speed. However, higher ISO can also introduce a graininess into the picture and, therefore, a drop in sharpness.

4. Invest in a tripod

This tool may seem unnecessary to many who think they can “hold the camera still,” which is fine if your site has a few images. However, as your brand grows and the product catalog increases, a tripod will become more important to maintain consistent photos. In addition, a tripod does not have to break the bank, and you can purchase a good quality tripod rather economically.
5. Use Color Theory
According to a study of WebPageFX, it takes under 90 seconds for a consumer to form a judgment about a product. 85% of surveyed people say that color is the primary reason for purchasing a product. 80% of people also said that color helps increase brand recognition. Thinking about the colors used in your packshots is extremely important.

If you are still having difficulty creating high-quality and engaging packshots, we can help you with all aspects of editing and get your brand noticed! So get in touch with us today.


