

Editing pictures is a need of an hour for everyone to edit their photographs, be it personal or executive. In this content we will discuss the photo altering tips for beginners and also give you all the tools and know-how needed to enhance your images in no time. As social media and online business become more prevalent, knowing how to effectively modify images will help your content shine. If you’re new to the world of photo editing, never fear — this guide will help you.
This guide will take you through the fundamentals of editing a photo, from adjusting brightness and contrast to advanced techniques such as removing backgrounds and color correction. These tips will help you sharpen your editing skills, whether you’re using Photoshop and GIMP or an online editor like Canva.
Photo altering tips for beginners :
Start with a Good Photo
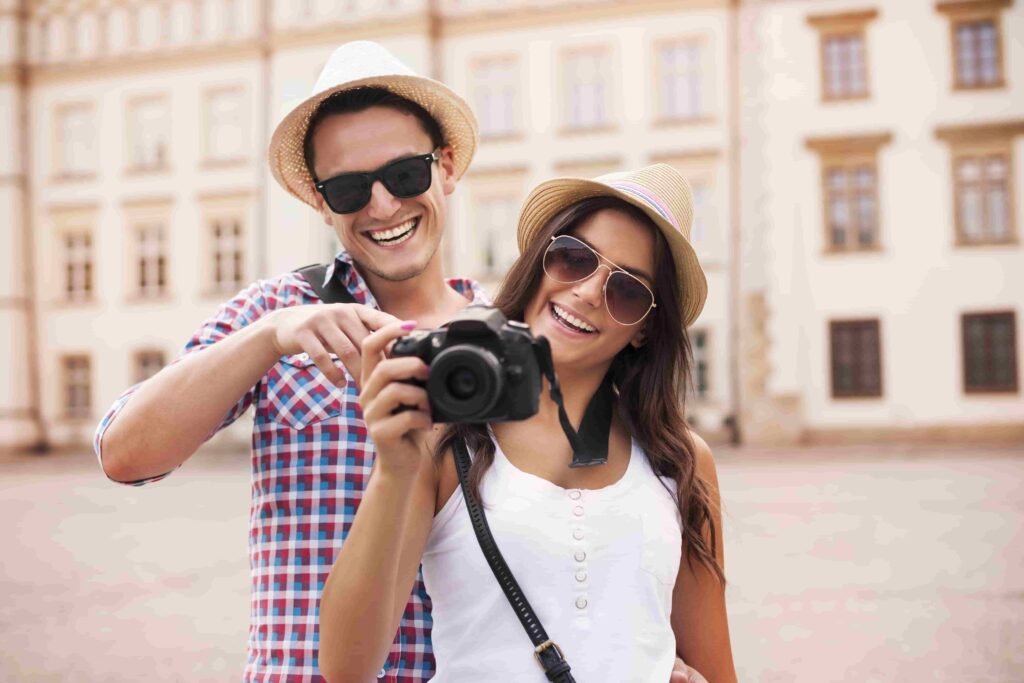
“The first and foremost step before going into editing is to make sure you are working with a good-quality photo. The finest photo editing process begins with the finest raw material. Aim for clear, crisp, well-lit images to reduce the need for extensive editing.
- Note: Ensure that the resolution of your photo is appropriate for how you plan on using it, particularly if it’s in print.
Crop Image and Straighten
Cropping helps you emphasize the most relevant portion of your image. Album crop image Most photo editing software will let you crop an image to eliminate superfluous edges, as well as distracting elements from the composition.
Step-by-step:
- Start by opening your photo in the editing software.
- Position the Crop Tool (usually represented as corners of a square)
- Use the edges of a crop box to trim off what you don’t want in the image.
- Rotate the photo until the horizon (if applicable) is level.
- Crop, and save your image.
Tip: Always allow for a little extra breathing room around your subject in case you want to readjust later.
Brightness and Contrast Balance
Adjusting the brightness and contrast can make your image “pop” and reveal details that may have been hidden. Brightness controls the overall lightness or darkness in your image, and contrast changes how much difference there is between darkest parts of the image and brightest.
Step-by-step:
- Find Brightness/Contrast in your editing software
- Well, to change the overall lightness of your image, Move Brightness slider left or right.
- Adjust the Contrast slider to increase or reduce the difference between light and dark areas.
- Do not make the fix too much to avoid over-exposing or under exposing the image mix.
Tip: If you’re not trying to achieve a specific dramatic effect, try for a more natural look.
Sharpen Your Image
If your photo is a bit blurry or missing fine details, sharpening can be a game changer. The sharpen tool makes adjacent pixels more contrasting to make your image look crisper or defined.
Step-by-step:
- Look for the Sharpen tool, or find Un sharp Mask within your editing program.
- It’s best to apply just a little sharpening at first and see its effects.
- Sharpen as needed, but avoid adding undesirable noise or grain to the image.
- Tip: Don’t go overboard, though, as too much sharpening can render an unnatural image.
Repair Flaws with the Healing Tool
The healing tool is another useful option when you want to crop out blemishes, dust marks and other details from the image. It does this by filling the selected area with an image that merges in well with the surrounding pixels.
Step-by-step:
- Choose the Healing Brush or the Spot Healing Brush tool.
- Hover or click over the blemish or imperfection.
- Allow the software to blend that region with neighboring pixels automatically.
Tip: If you’re working with a portrait, be careful not to go overboard so your eyes don’t end up looking airbrushed.
Switch Out the Background (Remove It or Swap It)
The most used photo editing trick is to remove background or change the background. Whether you want to strip the background, swap in a solid color or shoot in a different image altogether, this trick can really transform the appearance of your photo.
Step-by-step:
- Select Background with Quick Selection Tool or Magic Wand Tool
- Once selected, press Delete, or use the Layer Mask to eliminate it.
- If you are replacing the background, find an image to put into the background layer.
- Now you can move your subject around the background so that the overall composition feels more natural.
Tips: If an object has complex edges, use the Pen Tool to make precise selections.
Hue/Saturation
So editing the colors of your image can either make it more colorful or provide a different mood. Change the mood of your photo by enhancing the hue and adjusting saturation.
Step-by-step:
- You will select Hue/Saturation in your photo editor.
- Use the Hue slider to rotate colors (e.g. make green turn into blue).
- Use the Saturation slider to make colors more or less vibrant.
- Adjust the Lightness slider if necessary to make the colors brighter or darker.
Note: Consider using the individual colors adjustment to control more precisely how your image looks.
Use Filters and Effects
You can use filters and effects to give your image a creative touch. If you want your photo to have a vintage appearance, create a black-and-white image, or add a bit of blur stylistically, filters can rearrange and manipulate the pixels in easy ways that don’t require significant expertise.
Step-by-step:
- Like how you can find filters and effects on your editing software.
- Choose a filter that suits the aesthetic of your photo.
- In simple terms, the intensity of your filter will determine how strong you want the effect to be.
Tip: Be judicious with how many filters you stack — too many and your photo just looks edited.
Add Text or Graphics
This can be helpful when you want to write something on your image, for example when creating promotional material, social media feeds, or custom gifts.
Step-by-step:
- In your editing software, select the Text Tool.
- And, as before, you can enter text and set font, size, and color.
- Position the text within the image at the most appropriate location that does not overwhelm the primary focal point.
- You can also insert decorative features, such as logos or icons or graphics.
Tip: Make sure the text is easy to read (better on mob but images may be smaller).
Use Layering for More Control
Layered edits are one of the strong suits in the advanced photo editor. Layers allow you to work on different areas of the image without affecting others. That is especially handy when making more complex edits, such as adding effects or altering individual pieces.
Step-by-step:
- Open the Layers panel in your photo editor.
- To keep the original intact, duplicate the image layer.
- Apply filters or whatever you like to do on the duplicate layer;
- The Layer Masks portray the parts of your image to be hidden or revealed.
Tip: Make sure you have well organized layers, and label them appropriately.
Export Your Image in the Correct Format
After you finish editing, saving your purpose-based image in the right file format is necessary. Various formats are optimized for the web, printing or social media sharing.

Step-by-step:
- Choose Save As in your photo editor.
- Make sure that you use the correct format:
- JPEG: Good for photos/web use (high compression)
- PNG: Best for transparent images or graphics.
- TIFF: The standard high-quality print format.
- PSD: Store the project in Photoshop format to keep layers intact for future edits.
Creative tip: Save the file at a low resolution if for web use so that the image remains high quality while keeping the native file size down.
Remove Unwanted Objects
At times, there are distracting elements in your photo that you may want removed. That helps to make your image look cleaner and more professional; you can do that by removing unwanted objects. Most useful when retouching product images, portraits, and landscapes.
Step-by-step:
- Please use the Clone Stamp Tool or Content-Aware Fill feature.
- Choose the tool, and then paint over the object you want to remove.
- The tool will populate that space using pixels from other locations in the image.
- With the Healing Brush blend in the changes and refine the result.
- Zoom in and make sure the edges of that object you removed fade perfectly into the rest of the photo.
- Non-Destructive Editing with Layer Masks.
Layer masks enable you to remove or modify sections of an image without destroying the original. Whether you’re using a non-destructive approach is especially important if you want to make additional edits.
Step-by-step:
- Hit the Layer Mask button to add a mask to that layer.
- 2 – Paint With the Brush Tool Over Areas You Wish To Hide Or Show.
- Use a lower opacity brush for the transition.
Tip: White on the mask shows areas, and black hides them. Use grey for partial transparency effects
Improve Skin Tones (When Working on Portraits)
Skin-tone tuning can make or break portraits. Whether you’re reducing blemishes or giving the skin a more even and natural tone, subtle changes can leave your subject looking glowing and vibrant.
Step-by-step:
- Then, make sure you bring out any spot on the skin with applying Healing Brush.
- Use Brightness/Contrast or Levels for smoothing skin tones
- When using the Hue/Saturation tool, make adjustments to the Red and Orange channels (the ones that will impact skin tones) to improve overall color balance.
- If you need to tweak the warmth of skin as it looks too warm or cool, make an adjustment with the Color Balance Tool.
Tip: Go for a natural look every time. Don’t over-smooth the skin, to keep texture and detail.
Make Bokeh Effects for Depth
In photography bokeh is used to describe the effect of blurry and out-of-focus areas while taking a shot, especially in portrait or product types shooting for a dreamed or artistic perception. You can recreate this effect by simulating it in your photo editing and adding depth as well as focus to your image.

Step-by-step:
- Use a Gaussian Blur filter on the background or select the Blur Tool.
- Set blur to a higher value to have an out-of-focus, soft background with the subject in focus.
- To further accentuate the out-of-focus areas, use Lens Blur or Radial Blur effects to create circular blur patterns that resemble camera lens-induced bokeh.
Tip: Use bokeh sparingly, restricting it to the parts of the image you want blurred, leaving your subject in sharp focus.
Make Use of Adjustment Layers
Another powerful technique used in image editing to play around with the color correction and contrast of images is adjustment layers. These allow you to change brightness, contrast, color balance, and so on.
Step-by-step:
- Hit the New Adjustment Layer button on the bottom of your Layers panel.
- Select the adjustment you would like: Brightness/Contrast, Hue/Saturation or Curves.
- So the adjustment layer will be set on top of your image, and you can modify, change settings without processing your actual image.
- 5 Tips to Enhance Your Image with Filters and Adjustments in Photoshop.
Tip: Adjustment layers are useful for tweaking the different aspects of your image without making permanent changes.
Gradients to Create Smooth Color Blends
Gradients are a nice way to facilitate smooth transitions, useful in backgrounds, overlays, or effects such as sunsets. Adding gradual spreads of different colors are more attractive and provide visual interest to your image.
Step-by-step:
- Choose the Gradient Tool from your toolbar.
- Select a more suitable gradient style, depending on the usage (linear/ radial/ angular).
- Click and drag your gradient tool across the canvas to apply.
- If you want something less strong, you can decrease the opacity or change the blending mode of your gradient layer.
Pro Tip: Add gradients to create atmosphere in the sky, background, or light.
Refine Image Details with the Dodge and Burn Tools
Dodge and Burn tools adjust the brightness of small parts of an image, by lightning (dodging) or darkening (burning). This may enhance highlights, add depth or set up dramatic lighting effects.
Step-by-step:
- If you want to lighten areas of the image select the Dodge Tool or if darkening/ burning areas then go for Burn Tool.
- Use the exposure control of the tool to tune how much of the effect you want.
- Brush the brush very gently over those areas you want to lighten or darken.
- Use soft, so as to not create hard lines and blend transitions.
Tip: Use this technique to highlight key details in the image, for example highlights on a face in a portrait or texture of an object.
Add a Vignette for a Vintage Feel
A vignette is a gentle fall off at the edges of an image, which serves to center your attention on the body of the photograph. This create effect is widely used in portrait and product photography where the objective is to draw attention from the viewer towards the subject.
Step-by-step:
- Open the image in your editor and add a new Vignette layer.
- Add an elliptical mask to the center of your image using the ellipse tool.
- Images > Adjustments > Invert or press Command (Ctrl) + I and then apply Gaussian blur to the “mask” to smooth out the edges.
- V_Line Set: Decrease the exposure with a vignette at the edges of the photo.
Tip: Soft, subtle vignette — to avoid darkening the image too much (I want attention on my subject)
Cinematic Look: Color Grading
Color grading can change the entire feel of your image, starting the process of making it look cinematic or artistic. This involves falling in a unique atmosphere to your photo by adjusting individual shadow, mid tone and highpoint marry color balances.
Step-by-step:
- Change the colors in the image with Color Lookup or Selective Color.
- Separate adjustment for shadows, mid tones and highlights for control.
- Try different color palettes, from warm to cool tones depending on the look you are after.
- Use slight tweaks until the hues flow into one another and provide your image a cutting-edge, completed look.
Tip: So Color Grade Sparingly — and Using a Light Touch
To Achieve a Professional Look, Create a Nature Background
There will be times when you want to isolate an object or person in your photo and get rid of the background completely. This is often used for e-commerce products photos, logos and profile pictures.
Step-by-step:
- This can be done effectively using the Pen Tool or Quick Selection Tool to outline your subject closely.
- Now that the subject is selected, Apply Layer Mask to delete the background.
- You will want to save your image in a PNG so that it keeps the transparency.
Tip: Use additional time to perfect the edges of your selection (especially around hair or other fine details), creating a polished result.
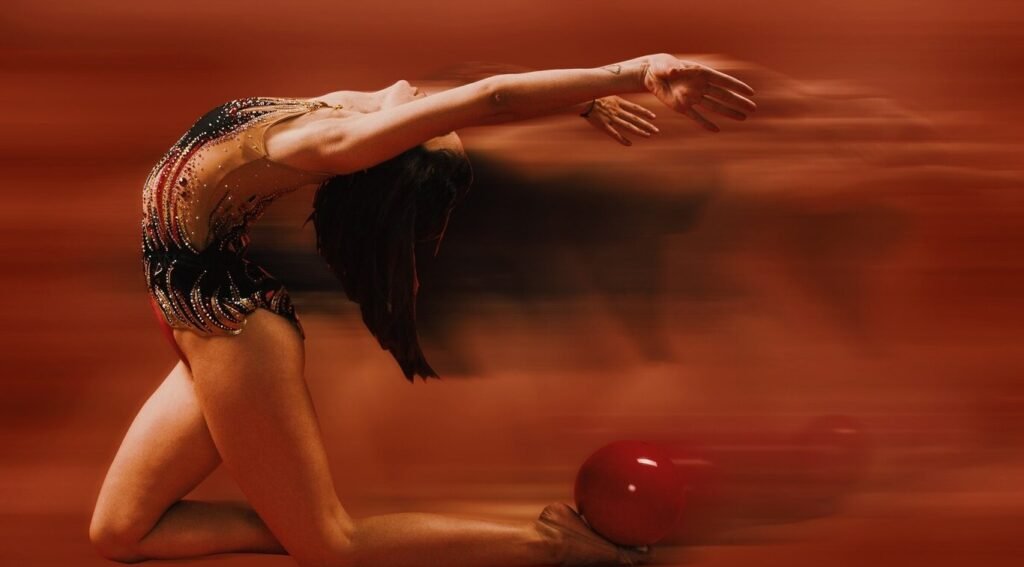
Get Creative with Blur Effects
The blurring of parts of an image adds a creative and artistic effect. It can also help draw the eye to the most important parts of the photo, while giving less focal points a soft, dreamlike quality.
Step-by-step:
- You can always select Gaussian Blur or Lens Blur to soft blur the background or foreground.
- Use a Motion Blur where the movement of elements in an image, such as a car or person moving in front of you, is simulated.
- Play with the strength of the blur to see which effect works best for your image.
Tip: Blur the edges of the image to give a shallow depth of field, or apply some motion blur for an action element.
DEVICES AND SELECTIONS Completion: Adding Inside Your Picture-Altering Skills
The process of taking picture-altering is gradual, and as you proceed you will become progressively skillful with the illuminations in the world. You will only get better with editing as you try out more features and just experiment with creativity.
Whether you’re bringing up the Exposure value on a portrait shot, eliminating distractions from a landscape scene, or applying artistic filters that set the tone for your shot, it all comes down to assuming a balance between subtlety and creativity. The techniques you find in this guide, if applied with intention, can help you level up your images and make your vision a reality.
With these simple yet effective picture altering tips, you will be.
well on your way to mastering photo editing, whether you’re working on content for social media, marketing or just polishing up your personal photos. So keep hustling, and don’t forget to have some fun!
Evolving From a Hobby into an Expert
Learning how to alter pictures is something that takes a bit of time, but soon you will become more accustomed to the tools and techniques at your disposal. The more you play around with various features and unleash your imagination, the better at editing you will get.

Be it enhancing the hue on a dull portrait, pulling attention away from distractions in a landscape or adding nice-looking brush strokes to craft a mood; The trick is
keeping between subtlety and creativity. When used judiciously, the techniques in this guide will transform your images and make your vision a reality.
Whether you’re making images for social media, the marketing world, or just editing personal photos, you’ll be a photo-editing professional in no time by learning these incredible image changing techniques. So have fun, and let your imagination fuel the vision!
For professional touch we UK Clipping Path here. We provide multiple clipping path service, ecommerce image editing services, ghost mannequin service, jewelry photo editing service, Photo Retouching Service and many more services. If you want to have neat and clear cutouts give a free trial to show our skills.