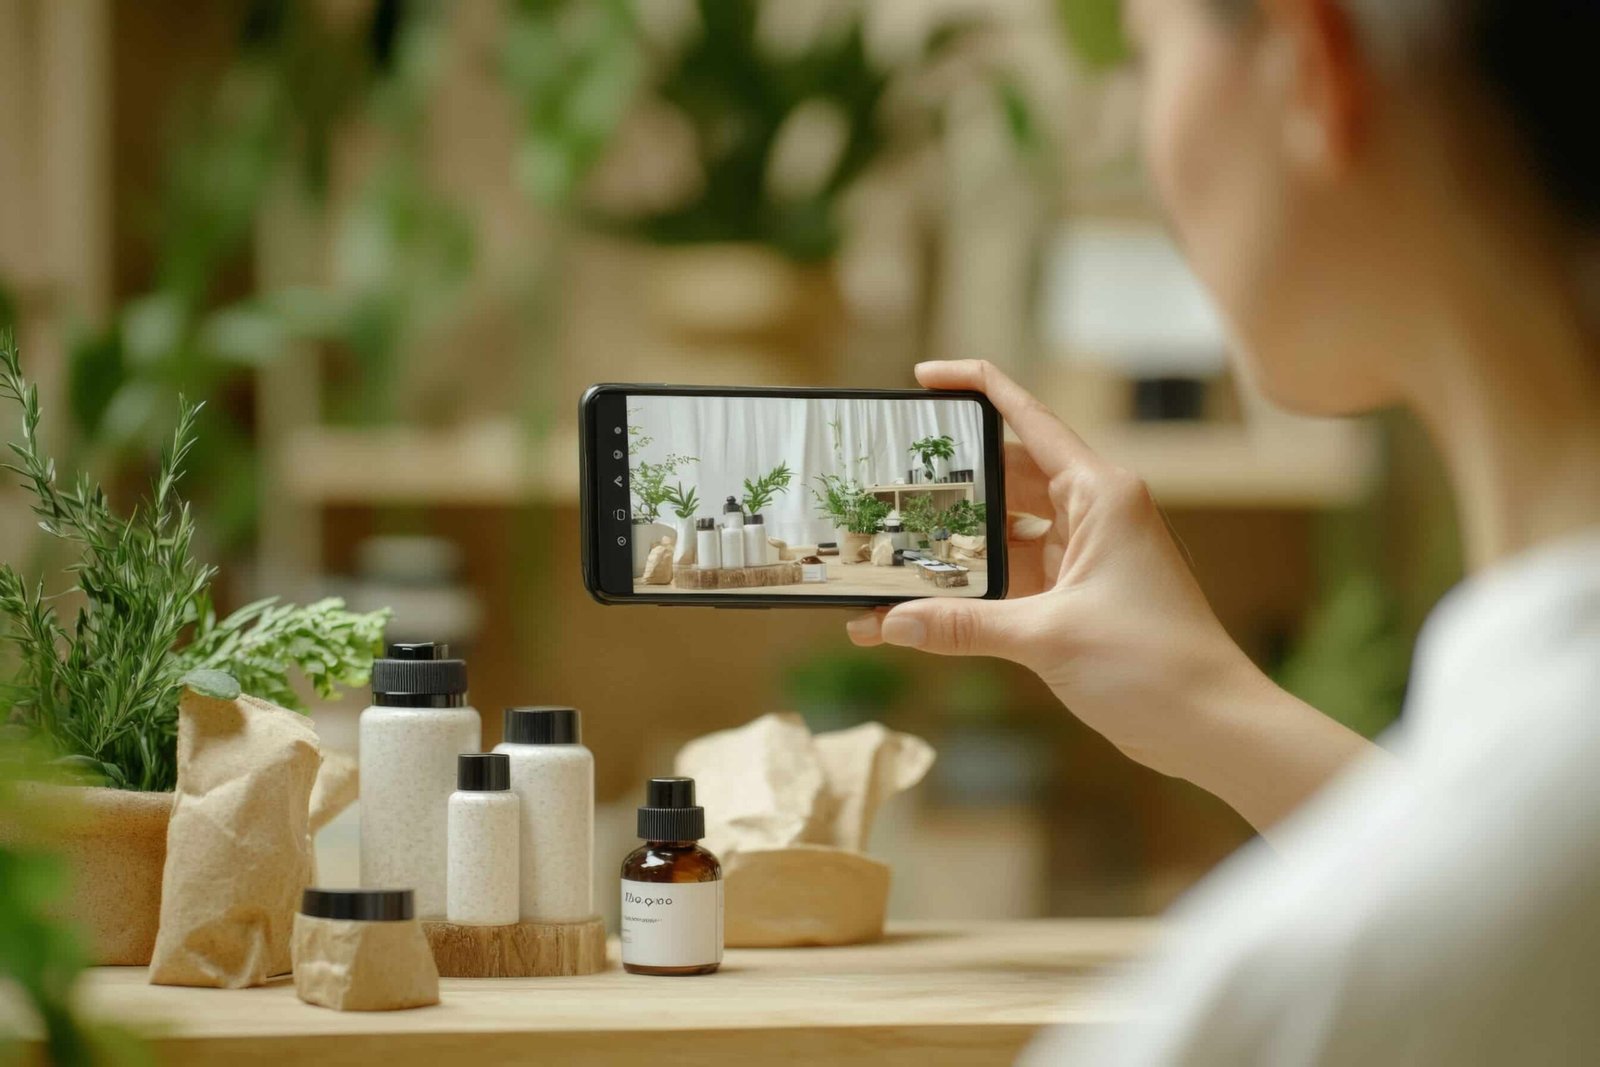
This article will take you through a step-by-step process of making a phone product photography at the lowest cost without compromising its quality.
Taking professional product photos is the key factor for online sellers. In the light of the fact that remarkable pictures determine whether prospects will be more willing to buy a product or not, thus resulting in buyer confidence.
When you are on a tight budget, hiring a professional photographer can strain your wallet. The good thing is that you don’t really need a high-of-the-line DSLR or very expensive equipment to have amazing product photos. Your smartphone, combined with some tips and tricks, can give you brilliant shots that are second to none when using other photography setups.
Understanding Phone Cameras
Study founds that smartphones capture 94% of all pictures, making phone product photography an important medium in 2024.
First, it needs to clear how do phone cameras work. Recently, smartphone cameras have been very advanced. Each new model has added more smartphone photography lenses, megapixels, and new image-processing software, such that they have become more capable for phone product photography.
Though a few hold on to DSLRs, cameras on smartphones seem to catch up because they also allow different modes of shooting and adaptability in multiple lighting conditions.
Knowing your smartphone camera specifications, such as aperture, sensor size, and pixel resolution, will get the most from your device.
For example, product photography using an iPhone helps you excel in the natural reproduction of colors while some Androids are good at dynamic range and manual controls.
Why Understand the Capabilities of Your Phone Camera?
Knowing what your smartphone camera can and cannot do will tell you where to place, how to set, and how to light it. This will hugely influence your phone product photography, making them professional and interesting.
In sum, it saves you from rookie mistakes, which can be literally costly-for example, shooting in poor light or using the wrong zooms that may mess with an image’s clarity.
Equipment Needed for Phone Product Photography

While you can get away with using a phone, there are a few other pieces of photography equipment that will enhance the quality of your phone product photography. Fortunately, these are relatively inexpensive, and you can even find budget alternatives.
Smartphone Lens
Adding external lenses to a smartphone camera enhances the photography wonderfully. There are wide-angle, macro, and telephoto lenses for smartphones that help capture everything from wide angles to extreme close-up shots with better detail and accuracy. Most of the lenses clip onto your phone and are small enough to take with you wherever you go.
Tripod
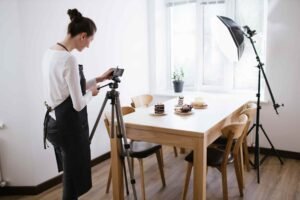
A tripod is critical in keeping your phone stable, especially during the need to take several shots or when you have longer exposure times. It keeps your camera steady; hence, your product shots are sharp and consistent. Get the ones that have adjustable legs and are fitted with a secure phone holder that will go perfectly snug onto the device.
Lighting Setup
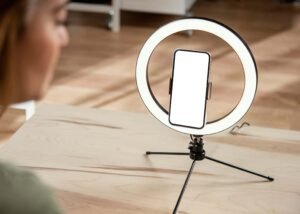
A good lighting setup will make or break your photo. As much as natural light is free and often the best to use, an investment in a basic ring light or LED light panel will go a long way in trying to control the lighting conditions.
Proper lighting removes harsh shadows and shows off the details of products with their colors. One could also use whiteboards or aluminum foils as budget reflectors to bounce light onto the products.
Table

Place your product at the correct height. Use a sturdy table that will not wobble with your product and photography equipment sitting on it. Cover the table with a plain white sheet or any non-reflective surface that would keep the background clean and clutter-free.
Adjusting Settings
Knowing the settings towards how to adjust the camera will definitely help in getting the best photos. This will mean that pictures are well-lit, sharp, and with the presentation of the product as desired.
How to Adjust ISO on iPhone Camera
ISO controls the sensitivity of your camera. High ISO is great in low-light conditions but can add some grain or noise to your photo. To change ISO in the Camera app, tap on the screen where you want to set the focus, then swipe your finger up to increase ISO or down to lower it. If light allows, always shoot at as low ISO as possible in order to keep the image clean.
How to Adjust Shutter Speed on Android
Android phones with manual modes now allow this adjustment of the shutter speed, which really controls how much light reaches the camera sensor. Slower shutter speeds are ideal for shooting in poor lighting conditions; however, they require a tripod to avoid camera shake. In order to shoot products, you will set your shutter speed at approximately 1/125 in ‘Pro’ or ‘Manual’ mode using your Android camera. And this is how to change the shutter speed on Android.
How to Set Exposure on Android
Exposure will define how light or dark your image is. Tap on your product in the Camera app, then drag the exposure bar up or down to adjust brightness. That sets a good balance where your product does not look all white-washed or too dark.
Great Phone Product Photography Hacks
Now that you are all armed and know how to adjust the settings, let’s get into some hacks to make your product photos really look even better.
How to Take Great Photos with Your Phone
Place the product in natural light and not in direct sunlight, preferably in front of a window, to prevent it from ugly shadows. Also, use gridlines to center the product and shoot from several angles to be able to show all sides of an item.
How to Take High Resolution Photos with Phone
Open your camera settings and make sure the image quality is set to maximum resolution. It is recommended not to use any digital zoom because that lowers the quality of an image. Instead, you will want to get closer to the product in order to shoot detailed shots.
Mobile Phone Camera Light
Indoors, it is not advisable to use the in-phone flash of your Android phone because of the glare that might produce. Instead, have ring lights or desk lamps around you. If you really need to use flash, soften the light by diffusing it with tissue paper.
Android Camera with Manual Focus
With close-ups, your best friend is manual focus. Switch your Android camera into ‘Manual’ or ‘Pro’ mode and start turning the focus slider until the product is sharp. This setting is ideal for textures so you can grasp the fine details of jewels or fabric patterns.
Mobile Phone Camera Settings to Blur Background
Want your product on the highlight? The bokeh effect-this will be achieved if you set your camera aperture to its lowest value, f/1.8 or lower. It will blur everything in the background and keep your product focused. The photo will look professional.
How to Put a Filter on Your Phone Camera
Filters make your product photos a bit creative. Most cameras integrated with smartphones have built-in filters, which you can use even before taking a photo. Use a light filter-one that accentuates the colors of your product but does not overpower it.
Get a Professional Product Photo Editing Service
Although your mobile phone camera may provide the best images, a professional touch in photo processing will enhance them. Photo editing can also be done further to increase brightness, contrast, or sharpness. A little bit of image retouching of the product images will turn good images to great ones; polished enough to allure more customers to buy more.
This so-called smartphone photography works just as effectively as any high-end camera setup if you know all the tricks of the trade. Knowing your device, having the right equipment, adjusting settings, and using several photography hacks will help you get professional-looking product photos without denting your wallet. Attention-grabbing, trust-building, stunning visuals of your online products presenting themselves to their full potential mean more conversions.


