1. Open Photoshop from your computer program.
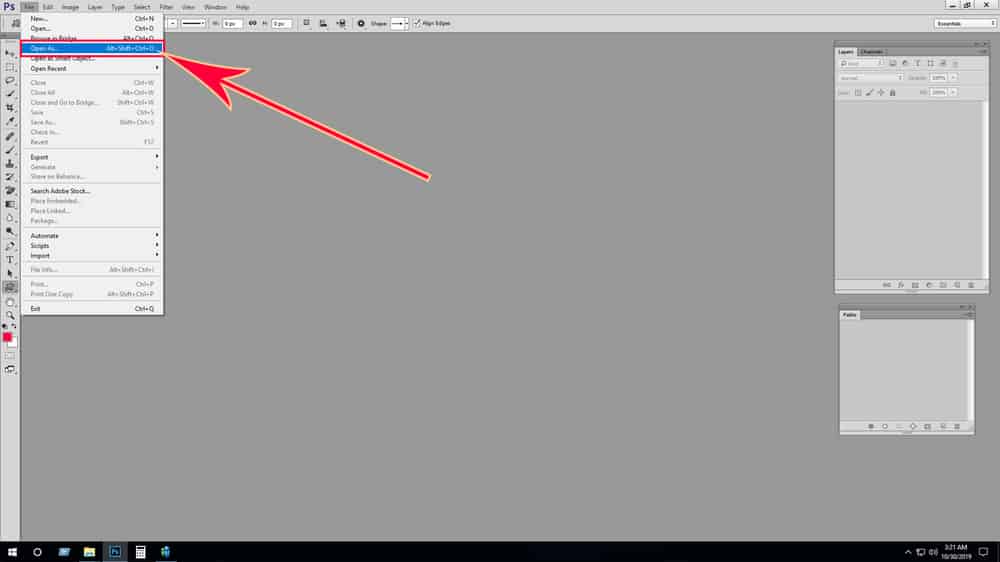
2. Go to the “File” from the menu bar then select “Open as“.
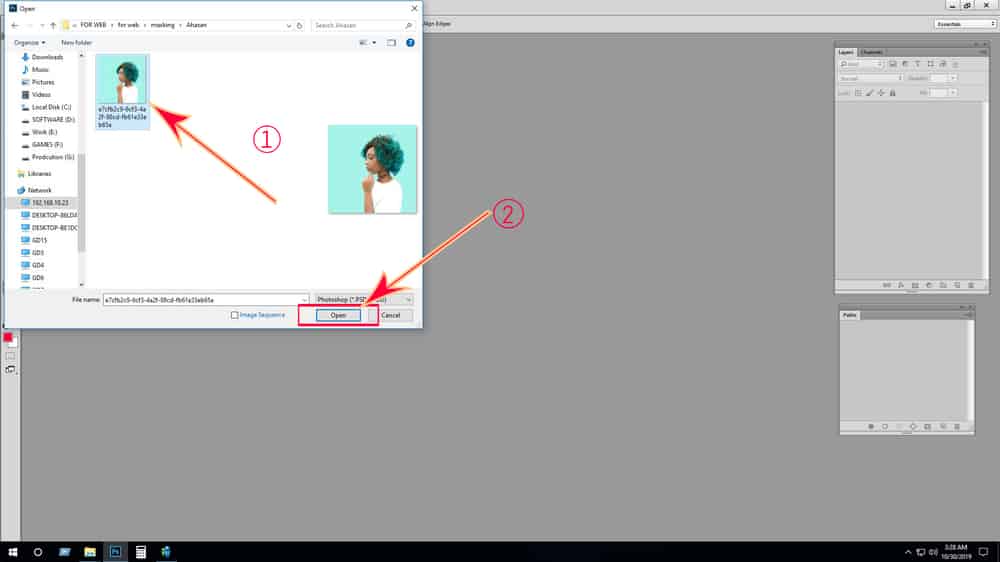
3. Select your targeted photos from your storage (1) and click Open (2).
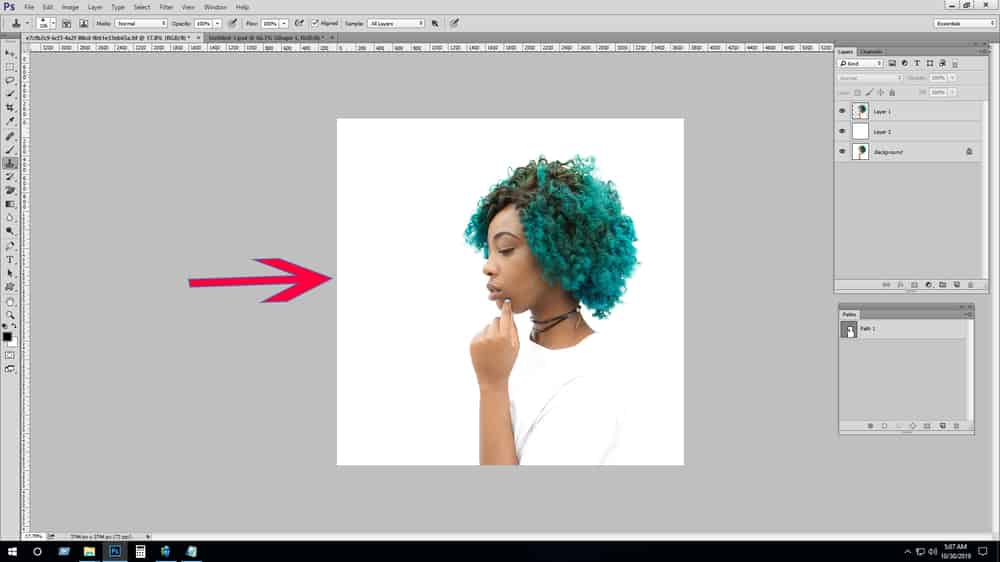
4. Then your file is placed in Photoshop Workspace and select “Pen Tool” from Tools Panel to make “Clipping path“.

5. Make a “Path 1” layer from the Path panel.
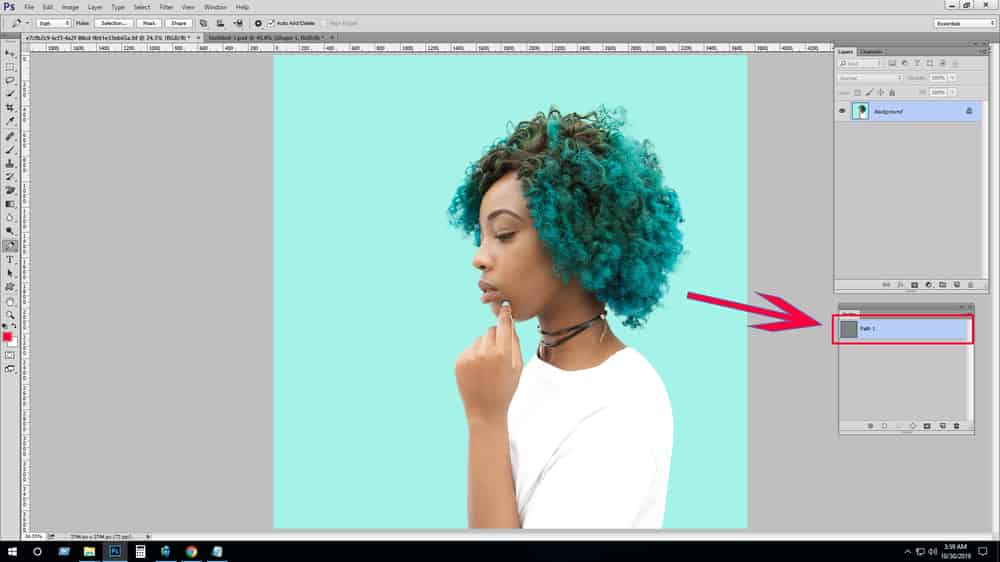
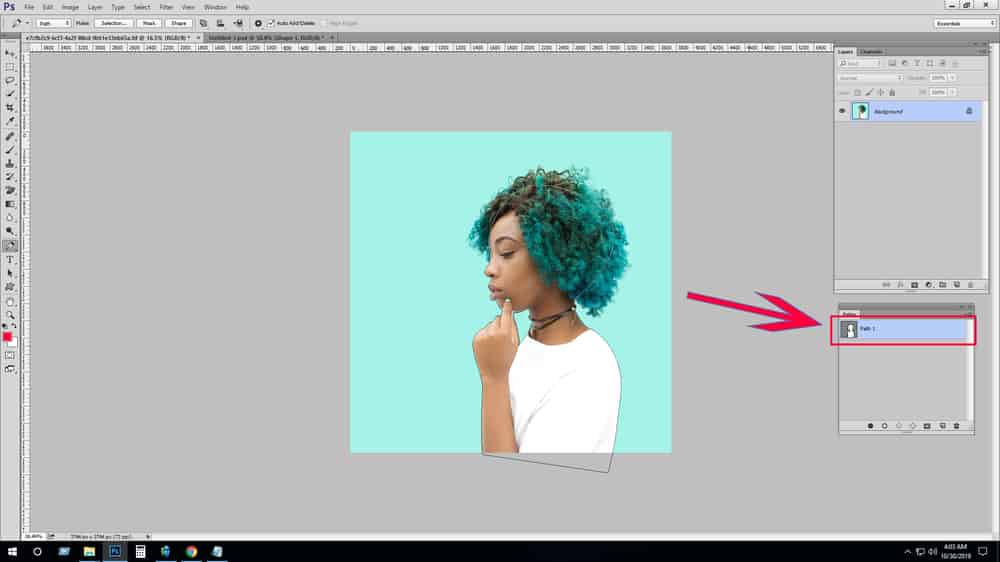
6. Create a “Clipping path” around your targeted area.
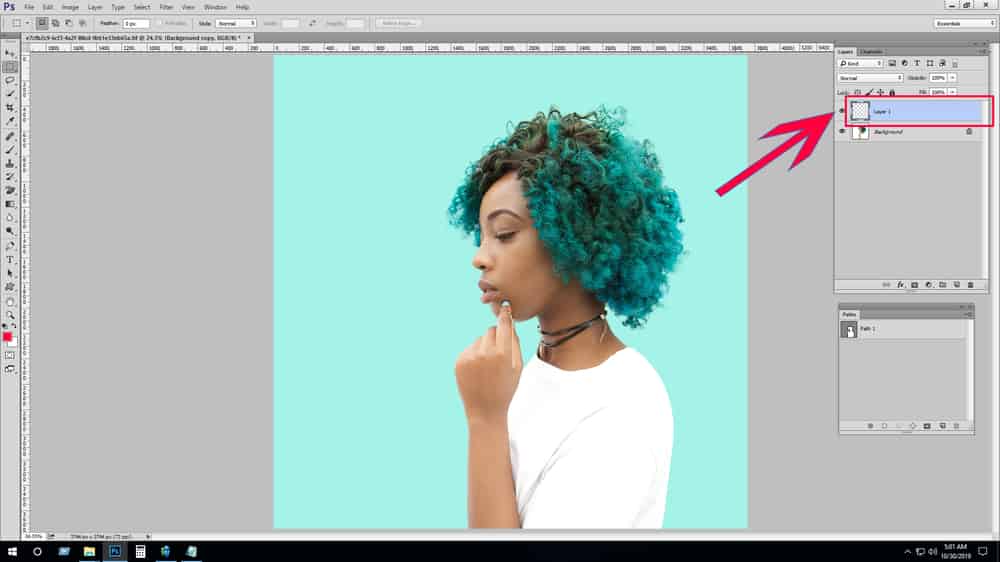
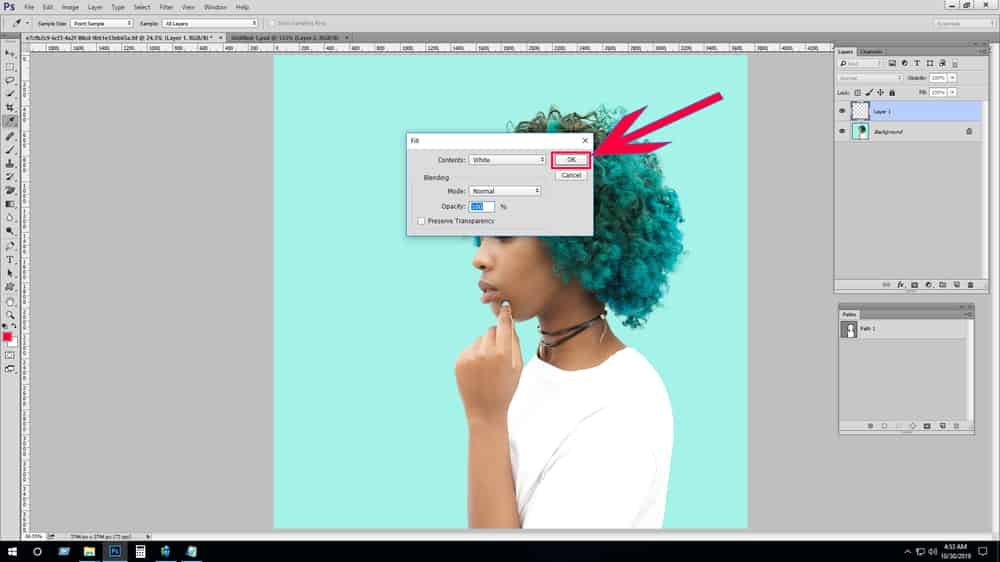
7. Make a blank layer in the layer panel.
8. go to “Fill” from the Edit menu bar.
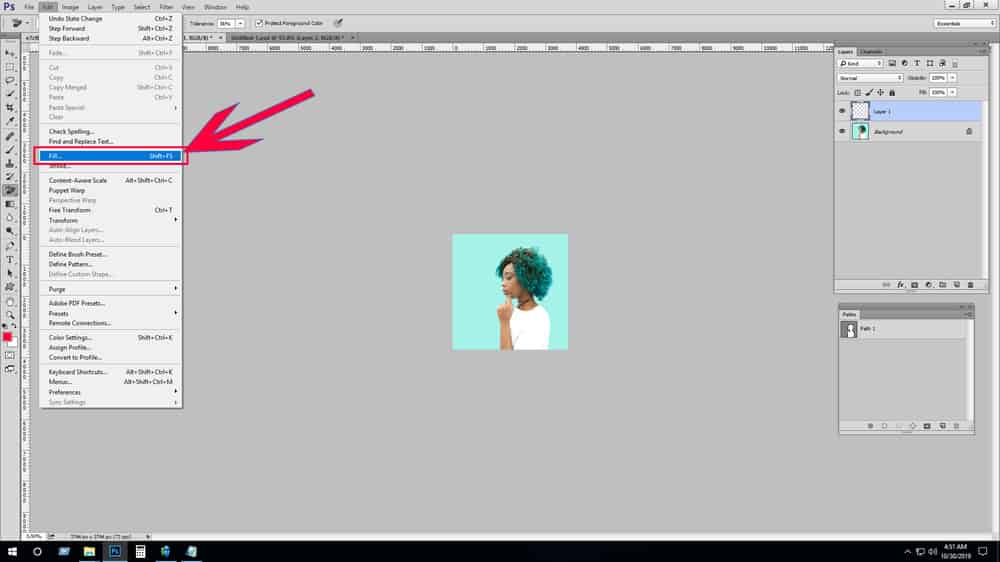
9. Click “Fill” then select “contents: white, Blending mode: normal” and press OK.
10. Copy the “Background” layer.

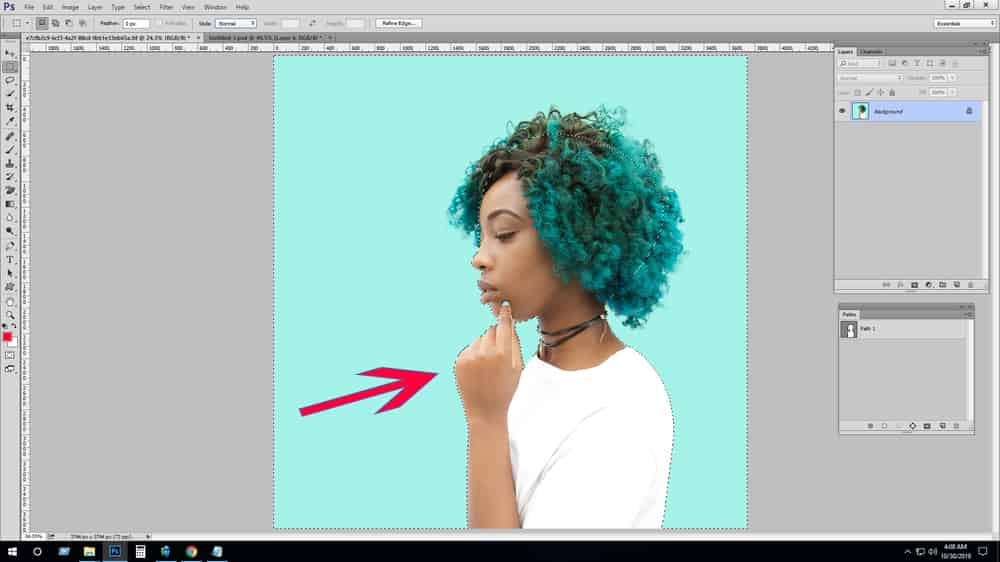
11. at now select your clipping path and inverse it.
12. Select “Background Eraser Tool” from Tools Panel.
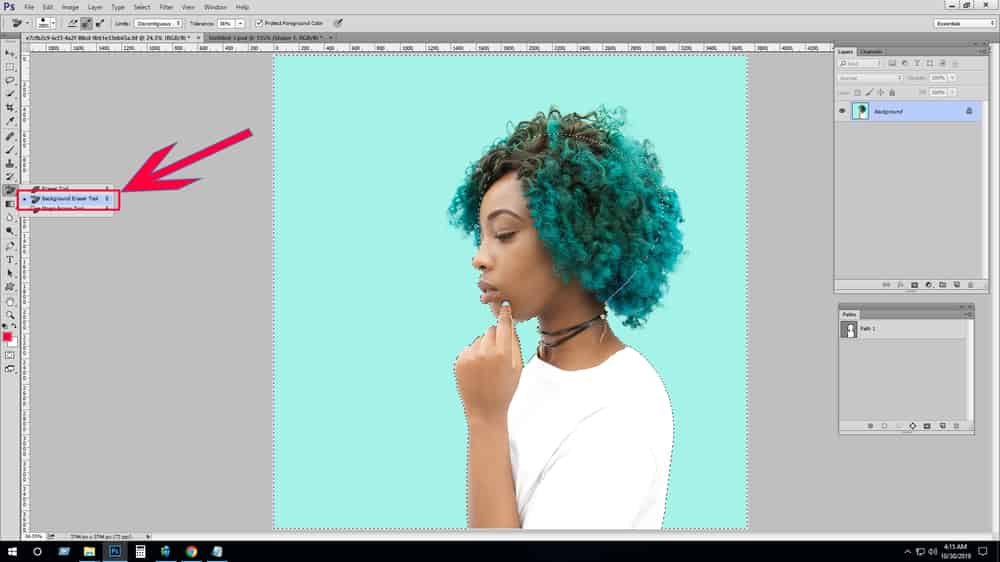
13. Click outside which is unnecessary and keep your targeted area.
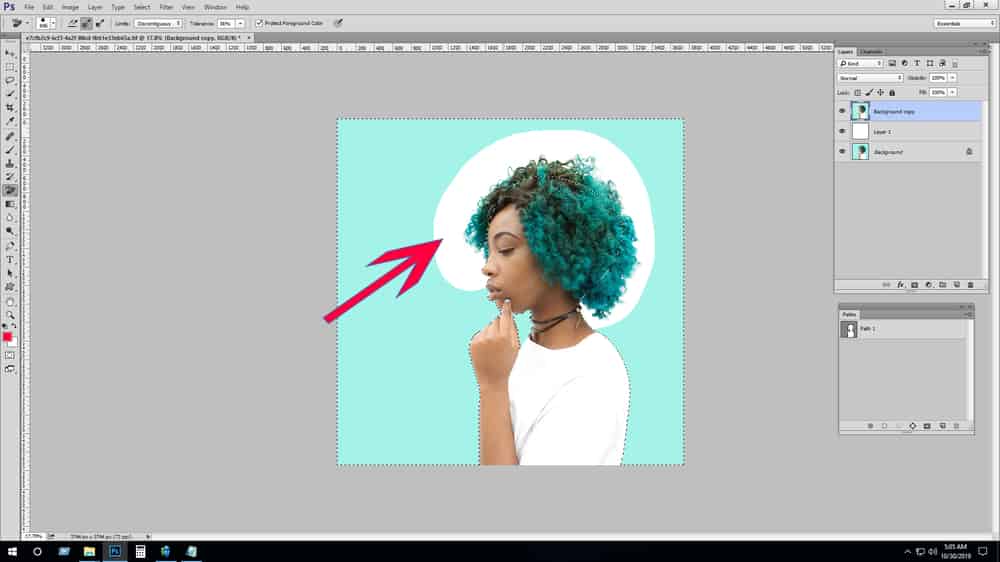
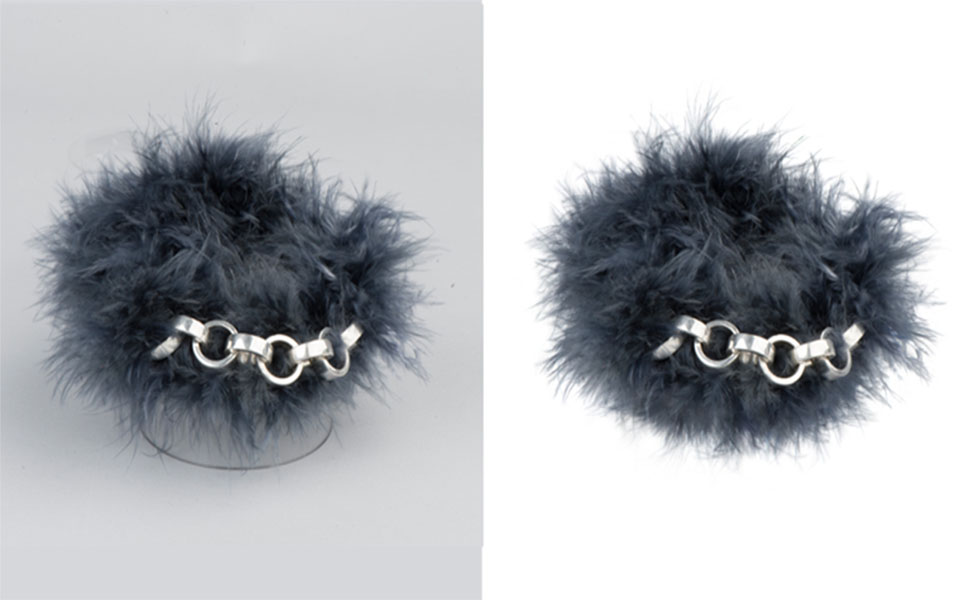
14. and finally you got your targeted area which is what you also want.
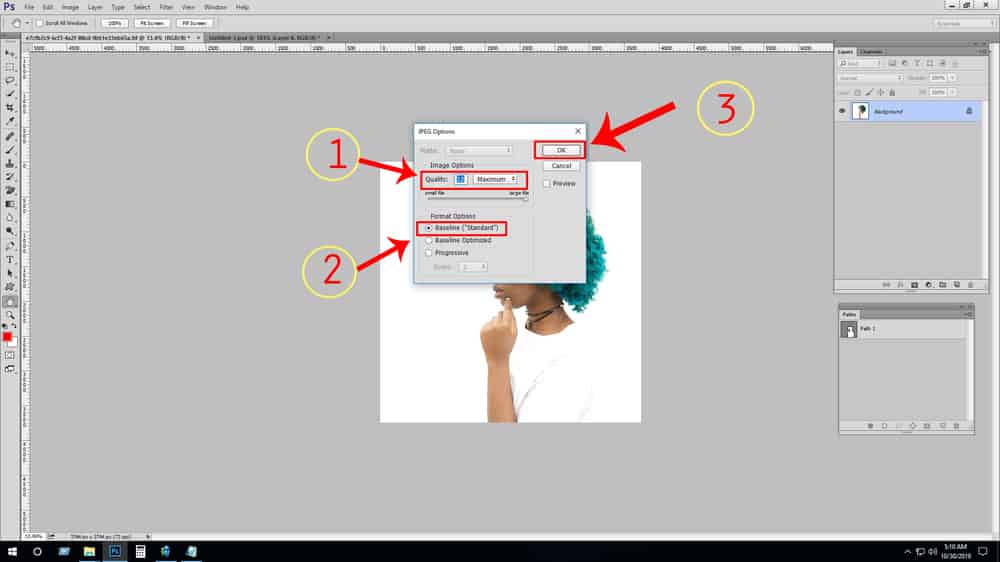
15. Go to the “File” from the menu bar then select “Save as“.
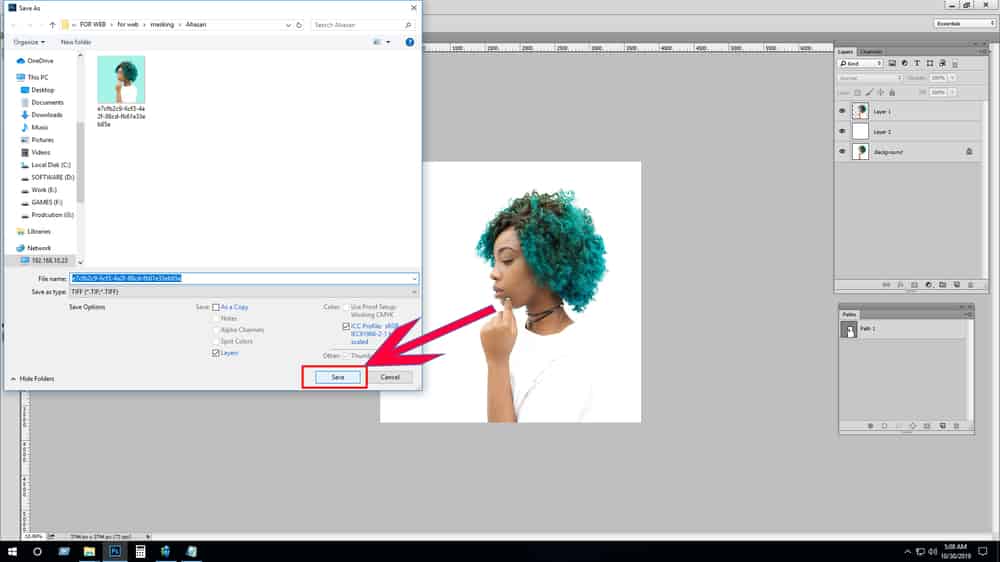
16. Now you have seen a popup “JPEG Options” here you select “Quality: Maximum” and “Format: Standard” and click OK.