
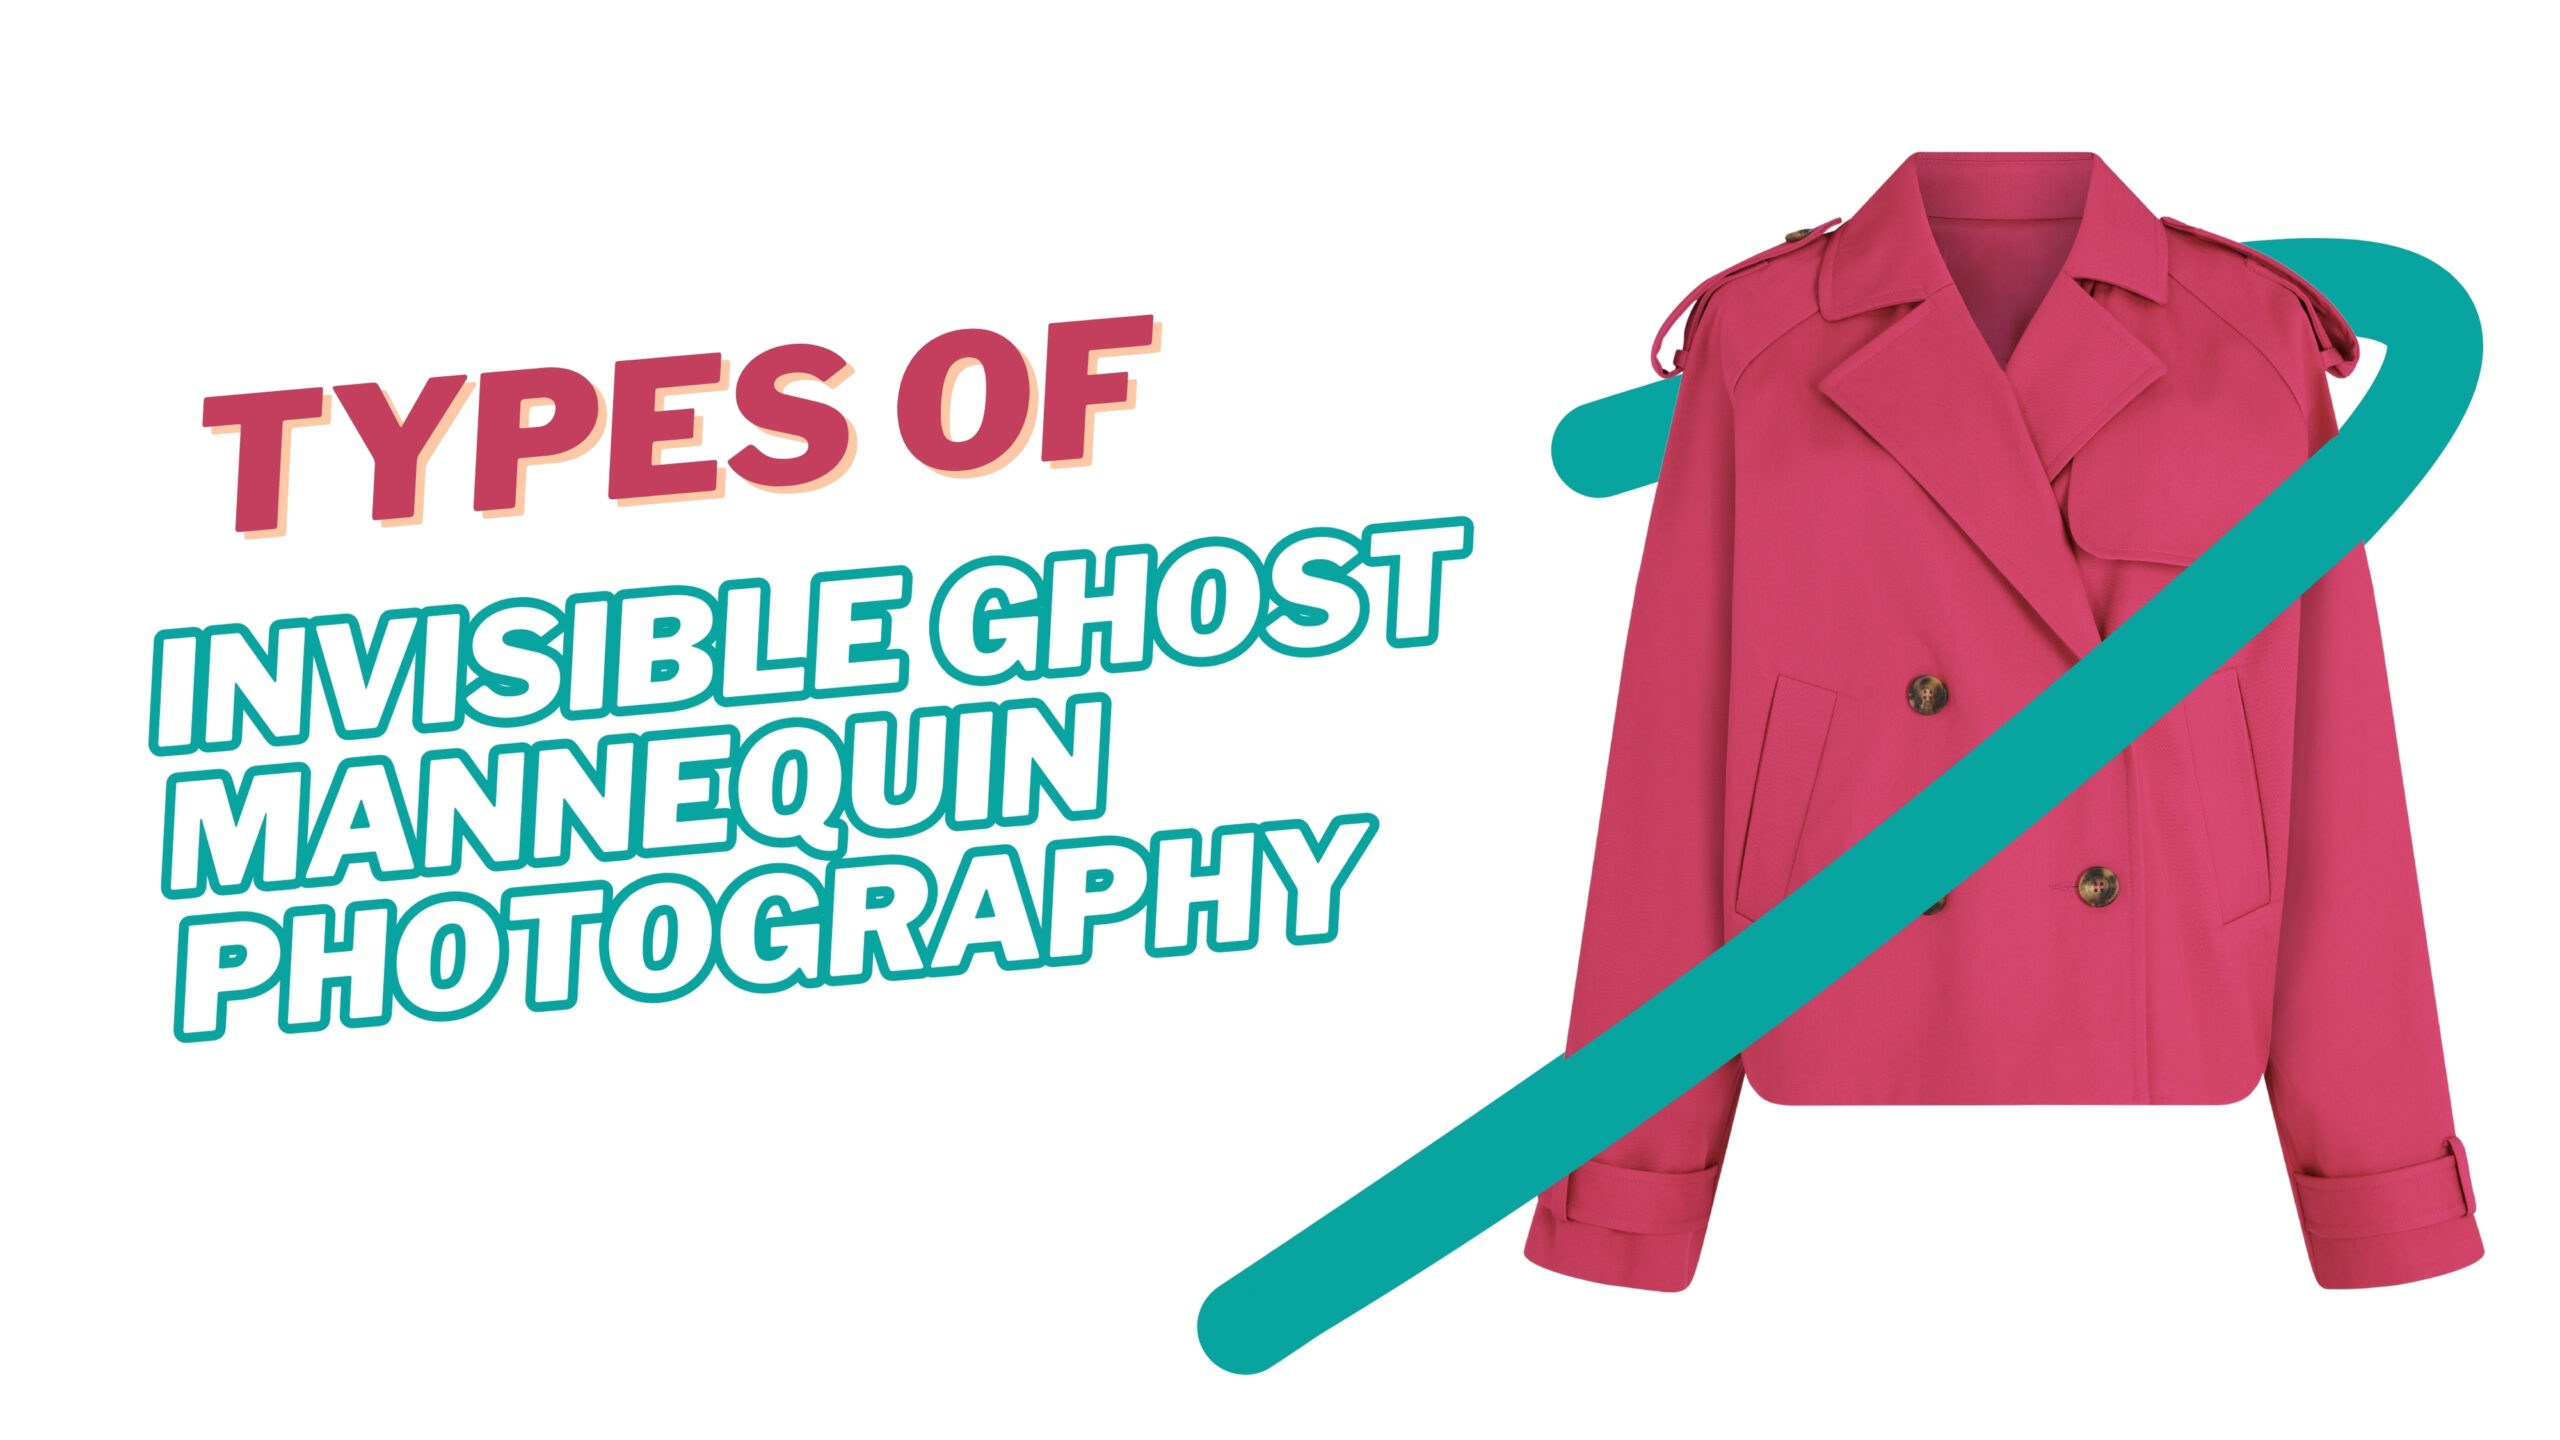
Imagine showcasing your product in perfect shape without a model wearing it. It’s almost like an invisible person is wearing your clothes.
That’s exactly what invisible ghost mannequin photography does. It is a special method of making your products look professional.
This guide will show you the different types of ghost mannequin photography. You will know exactly which style is best for your products and how it can make your store look amazing.
Lifeless product photos that don’t show the real shape of your garments can be a thing of the past with a little photo retouching help.
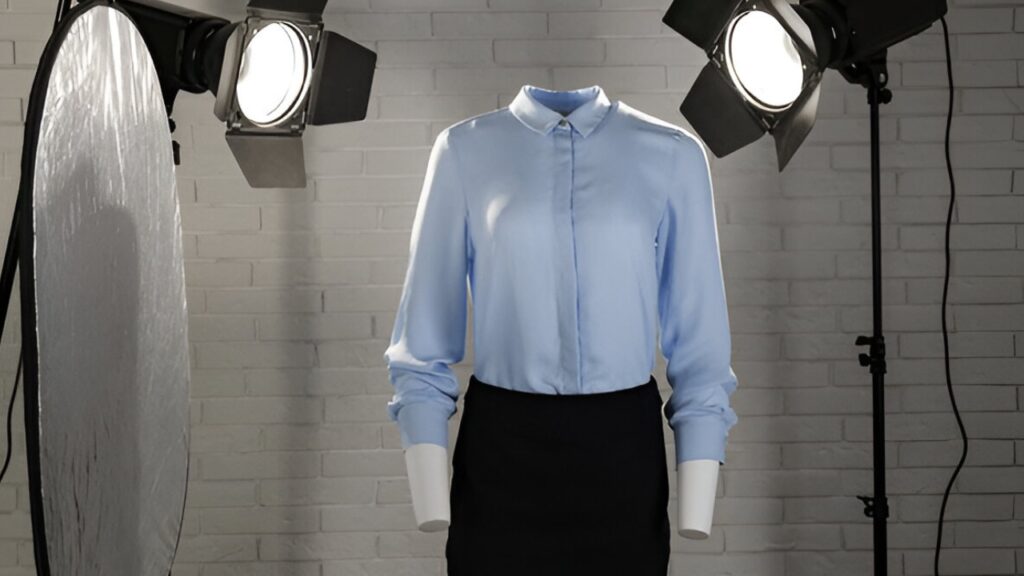
What Exactly is the Ghost Mannequin Effect?
This effect makes it look like a ghost is wearing your clothes!
The idea is simple yet a clever one. To make a picture like this, you first take a picture of your clothing on a mannequin.
Then, you take photos of the inside parts of your clothing. These are the parts you couldn’t see, like the back of the collar.
Now, in the editing stage, a special ghost mannequin editing service will combine these photos.
The mannequin is removed from the photo so the final image shows the clothing with a full, realistic shape. It is much better than using live models, which can be expensive and inconsistent.
Main Types of Invisible Ghost Mannequin Photography
The ghost mannequin photography impact is different and rather complex. Different types of clothing need different types of approaches to make them look good.
Let’s take a look at the different types so you can choose what fits best for your brand.
Classic removable-neck torso
This is the basic type of ghost mannequin result. For this effect, you’ll need a detachable mannequin. These are the mannequins you can take parts off of.
The process is simple. Take the head and arms apart. Then put your dress on it and take a picture.
Then take the images of the sections that are covered by the mannequin, like the inside of the hook. Now just put the 2 pictures together, and you will have a ghost modeling with your clothes on.
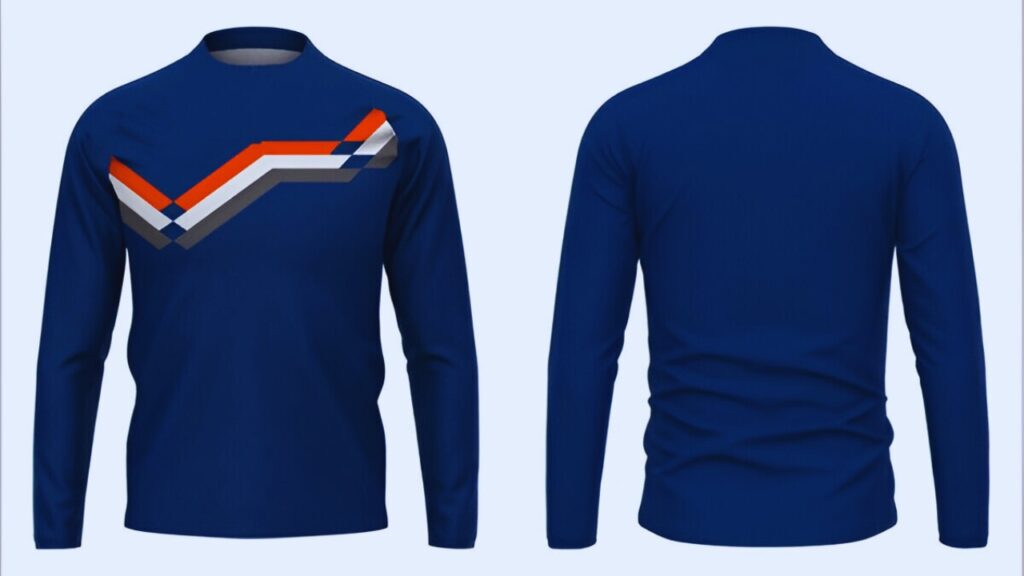
Neck-joint or insert technique
This type is easy to produce if you are an expert editor. This type of photo can easily be made on a computer. Here, the photos are taken separately.
The dress is photographed properly with an expert invisible mannequin photographer. Then, detailed photos of the inside of the neck.
Now, a professional editor can easily attach these photos together to make a seamless ghost mannequin effect.
Jacket and coat hollow back composite
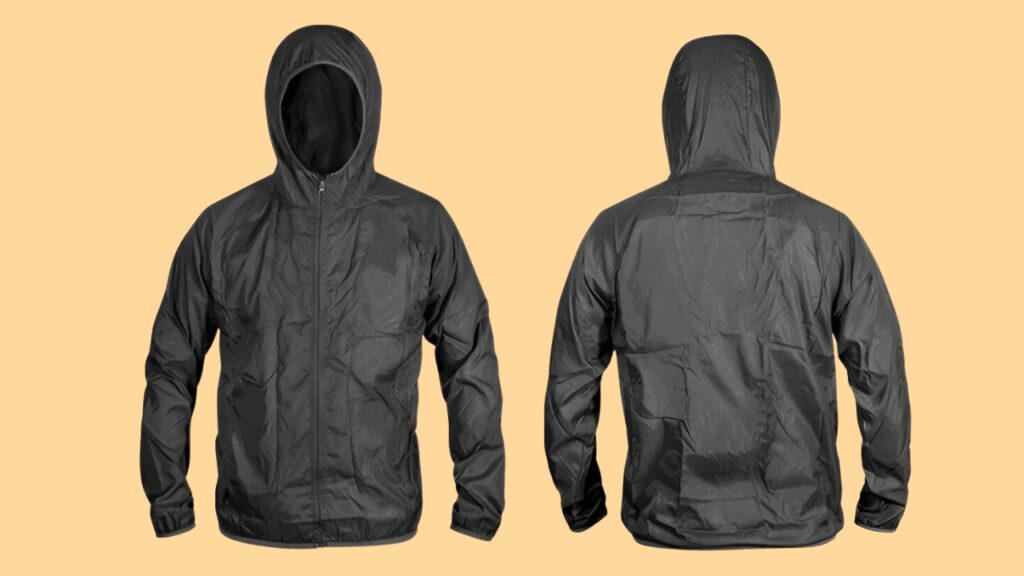
This process is a bit detailed. To showcase a jacket, you need to highlight a few key details.
These are the inner sections of the suit. How the shoulder fits and how it looks with the zippers closed or open. To get the perfect image, use foam or upper arm pads to pop the upper arm out.
You need to take pictures of the jacket and the inside back. When you have all the pictures you need, just merge all of them so that the jacket looks hollow.
You need to adjust the shade and features to give depth to the pictures. This will help you highlight the details like zippers and lining.
This is the best way to present your heavy coats or jackets online.
Here’s a pro tip: use lighting from above. This will help you highlight the texture of the fabric.
360° ghost mannequin
If you know brands, then you already know what this type of product photography looks like. Most brands use this technique to make their products stand apart from the rest.
This method helps the customers rotate and see the clothes from every angle.
To get a perfect 3D ghost mannequin effect, you must have a spin mannequin. Keep your camera in a fixed place. Tape down to mark the exact spot.
You also need to lock the camera to the tripod so you get consistent lighting in every shot. Now you need to rotate the garment and take a bunch of shots to capture every angle of your clothes.
Now take all the photos and mark the ghost parts from all angles. Now add the inner fabric picture and the back neck part to give it the hollow effect.
After retouching and adjusting everything, save it as a 360-degree viewer photo. This will give you an interactive ghost mannequin photo to view from every angle.
Hybrid: flatlay and ghost composite
This is basically a mix of 2 effects. You make 2 individual product images and combine them. Here, you’ll need to combine a ghost mannequin photograph and a Flat lay image.
The Ghost mannequin effect will show the fit of the dress and how it drapes. And the Flat lay image will help you highlight the texture and fabric of the image.
These types of hybrid photos showcase the main product photo in the ghost mannequin’s 3D effect and put a smaller flat lay image beside it.
These types of photos help you display your product more beautifully. You can also showcase the matching accessories with the main product with this type of product image.
Custom-size mannequin techniques
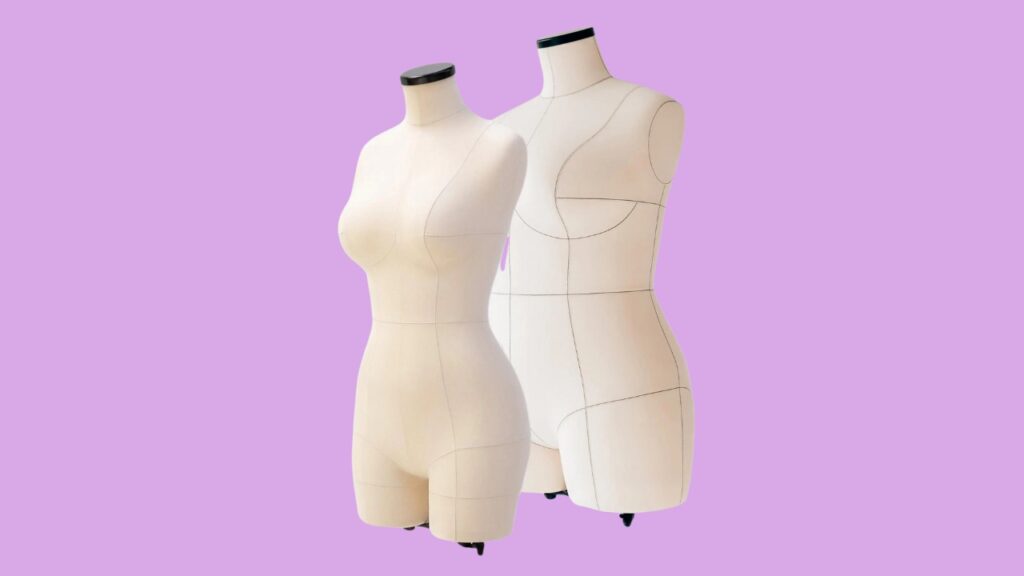
This type of effect is very important if you have a kids’ lineup. In the case of kids’ clothing, you need to have products of different sizes for different age groups.
But it can be tricky finding the right size of mannequin.
For images like this, you need a detachable mannequin of children’s size. Size-adjustable mannequins are the best fit for this job.
If you can’t get your hands on one, you can also use a model for your image, but make sure that the fit is perfect. You can edit out the model later in the editing stage.
Having a size-adjustable mannequin makes it so much easier and cost-effective. Just make sure all your dresses fit the mannequin properly so that your final image looks perfect.
Sheer, lace, and delicate fabrics
Sheer delicate fabrics are usually see-through. So the initial photography for these types of images can be tricky. But using a few simple tricks can make your ghost mannequin fashion photography session much easier.
Always use soft lighting. Make sure that the lighting is even and no harsh lights in the background. This will take away the details from the photo.
Soft lights don’t penetrate through the fabric and do not overexpose the photos.
You can easily use inner fills to hold the shape of the fabric. Clear props are also very helpful to get those perfect fabric details.
Always remember to take ghost mannequin images that show the layers of fabrics and see-through parts. The key is to keep the texture and the clear parts as real as possible while editing.
A pro tip is to use low-power flashes to highlight the texture of your product.
How To Get The Perfect Invisible Ghost Mannequin Photography
Ghost mannequin photo editing and making a perfect ghost mannequin photo can seem like a magic trick. But in reality, it’s easy if you follow a few steps.
Here is a simple step-by-step process for creating the perfect invisible ghost mannequin photography.
The 1st step is taking the photos. Perfect photography makes the process much easier. Carefully style the cloth on a white mannequin to give that picture-perfect look from the very start.
Make sure the lighting is perfect. Always select a studio with good lighting. Make sure to take pictures from all sides and every angle.
Now it’s time to take a picture of the parts that are covered by the mannequin. Take all the shots of these details. Take photos of the inside of the hook and covers.
These images are needed to make the ghost mannequin result.
Now it’s time for editing with a clipping path. This is a detail-oriented and time-consuming step. The editor uses special tools to separate the product from the mannequin and the background.
This step has to be perfect for a great hyper-realistic 3d effect.
Now it’s time to make the picture hollow. Remember the detailed pictures you took before. Now add those pictures of the exposed inside part and neckline to the dress.
This fills up the gaps covered by the mannequin. This effect will give the illusion of a ghost wearing your clothes.
The final step is the retouching and finishing steps. There are some major steps that you need to adjust in this stage. Fluids like shades and features need to be adjusted to apply mist to the image.
You also need to remove any wrinkles or dust from the photo. Another important way is to perfectly simulate the color of the product in your photo.
This way, the customers know what they are buying. These final steps give you the perfect results you need to publish your image on the store.
The Secret to High-Converting Product Images: Invisible Mannequin Photography
In an online store, your product image is the only thing that is seen by customers. A good product image can make or break a sale.
So it’s a smart decision to invest in your product images. The benefits are huge.
Investing in your product image will directly impact your bottom line. It will give your storefront a professional look.
Customers trust a site that looks professional. This turns visitors into buyers, boosting your conversion rate.
A clean and professional image gives customers the confidence to click “ Add to cart.” It gives your brand a consistent look.
This helps with your brand’s identity, and customers keep coming back.
This also helps in decreasing product returns. When they see a clear image, they know exactly what they are getting.
Invisible ghost mannequin photography accurately shows the fit and shape of your product. This will help your customers make a better choice.
If your customers know what they are buying and they get exactly what they ordered, they will keep coming back. This means fewer returns and less cost of business.
The best advantage is that you can save a lot of money without compromising on quality. Hiring models for your photoshoot is very expensive and time-consuming.
It is much more cost-effective to hire a professional editing service. They will give you high-quality images every time.
If you want the best results for your product images, partnering with a professional service will be your smartest decision.
Why Your E-commerce Store Needs Professional Invisible Ghost Mannequin Photography
Good images help buyers trust your product. Clear, three-dimensional photos show fit and lining. They reduce guesswork and help shoppers decide. Better photos can lower return rates.
They also create your shop to look more perfect. Shoppers compare many shops. Strong images can help your products stand out and feel premium. Mobile users need fast pages.
Use WebP where you can. Keep thumbnails small, so pages load fast. Use only a zoom image that opens on tap. Add relevant alt text that reads like a little word.
Good images also help your ads and social posts look clean.
Conclusion
Pick the right ghost mannequin type for each product. Use a clear shot list and the same light setup for all items. Keep master PSD files and name files well.
Train one person to check quality. Use templates and actions to save time. Mix virtual and real ghost images where that helps scale.
Good ghost mannequin photos show shape, texture, and details well. They help customers buy with more confidence and help your store sell more.
Pick one product line and test a full ghost shoot. Keep notes and measure returns and clicks.
Train staff to use the shot list. Update your product pages with the new images and check performance after two weeks. Good work now will save time later and help your store look trusted and clean.
Start with one product and track clicks, sales, and returns for two weeks to measure the real impact on your store’s performance and customer feedback daily.
FAQs
Have more questions? We have answers. Here are a few answers to the questions we get asked most of the time.
Is ghost mannequin photography really better than using live models?
Yes! It’s always better. A model can be costly. Using the ghost mannequin photograph reduces the cost and gives a consistent result. This means all your product photos will look the same. This will give your store a professional and clean look.
Does this ghost effect work for all clothes, like jackets or kids’ stuff?
Yeah, it does. For this type of clothing, you need to show the inner lining. For kids’ clothing, you just need a kid-size mannequin. The editing steps are more or less the same for every case.
Do I need a special camera or mannequin?
NO! All you need is a good DSLR camera and a good lighting setup. Your lighting may need to be changed depending on the fabric of your clothing. Get a mannequin with an adjustable head or arm. This will make it easier in the editing stage.
Can I create the ghost effect myself?
Of course you can! But the editing part is a bit difficult. It will be easy if you are a seasoned professional, but if you are new to this, it will take time to get the perfect results. You need professional software like Adobe Photoshop. Most people hire professionals to get this job done.
Will this help my online store sell more?
It will! Photos like this give your brand a professional look. This will achieve the belief of your clients. When they get what they see, they will keep coming back. Just make sure the photos are as realistic as the product itself. Also, confirm the color of the image is exactly the color of the dress item. This way, there will be fewer returns and less cost per sale.