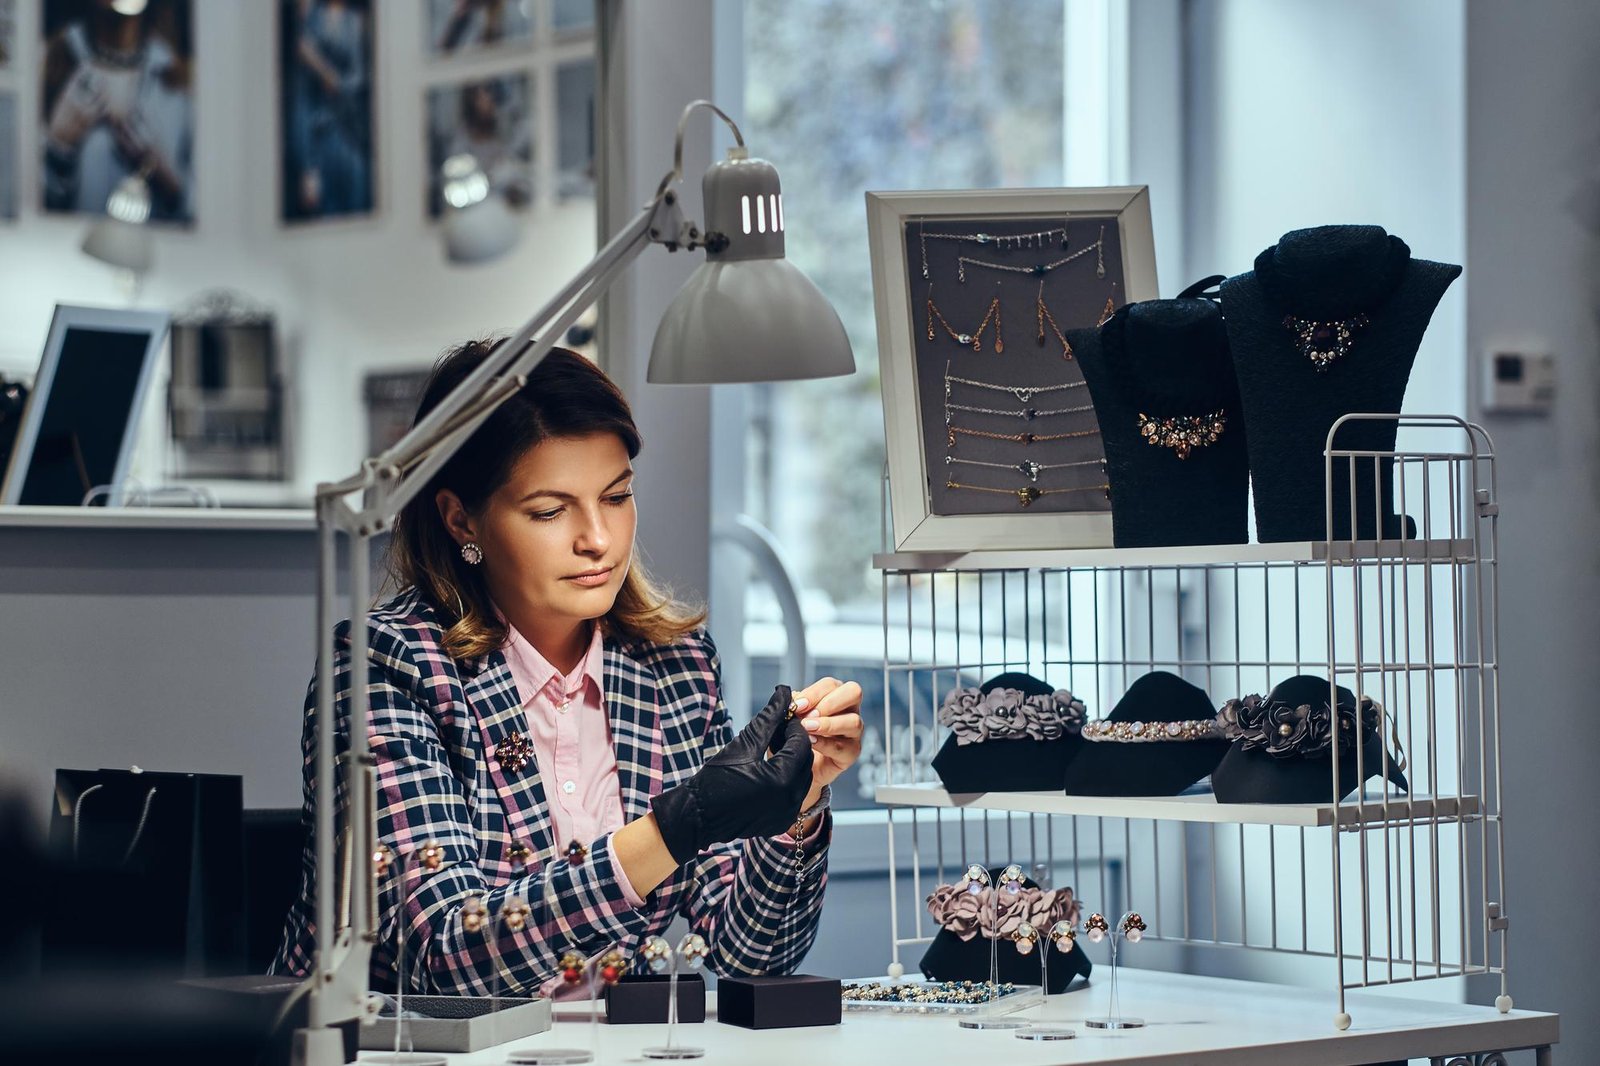
Selling Jewelry on Pinterest is a game changer because it serves as a unique marketing tool to help get the word out about your brand and your products.
If you are part of the social platform then surely you have devoted a few hours to Pinterest. It’s the best graphics idea machine, visualization idea source, and traffic creating tool. Pinterest is a wonderful site to spend a few hours when you are searching for your next favorite Snickerdoodle recipe or new exercising program, but it is a great source of traffic for your jewelry business too.
Pinterest is in my top two traffic sources to my website for the last year. Some of those visitors are transient and do not spend much time there. Some, though, remain.
Tips for Promoting your Jewelry Business on Pinterest
- Go on Pinterest for a while. Learn the ins and outs of using Pinterest. Discover how to pin, repin, and create boards, among other things. These are all fundamentals, but the more you understand how they all function, the less time you’ll spend advertising your own photographs.
- Pin the items you want to sell. Although this may appear to be a no-brainer, don’t expect that everyone will pin your jewelry. Get your images in front of as many people as you can.
- You must understand how things function. There is no set structure for images or for making a pin go viral, but there are a few things that will help you. You have to know at what time you have to pin your items.
Many people think the right time to do this is on the weekend. There is a lot of traffic after dinner on Pinterest that will be the optimum time to pin your products. Repinning is more likely for vertical photographs.
That isn’t to say that you shouldn’t pin horizontal photos, on the other hand, vertical photos are more eye-catching as it takes up more screen time. Keep this in mind when shooting your products, and aim to get at least one vertical beauty image that you can pin afterward. - There is no going back after you’ve uploaded your photographs to the internet. Pinners aren’t all created equal. Not everyone is rooting for you and promoting your company.
There are businesses that will take your images, remove your watermark, and then post them online with links to their own ad-filled websites. Pinterest, on the other hand, has a fantastic support team that is always on the lookout for stolen pins. Pinterest’s benefits clearly outnumber its drawbacks. - Use your pins wisely. If you’re going to pin something, do it from the source. Make sure you’re pinning or repinning from the original source, and that you’re giving them credit where it’s due. This is also true for your personal website. Make sure you’re pinning from the item’s page rather than your main home page when you’re pinning jewelry.
- Pinterest is a great place to get ideas. While you should always stick to your own personal style, Pinterest is a fantastic source of photographs and inspiration. As a photo search engine, it has easily replaced Google Images for me.
Look around to discover what’s popular and new styles or materials to try. Maybe you’ll find a new necklace you like that employs materials in a way you hadn’t considered before.
Make a Jewelry Inspiration board on Pinterest and save that image for when you need inspiration. Selling Jewelry on Pinterest can be a valuable strategy for expanding your business. While it’s easy to lose track of time on Pinterest, it just takes a few simple steps to turn it into a valuable resource and source of inspiration.
Make more Appealing Jewelry Photos with These Tips
Keeping your pieces clean and polished
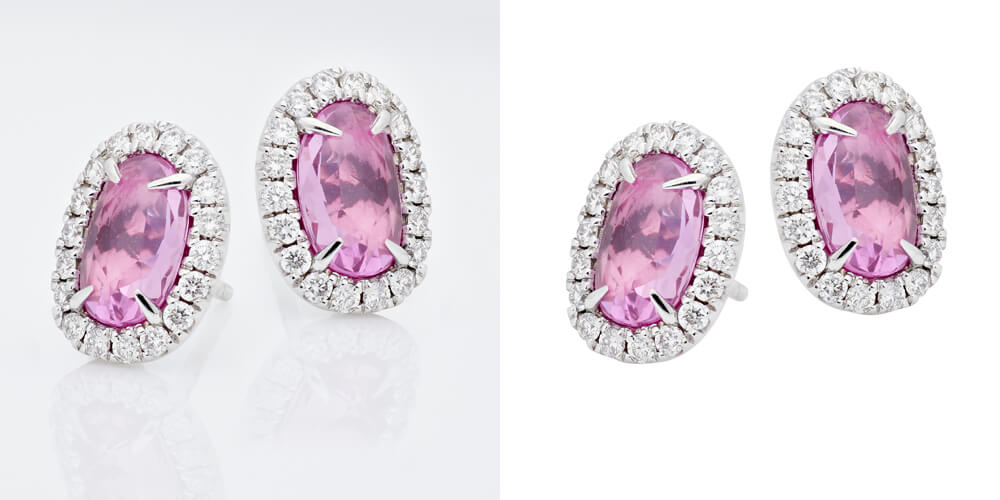
Dust, grime, debris, smudges, and fingerprints must not be present on the jewelry piece. Whether you’re shooting up close to a subject, any stray bits of anything will be readily visible when you see the photographs on a computer screen or in a print of the images.
Taking lovely jewelry shots also necessitates keeping your pieces clean and polished. What may not appear visible to the naked eye may become apparent once blown up in your digital camera’s highly detailed photographs.
Unless your jewels require more thorough cleaning, you may simply wipe them down with a light, damp cotton or microfiber towel before the shoot to remove dust and add shine. You can also use cotton gloves to avoid putting fingerprints on them every time you touch them.
Make the necessary arrangements
When it comes to photographing your jewelry, the arrangements are important.. You’ll want to pick a position that compliments your jewelry’s appearance.
Each piece of jewelry is best served by a camera position and perspective that is unique to it. In addition, you must arrange and manage the jewelry into a symmetrical, visually appealing position. You will also need to adjust the camera angle as a result of this.
Keep It Simple
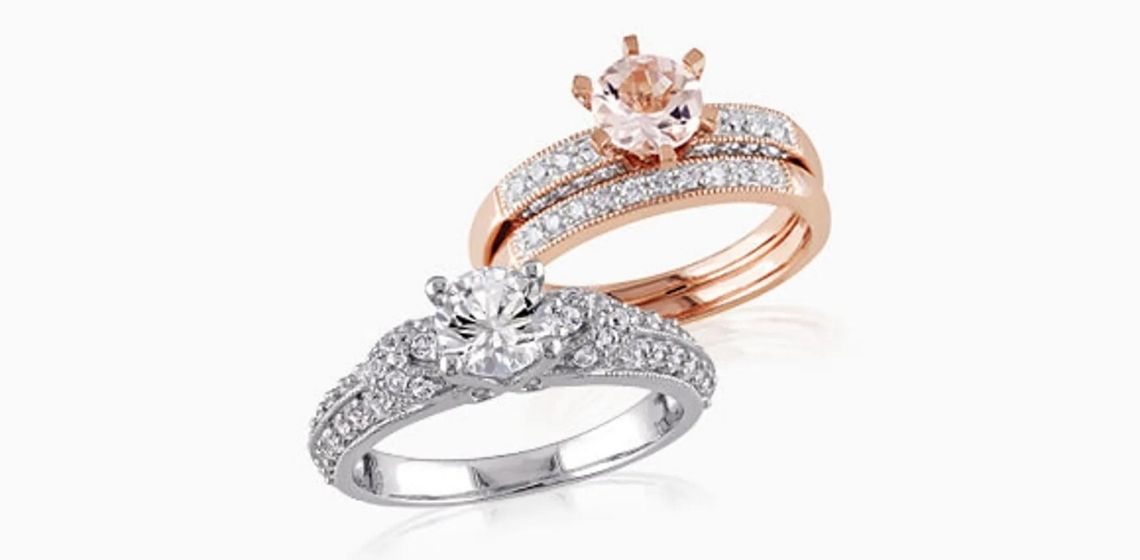
At least for the time being. Incorporating jewelry on wood, metal, or glass blocks as well as additional accessories or props can result in some truly fascinating photographs, but including anything in your jewelry settings increases the level of complication. It’s best to start with the fundamentals and master them before going on.
Try putting the jewelry piece on top of a hardwood table, a plain white or reflecting surface, or simply zoom in on essential characteristics to isolate them from the rest of the object while blurring the background with a wide aperture.
Using a tripod
Using a tripod and, preferably, a remote shutter release to stabilize your camera is the greatest approach to ensure that your photographs are razor-sharp. It will not only prevent camera wobble, but it will also assist you in keeping your subjects framed in the same precise way so that you can alter your focus and lighting more easily.
Block Reflections
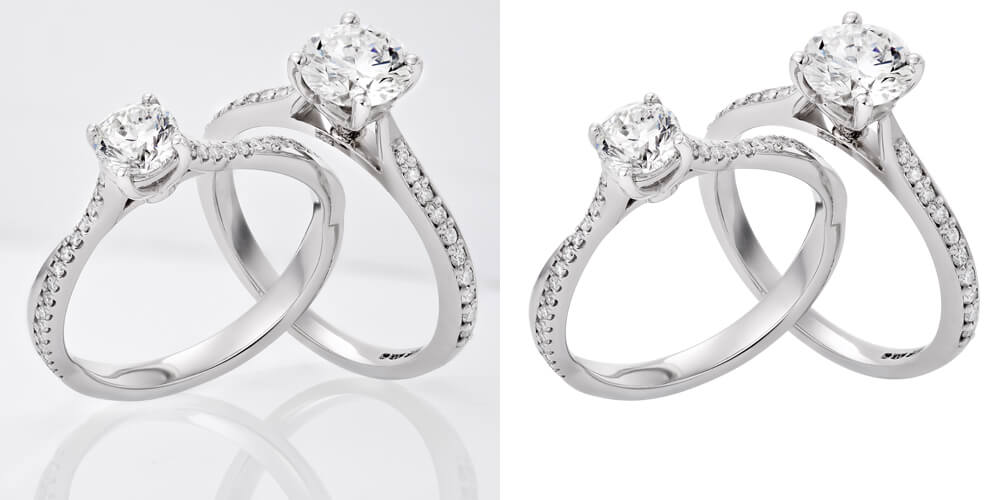
When it comes to jewelry, removing reflections is a trial-and-error procedure. Placing a piece of paper around and at the bottom of your camera lens will help block reflections and bounce more light back towards your subject, as previously suggested.
There’s no need for costly setups. Then, to provide enough illumination without producing highly reflective spots, use a diffused overhead light on each side, and slightly elevate your camera so you’re shooting somewhat down at your object.
Use contrasting colors
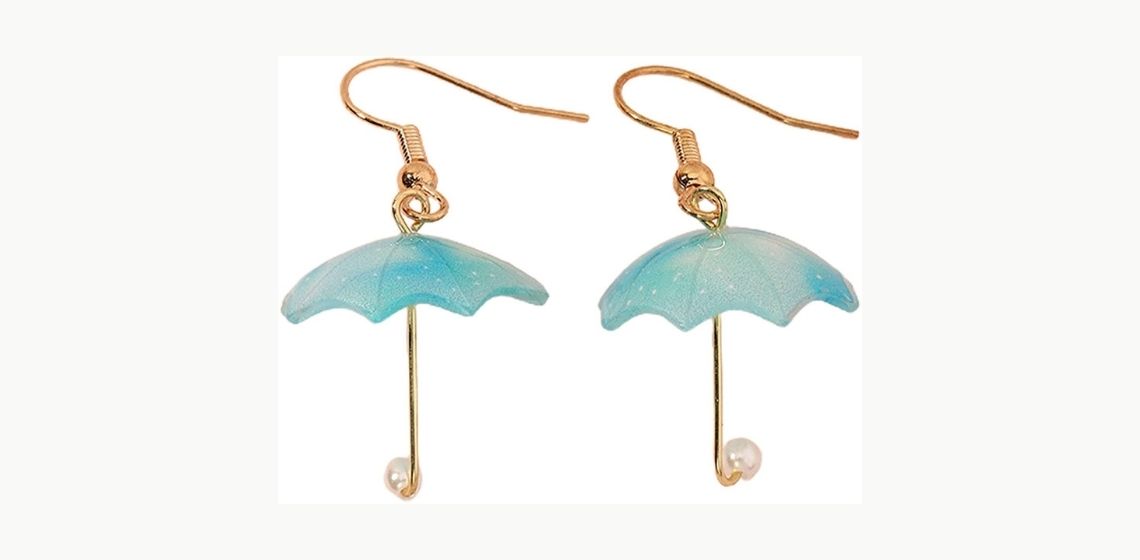
You can use contrasting colors to create dramatic and appealing imagery by arranging your jewelry on intriguing and colorful surfaces. Experiment with complementary hues to see what kinds of images you can create with your jewelry.
Using a solid color or many shades of the same hue, as shown in the photo above, will help your things stand out right away. However, limit it to a bare minimum and avoid employing too many hues that will divert your audience’s focus away from your main subject.
White balance settings
When photographing jewelry, one of the most common mistakes is failing to pay attention to your white balance settings. When photographing jewelry for documentation or sales, it’s critical to get the hues right. It’s not a good idea to picture silver rings and submit them as gold rings, or vice versa.
Prevent this by manually adjusting the white balance on your camera until the jewelry in your photos looks like it does in real life. You might use a gray card to modify the white balance for your present lighting situation or shoot in RAW so you can quickly adjust the white balance in post-production without affecting image quality.
Final Words
The process of photographing jewelry isn’t as simple as it appears until the photographer fully understands and masters the three fundamental elements of good jewelry photography: sharpness, lighting, and exposure—as well as how to adjust these elements in different situations in order to achieve the best results possible.
Make sure to spend some time thinking about which things you want to include in your Pinterest board before posting them.
Regarding jewelry photo editing services, I can suggest you hire a professional outsourcing company such as us.. Choose the best quality and affordable pricing service like UK clipping path
If you want to retouch services for business. feel free to contact us.


