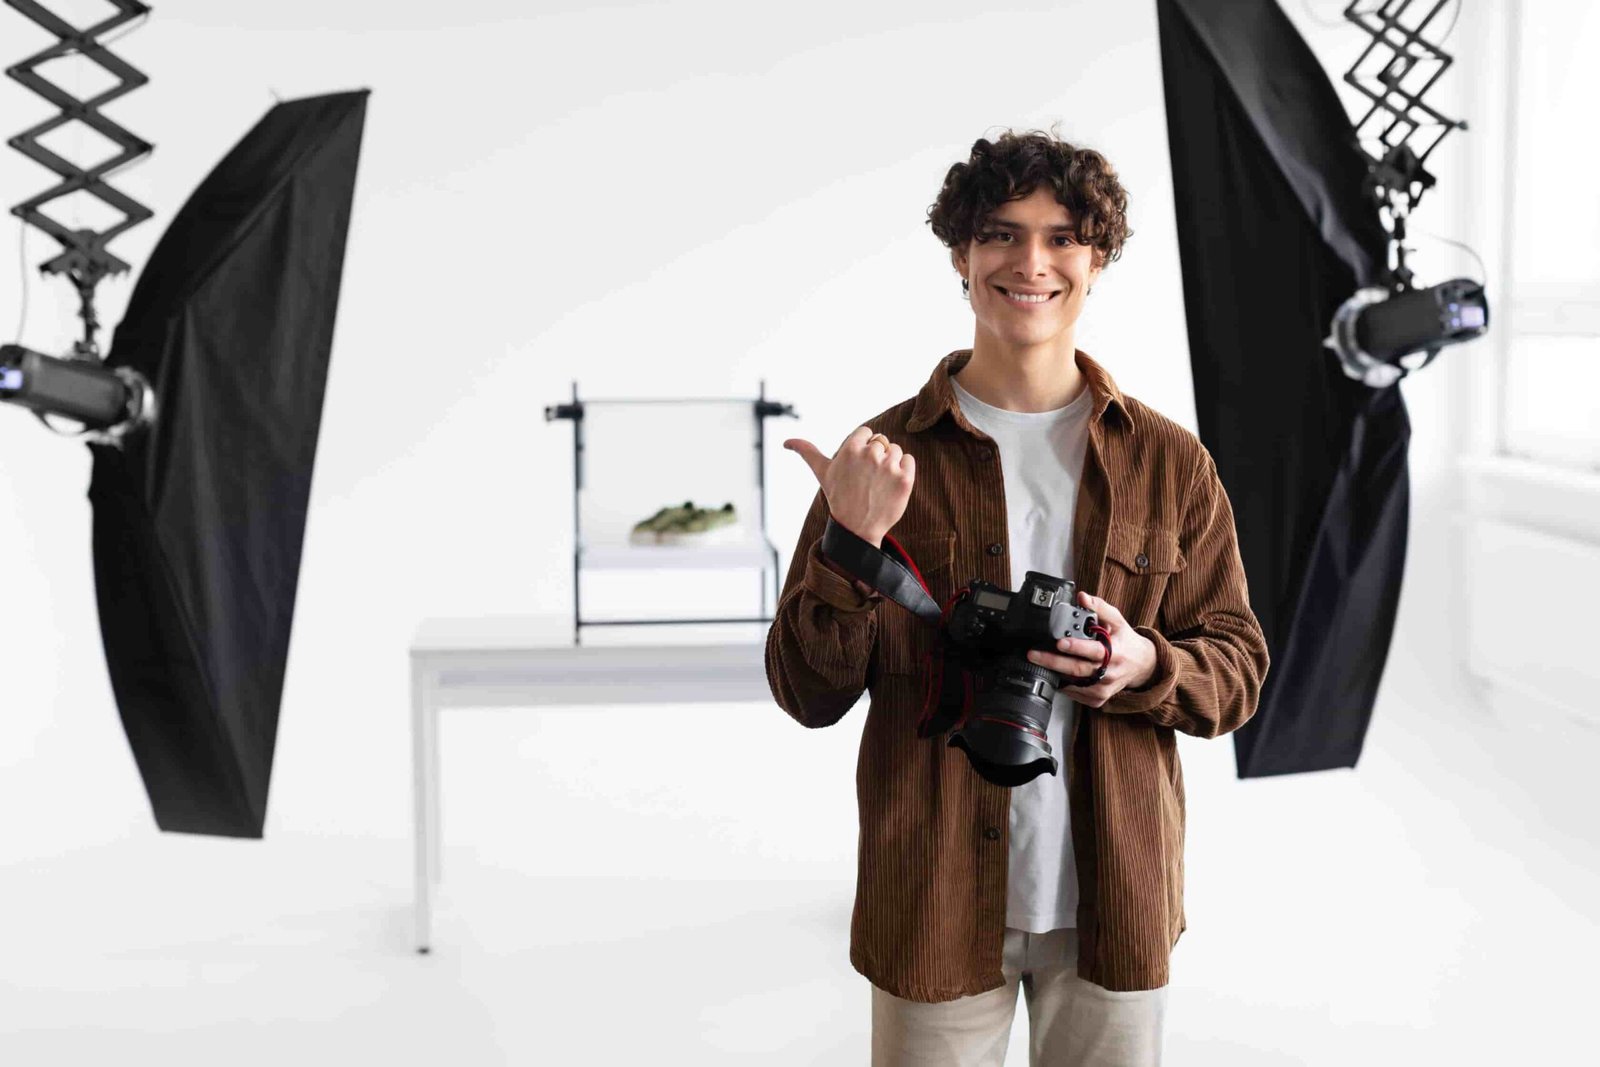
In eCommerce, product images persuade your audience mostly to make purchases in 2026. According to a study, 75% of customers rely on product images to decide whether to buy your products.
Another research states that 80% of customers from the US and UK check the return policy before purchasing online. If the product in the picture doesn’t match the product in reality, they will return it.
Lighting plays a crucial role when capturing the most natural look of your products. A perfect product photography lighting setup can help you create the most stunning images.
This article covers everything about product photography lighting setup to help you stay ahead in eCommerce sales.
Understanding the Basics of Product Photography Lighting Setup
Lighting defines how to present the product photos and which mood the image should evoke in your audience’s mind. In other words, lighting is the magic wand for your product photography project. It can turn your flat images into gorgeous-looking.
First, let’s know what a perfect product photography lighting setup can do for you.
Importance of Proper Product Photography Lighting Setup
How the product photography lighting setup will be depends on the nature of your items. A perfect setup can help you in various ways, such as –
- Ensuring perfection in colors: Ensuring the best lighting for product photography will help you capture the exact color of your products in the images.
- Highlighting textures and details: Controlling the light’s harshness and softness will enable you to highlight the textures and details of your products.
- Giving details on dimension and depth: Perfect lighting can bring depth and dimension to your images, evoking a three-dimensional feeling. The strategic use of shadows can make your objects real.
- Evoking moods and feelings: Lighting can also define moods. Warmer lights bring inviting and cozy feelings, whereas cooler one evokes modern and energetic feelings.
- Improve overall attractiveness: Compared to poor lighting, a perfect lighting setup will ensure more polished and natural-looking product images.
3 Key Things in Product Photography Lighting Setup
When capturing product images, keep the following three things in mind:
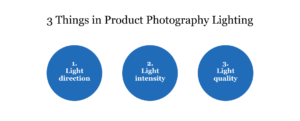
- Light direction: The direction of light determines the direction and size of the shadows of your objects. Various light directions can evoke different types of emotions in the images.
- Intensity of lights: You can control the brightness and contrast of your product images easily by adjusting the intensity of your light source.
- Light quality: Balancing the softness and harshness of the light will allow you to highlight the texture and details more perfectly.
Most importantly, ensuring these three things about lighting will enhance your product image’s overall quality. It will also reduce the efforts in the editing stage.
2 Major Types of Product Photography Lighting Setup
Two major types of product photography lighting setups can make your images life-like. They are natural lights and artificial lights.
Natural Lights
Natural lighting has no alternatives when bringing the most natural look to your products in the images. Products shot in natural light get the most authentic textures and colors in the images. That is, when your customers receive the products, they will find a similar look under the sunlight.
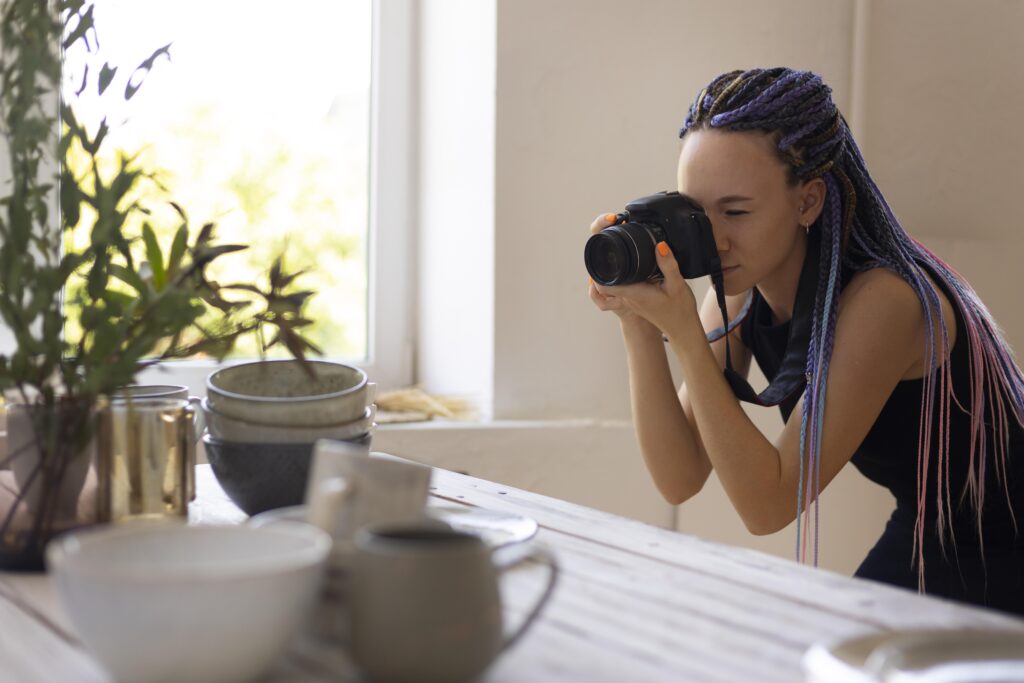
You can get the natural light in three ways.
- Direct sunlight: Direct sunlight will cause harsh shadows of your products, bringing dramatic effects in the photos. However, it might create unwanted shadows. In this case, you can use a reflector to soften the shadow effect. We will discuss this in the later stages of this article.
- Indirect sunlight: Indirect sunlights are defused by clouds or bounced by a light-colored surface where you place your products. Unlike direct sunlight, it will create soft shadows. It will also highlight your products in more detail.
- Skylight: Capturing products under the skylight will help you get the most diffused form of natural light.
Artificial Lights
Although natural light is best for capturing product photos, you won’t be able to get it all the time. However, it will require setting up lighting for product photography when you want to capture images without natural light.

Let’s discover the two types of artificial lights widely used by product photographers.
- Continuous lighting: Continuous lighting will give you an extra advantage, allowing you to experiment with the lighting effect on your camera screen. Thus, you can adjust the lighting easily before capturing.
- Flash or strobes: Flash or strobes will give more control over lighting effects to expert photographers. It provides a short burst of bright lights, enabling you to freeze motion and create dramatic effects.
5 Best Lighting for Product Photography in 2026
The best product photography lighting setup depends on the products you want to capture, your budget, and the product photography ideas you have.
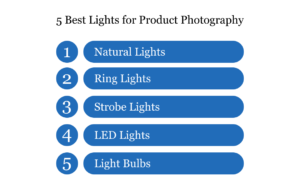
Let’s discuss five types of lighting that are well-suited for eCommerce photography.
Natural Light
The best thing about natural light is that you won’t have to pay a penny for it. It is soft and flattering, which is the priority for most of the product photographers.
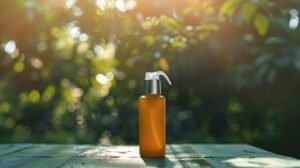
However, the nature of natural light is changeable depending on the weather. It requires the best timing to get the perfect lights.
Ring Light
A ring light is an ideal lighting source for your DIY product photography setup when you aim to shoot smaller items like jewelry or cosmetics.
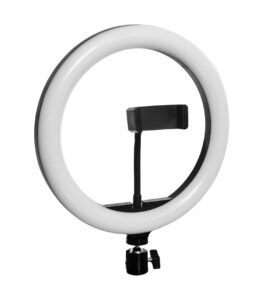
Ring lights are becoming more popular nowadays because of their size. Being larger-sized sources, they can provide diffused lighting around your items and minimize unwanted harsh shadows.
Strobe Lights
It provides a powerful burst of light, which is ideal for freezing any motion. Compared to continuous lights, a strobe will give you more control over the output of lighting. Strobe offers you extreme lighting, but only for the moment of capturing.
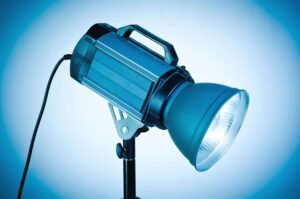
Continuous extreme light can produce an extra hit to your setup, which might be problematic for heat-sensitive products. Moreover, an extra hit might cause a warmer feeling when you get continuous extreme lighting. A strobe light can be the solution here.
LED Lights
LED lights aim to save energy and provide continuous lighting for photographing your products. Firstly, continuous lighting allows photographers to adjust the frame in real-time. Thus, LED lights are ideal for beginners. Moreover, it doesn’t produce extreme heat as it saves energy.
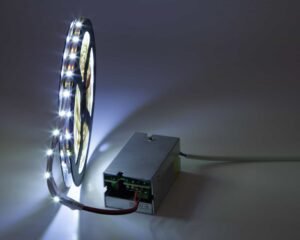
LED lights are available in different sizes and color temperatures. So, you can use LED lights for a wide range of product photography.
Light Bulbs
A light bulb is not ideal for getting the perfect product photos. But you can creatively use tungsten or daylight-balanced light bulbs in your product photography lighting setup. The bulb can produce warm or cool lighting effects depending on its quality.
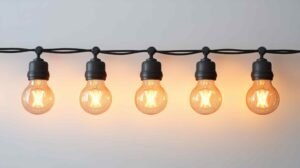
When choosing bulbs as your lighting source, ensure that other lighting kits, such as light diffusers or reflectors, backdrops, fill lights, etc., are in the perfect setup.
Find Your Preferred Lighting Setup from Godox
Godox is a leading brand that provides various kinds of product photography lighting setups, such as flash, continuous lights, light-shaping tools, and other accessories. The good thing about Godox is that you can find your preferred lighting within budget.
However, if you want to compress your budget more, keep reading this article. You will find the process of setting up lighting for product photography in the later stages.
9 Types of Defusers in Your Product Photography Lighting Setup
Only the light source is not enough in your product photography lighting setup. Rather, you will need diffusers to reflect light and soften the shadows. Diffusers allow you to manipulate lights effectively to get the most stunning product images.
Here are the nine types of diffusers you can try:
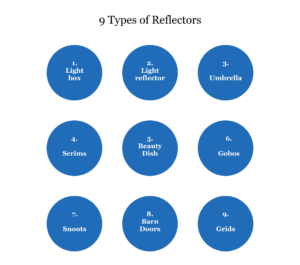
Product Photography Light Box
The light box is a self-contained enclosure made of transparent fabrics or paper. It aims to reflect light from outer sources and create a softer glow around your products.
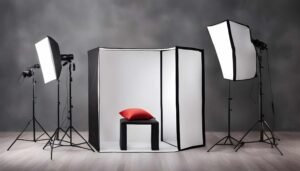
Lightbox is widely used to eliminate shadows and to get controlled lighting consistently. Using Lightbox will reduce your efforts in the editing phase, as it provides a controlled environment to get the perfect shots.
It is ideal for small and medium-sized products.
Light Reflector or Foam Board
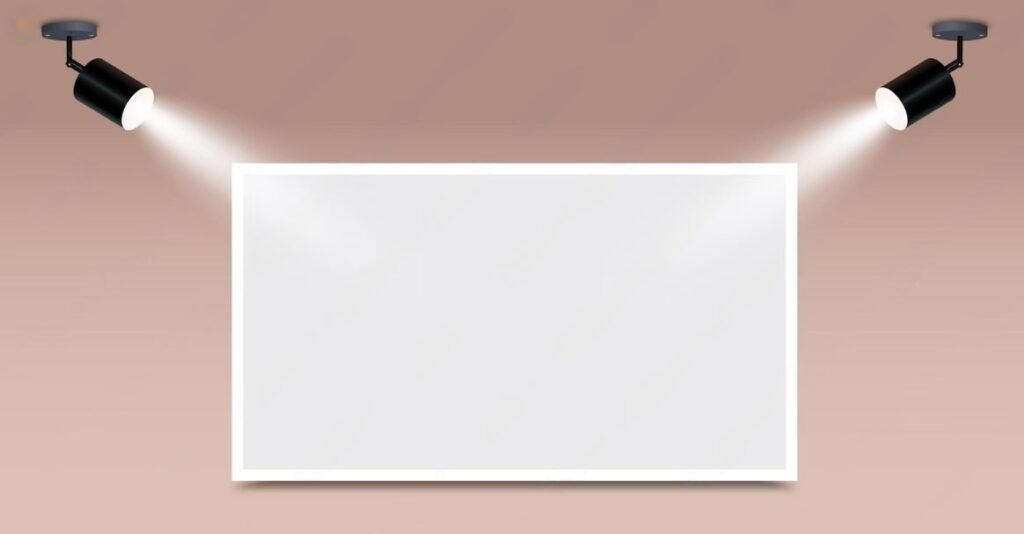
The reflector is a large and flat surface that can reflect light onto your products. It will fill dark areas and unwanted shadows.
You can buy a reflector or use a foam board to compress your budget.
Light reflectors can be white, golden, silver, or black, depending on which mood you want to evoke. When a white reflector aims to fill the dark areas, a black reflector will sharpen the shadows to add dramatic effects.
It works best when you photograph under natural light. You can’t move the natural light source, but you can move reflectors to adjust the natural lighting effects on your products.
Umbrella
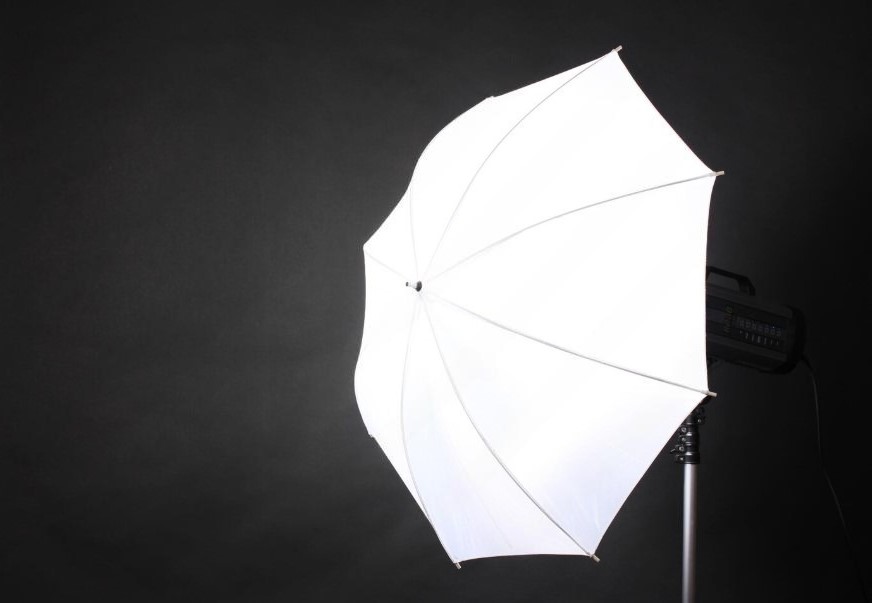
It is a large defuser made of fabrics that aims to reflect light from strobes or flashlights. Unlike a lightbox, the umbrella is portable, flexible, and ideal for shooting images of any-sized product.
Because of its flexibility, you can set it up at any location. The umbrella is widely used for fashion product photography with models. When you shoot overhead or full-body model photos to showcase clothing items, this can be your best choice as a diffuser.
Scrims
The functionality of scrims and umbrellas is almost the same. Like an umbrella diffuser, a scrim is a large flat surface combined with translucent sheets with a light source shining behind it.
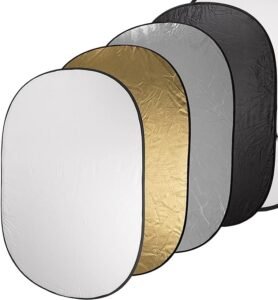
It can be black, white, or other colors based on your needs. The scrim is useful when controlling the spill of lights and creating dramatic shadows. It also helps to stop lights from hitting unwanted areas in the backdrops.
Scrims allow you to manipulate shadows creatively, which is necessary when highlighting specific features of your products.
Beauty Dish
The beauty dish seems like an umbrella diffuser. Both work well on portrait or full-body Photoshoots. However, the beauty dish focuses light on the main objects, creating a soft, flattering impact.
The specialty of a beauty dish is that it can create a distinct catchlight on the reflective surface of your products (or on the eye in portrait photography). So, a beauty dish is best when you plan to shoot glossy products such as jewelry, cosmetics, watches, etc.
It is harder to combine targeted beams with soft lights. Beauty dish enables you to ensure this.
Gobos
Gobos are metal cutouts placed in front of the light source to create shapes and patterns on the background and the products.
You can use gobos to create moods or specific brand identities in the product images.
Snoots
The snoot is a cone-shaped diffuser that will provide you with focused light on a small area, and leave others in the dark.
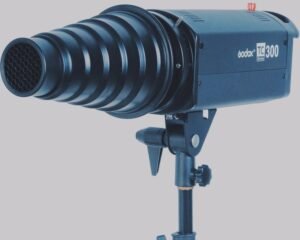
It is useful when creating a spotlight effect and highlighting specific areas of your product. It will help you isolate targeted features from the product with its focusing power.
Barn Doors
The barn doors are adjustable flaps that can be attached in front of the light source. It will help you control the spread of lights.
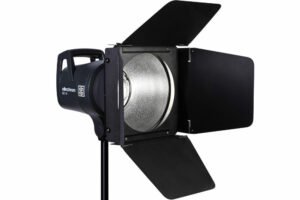
You can use it to direct lights to your preferred spots and prevent lights from unwanted areas in the frame. It will also allow you to minimize the spill of lights.
Grids
Like barn doors or gobos, grids are attached in front of the light source. It aims to narrow the beams, allowing you to get a more controlled lighting spread.
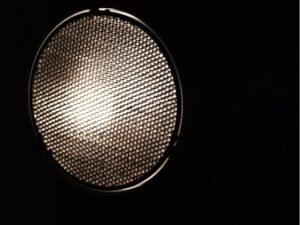
You can use grids as diffusers to bring a clean and modern look to your product. It will also help you separate the background from the focused items and get more defined shadows.
How to Position Lights in Product Photography Lighting Setup
Different lights require various positioning based on the styles you have in mind. So, try to put your best effort into planning, as it will save you energy, time, and money. The more focused you are on the strategy, the less you will be distracted.
However, here are some suggestions for setting up lighting for product photography in different scenarios.
Setting Up the Natural Lighting
How your natural light settings will be depends on the location you choose to capture product images. You can pick two types of locations when photographing with sunlight: indoors and outdoors.
Indoors
When photographing indoors with sunlight, you must ensure your product photography setup is near an open window. Secondly, consider the best time when your room gets the best natural light.
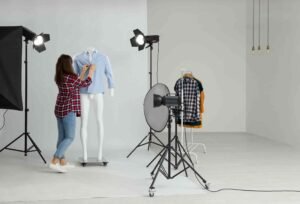
If your window is on the east or northeast side of the room, try to capture images in the morning or before noon. On the contrary, a room with a south or northwest window will be best to photograph in the afternoon.
However, if you find insufficient lights, try using a reflector or a white foam board to bounce lights to your products. On the other hand, a black foam board will help you increase the harshness of your product shadows.
It’s okay to use flash with natural light. When only flash aims to create a harsh shadow, the mixture of flash and natural light will create a softer one.
Outdoors
You can photograph products outdoors in two ways. One is to shoot against the sun, which is good for items with matte texture. The other is to capture images under a shade, which is good for products with glossy textures.
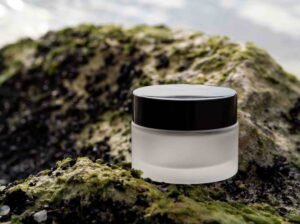
When shooting against the sun, place a reflector to fill the light in the dark areas. It will help you highlight your product’s matte texture and preserve the warmth of the light to capture the most natural look.
However, you can shoot products with glossy textures in this style if you want to add dramatic shadows with less contrast.
On the other hand, shooting under the shade will help you get a softer glow on your product, preventing direct sunlight that can create harshness. This is great for jewelry, watches, and other shiny items.
In this case, place your products under the shade near where the sunlight has dropped. Also, place a reflector directly under the sunlight to bounce the light onto your product.
It is also okay if you want to use an umbrella diffuser under the shade to get the best look of your product’s texture.
Setting Up Artificial or Continuous Lights
As said earlier, you won’t get natural light throughout the day. You can set up artificial light to photograph your products to avoid maintaining timing.
You can get the natural look of your product with artificial lights. However, it will require a proper understanding of product photography, lighting setup, and its functionality.
Let’s discuss three types of artificial lighting setups for product photography.
Single Light Setup for Product Photography
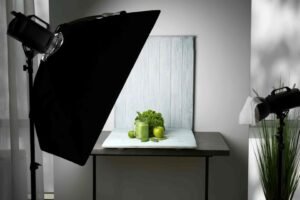
You can complete your setup with only a single light. However, it will require proper understanding and implementation of the best techniques to get the best product image with one light setup.
Let’s discover three techniques for the single light setup for product photography.
The first one is to use a direct front light. You can use a flash gun, LED, or strobe as the single light source, keeping it at eye level with the items you will capture. Place the backdrop close to the products, which will help you avoid creating harsh shadows.
You can also use a diffuser to soften the shadows with one light setup.
The second one is using ring lights. As mentioned earlier, a ring light is a round-shaped, larger light source that helps you soften the shadows and highlight the texture details of your items.
It is ideal for capturing portrait images. But, for shooting product images, it is even better!
The third one is the overhead light. You can adjust an LED, flash gun, or strobe with a tripod, directing it to the objects from straight above to set this up. In this case, try not to set the overhead light source too close to the products, as it can wash out the objects.
Experiment with the height to get the best lighting with an overhead setup.
2 Light Setup for Product Photography
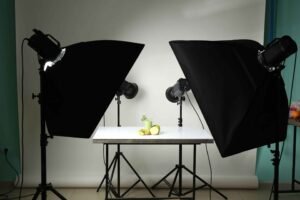
A two-light setup has one light to provide the main lighting and the other to fill the dark areas.
There are several ways to arrange a two-light setup.
Firstly, you can implement the gradient lighting technique with your product photography lighting setup. One of the most effective techniques is to use a warmer colored light, and the other is to use a cooler one. It will help you get a professional and gradient look, especially when you point them at a 45-degree angle toward your products.
Secondly, you can point one light directly in front of the object, and the other is straight from below. It will help you get a dramatic effect that can catch your audience’s attention quickly.
Most importantly, the rim lighting technique is super effective with the two-light setup. In this case, you can set the two lights from the back-left and back-right of the products.
When shooting bottles or products with reflective surfaces, this technique helps you capture the shape of the items dramatically. Will will discuss the rim lighting technique in more detail in a later stage of this article.
3 Light Setup Product Photography
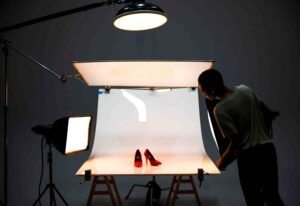
Although a three-light setup is complicated, it is the key to getting the most creative product photography. It requires experimenting with placing and pointing the lights in various directions.
Firstly, you can point one light directly from the front of your object, one from the side, and one from above. This will allow you to get controlled shadows and textures of your products, highlighting details at their best.
Secondly, you can place them at around 45-degree angles from one another, creating a triangle formation of the lighting. It helps you get a balanced and natural view of your products from all sides.
Also, experiment with moving the lights and adjusting the ISO and shutter speed to get the creative look with your three-light studio setup.
Preparing Light Modifiers and Defusers in Product Photography Lighting Setup
The light modifiers or diffusers can manipulate the nature and quality of light and soften the shadows. Without it, the light source alone can’t help you get the best ambient of the products in images. As mentioned above, there are various diffusers like softboxes, umbrellas, beauty dishes, grids, etc.
You can set up several diffusers by yourself. Let’s know how to do it properly.
How to Build a Light Box for Product Photography?
A lightbox is a controlled environment that can bounce lights from around the products. To prepare the lightbox, by following these steps:
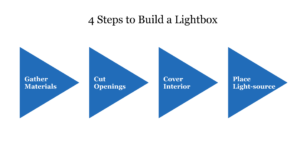
- Gather materials: First, collect a cardboard box, fabric or white paper, and cutting tools.
- Cut openings: Cut one side of the box to point your camera.
- Cover interior: Now, cover the interior with white paper or translucent fabrics to create a reflective surface.
- Place light sources: Finally, place the light to shine through the opening you created.
You must experiment with the lighting placement to find the best ambient inside the lightbox you created.
How to Set Up Umbrella as a Modifier?
Umbrella is a cost-effective light diffuser solution. You can simply set up an umbrella diffuser by yourself. Here is how to set up the umbrella as a modifier:
- Collect a white umbrella to soften shadows. On the other hand, if you want to make the shadows harsher, try a black umbrella.
- Then, set the umbrella with a light stand.
- After that, place a source pointing to the umbrella so that the surface can reflect light with proper control.
- Most importantly, experiment with moving the umbrella diffuser closer and farther to get the best ambient.
How to Apply Rim Light Techniques?
The rim light technique helps you create a dramatic effect on the edge of your products. It creates a clear outline of your products, separating them from the background and adding depth and dimension.
Setting up the environment for the rim light technique is easy.
- First, place your secondary light source behind the product, and keep it slightly above the product.
- Then, adjust the power of the light compared to the main light source. Experiment with it to get the best outline and glow of the product.
- You can use colored gel on the light rim to create a pop environment in your product photography setup.
Preparing the Reflectors for Product Photography Lighting Setup
Preparing reflectors is the easiest way to soften the shadows.
- Collect a reflector or a foam board to bounce lights.
- Place the reflector opposite the main light source, pointing towards the product.
Silver-colored reflectors can produce the most extreme reflection. White or golden-colored ones aim to create a softer glow. And the black diffuser can increase the darkness of your product shadows.
Mistakes to Avoid in Product Photography Lighting Setup
When setting up lighting for product photography, try to avoid making two major mistakes, such as:
Light Source in Smaller Sizes
Smaller light sources aim to produce sharper shadows that can defocus your products in the images. So, use larger light sources, or place scrim diffusers in front of the light to spread the lux.
Using a Camera or Smartphone Flash
If you use a flash close to the camera, it can wash out your product image. When using flash, ensure that it doesn’t affect the capture, placing it at a distance from the camera.
Hire a professional for expert photo editing
Good lighting helps you minimize the efforts in the editing stages, as said before. Hence, the post-production stage aims to deliver the most polished product images.

You can edit your product images by yourself. But, when you need to edit many photos in a limited time without compromising the quality, consulting a professional photo editing company is the best solution.
Conclusion
Good lighting helps products look clear and sharp. It shows true color and fine details. Soft light works best for most products.
keeps shadows smooth and clean. You can use window light or studio lights. Both can give great results. With the right lighting, your photos look professional and easy to trust.
FAQ
Are ring lights good for product photography?
A ring light is one of the best solutions for your product photography lighting setup. Because it is a larger source that can diffuse shadows itself. Moreover, it is best for smaller or medium-sized items. You will get filled lighting around your products, letting you capture the image in more detail.
What is the best light temperature for product photography?
5000 to 5500 Kelvin is the standard light temperature for product photography. This range of temperature aims to create lights close to natural light. Natural light can deliver the most natural look for your products. Similarly, a temperature between 5000 and 5500 Kelvin will allow you to get your product’s natural color tone in the images.
What lights should I use for product photos?
You can use sunlight or studio lights. Sunlight is soft and free. Studio lights give you full control. Pick what works best for your product.
How can I make shadows softer?
Use a softbox or an umbrella to spread the light. This makes shadows gentle. You can also bounce light with a whiteboard or reflector.
Do I need more than one light?
One light can work for simple shots. Two or three lights give more control. More lights help show your product clearly.


