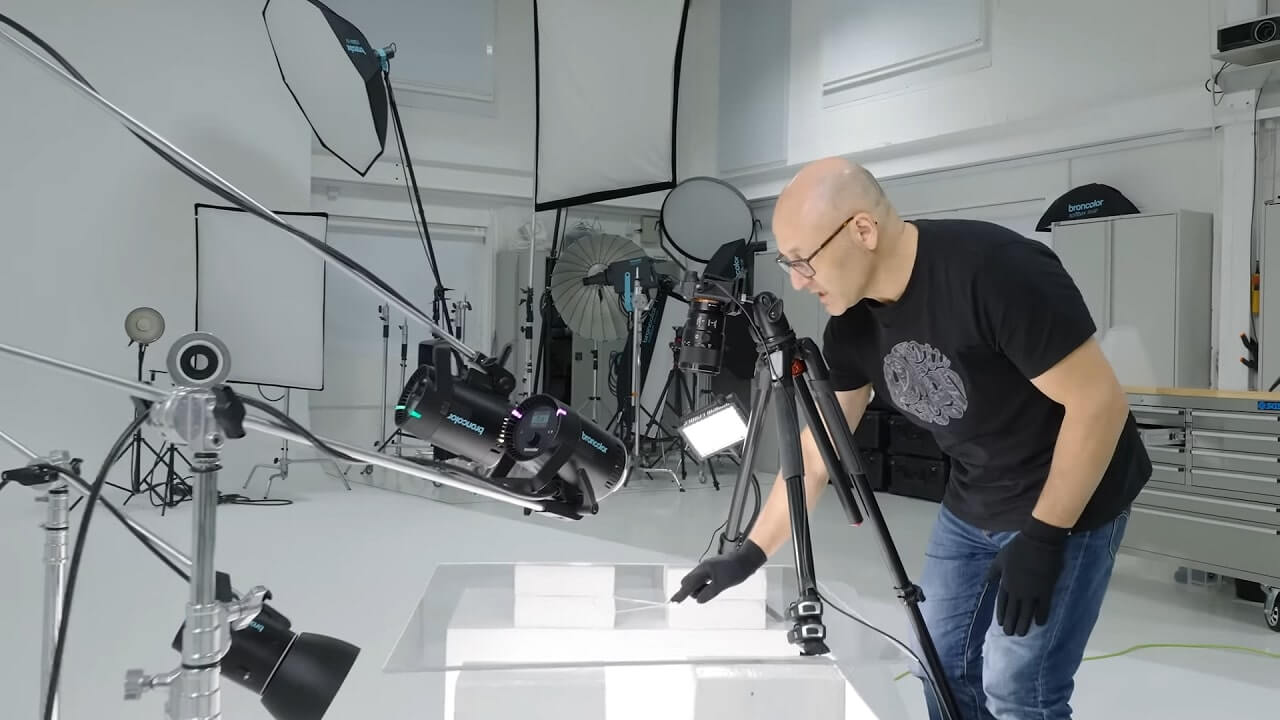
Background is one of the most critical factors that affect the quality of photography. Photograph jewelry on white background to highlight its details and create a professional look that attracts buyers. It will either enhance or ruin your jewelry photography project.
A carefully chosen background is vital for enhancing the overall aesthetics of the jewelry photo presentation. White is the most popular choice as a background in jewelry photography.
White is a color that minimizes distractions, enhances contrast, and gives the overall composition a minimalistic appearance.
In this blog post, we will learn how to photograph jewelry on a white background. I will share some secret tips and examples to make the guidelines comprehensive.
Should Jewelry Pictures Have White Backgrounds?
White is a color among many other Backgrounds For Jewelry Photography. Although it works well with various jewelry types, not all jewelry products should be photographed on a white background. Below are a few points that should be considered for white backgrounds.
- Jewelry products with reflective and shiny surfaces such as silver can be showcased on a white backdrop.
- If you are considering a neutral color for the photo background, then white is the best option.
- Diamond jewelry can be showcased on a white background to present sparkle and brilliance.
- Simple, clean, minimalist, and contemporary jewelry photo composition should perfectly complement a white backdrop.
- Jewelry products with mixed metals such as gold and platinum can be presented with white to create neutrality that allows focusing all the colors.
- Jewelry products with natural materials such as handmade or artisan jewelry should have a background that complements the distinctive features of the products. White may not be appropriate for them.
- If the jewelry product you are shooting has transparency or reflective surfaces, you should not have a white background.
How to Photograph Jewelry Pictures on White Background
The process of taking jewelry photos on a white background is no different from taking a regular product photo. You have to gather the necessary equipment, set up the camera, light, and photography set, and take the photo.
Step 1: Organize your photography equipment and accessories
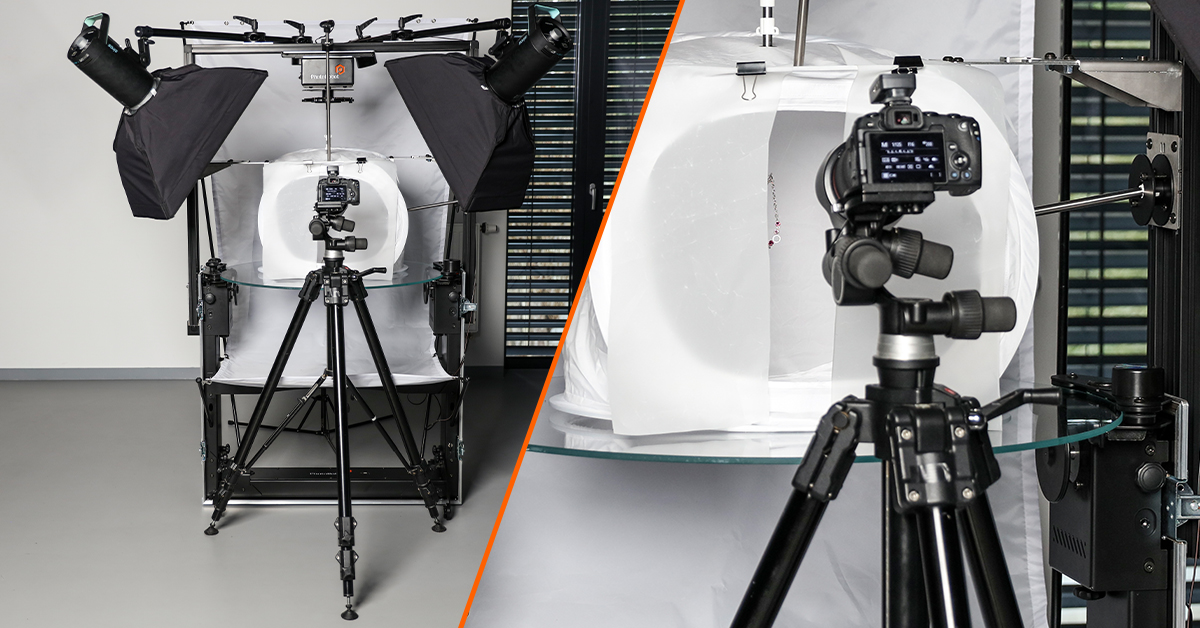
Gather all the equipment you need for the photography project. Below is a list of products that you need to buy or rent for white background jewelry photography.
- Camera
- Lens
- Tripod
- Photography surface- Table or chair
- White background materials
- Backdrop
- Clamps or tape
- Backdrop support
- Lighting equipment
- Softboxes
- Light stands
- Diffusers
- Reflectors
- Remote shutter release ( optional)
Step 2: Setting up the white backdrop
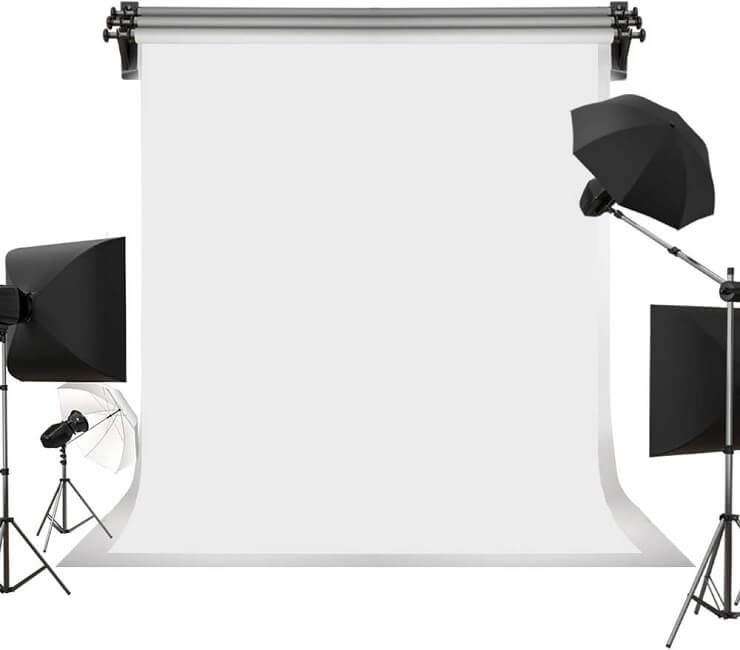
Seamless paper rolls or fabric are the most common backdrop materials in photography. Apart from these, white foam board or PVC backdrops can also be used.
Regardless of the type of background used, make sure it becomes seamless to avoid distractions. Clamps or tapes are necessary accessories to secure the backdrop with the support stand.
To set up the backdrop, first, unroll the white paper or fabric and use the support stand to hand it. Make sure the background covers the whole photography area. Keep the background seamless and free from wrinkles.
You can hand the backdrop on the chair and keep it steady by fastening it with tape. Similarly, you can use tape to fix the backdrop on the wall and arrange the photography set on a table.
Step 3: Light setting for jewelry photography on a white background
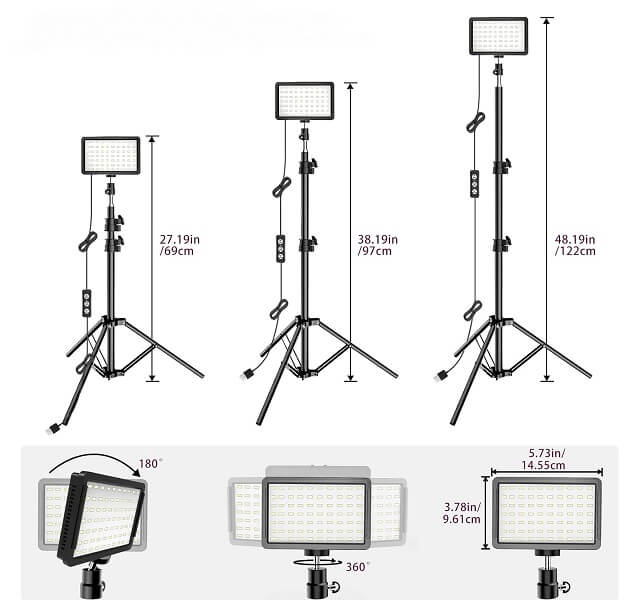
There are three types of lights that you should use for white background jewelry photography – primary light, filler, and background illuminator. Below is a brief discussion on how you can set up each of these lights.
Primary light:
Primary light is the main source of illumination in any type of product photography. It can be either natural sunlight in case of outdoor shooting or artificial light if shooting indoors. For natural lights, it’s wise to place the photography setup near a window where you’ll get diffused sunlight. The glare of direct sunlight may create harsh highlights or shadows which must be avoided.
Artificial lights such as LED or tungsten are the most popular choices for shooting indoors where you can not avail natural light. Use softboxes, diffusers, or light tents to make the light soft and diffused. Placing the light source from the front of the product is the most common practice. However, you may position it at an angle to create dimension.
Filler light:
Place multiple filler lights at the left and right of the jewelry to eliminate shadows and make the overall illumination even. You may also move the lights around the product to find the best position. Filler lights bring out three-dimensional aspects of the product and help highlight the details of the jewelry.
Background Illuminator
Use multiple soft lights to brighten the background and make it look even. Background illuminators are usually placed at the left and right of the background. Experiment with different light intensities to achieve an optimum brightness so that the background light does not create any distraction.
Step 4: Camera setting for white background jewelry photography
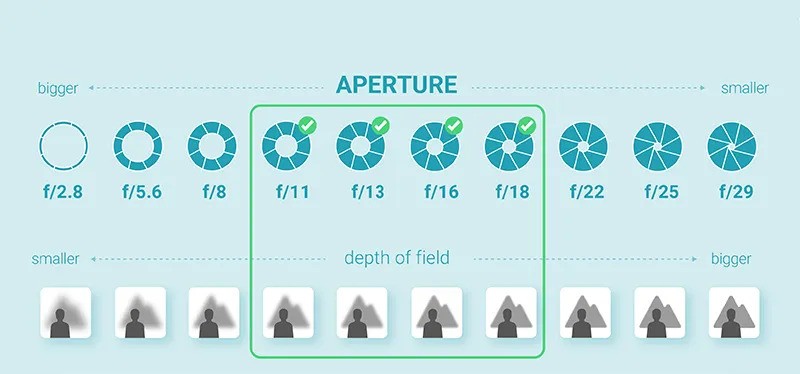
Mount your camera with a sturdy tripod to keep it stable. Jewelry photography require a camera which can capture detailed perspective of the jewelry product. It should be able to take focused and close pictures.
ISO, shutter speed, aperture, white balance are some key camera settings that you need to adjust before taking the photo. If you do not know how to adjust these, just keep everything on automatic mode.
When capturing product images from a distance of 1-2 feet, use the standard settings of F14, ISO 100, and leave the White balance on Auto. You can start with these settings and make adjustments as necessary.
Taking the photo
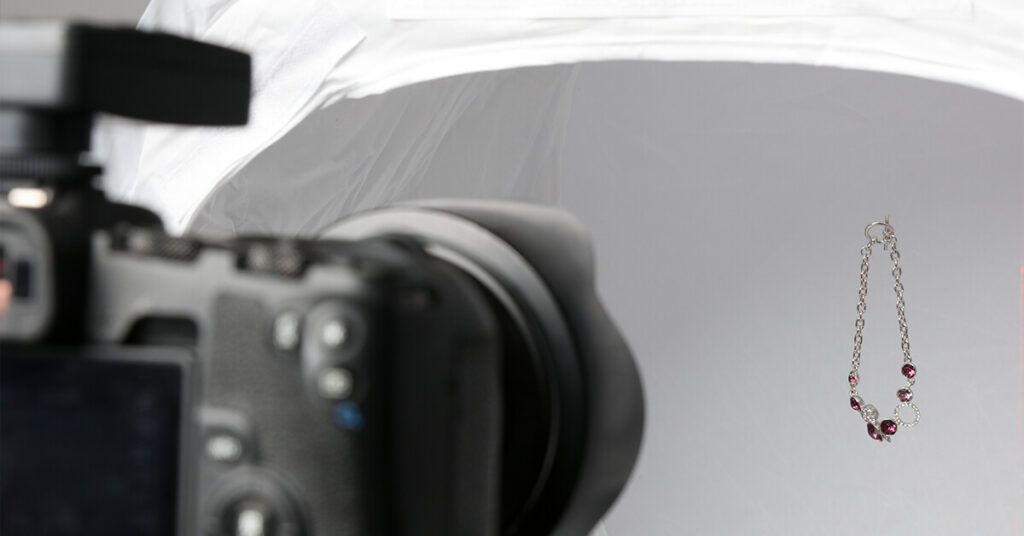
After you have set up the background, camera and lights, it’s time to prepare the jewelry for the shooting. Make sure the jewelry pieces are clean and free from scratches and blemishes. Use one or two props if they complement the overall composition.
Finally, take the photo using a remote shutter release to avoid unwanted camera shakes. You should use macro lenses for close shots. Take multiple shots from different angles and choose the best one at the post production.
Examples of jewelry pictures on white background
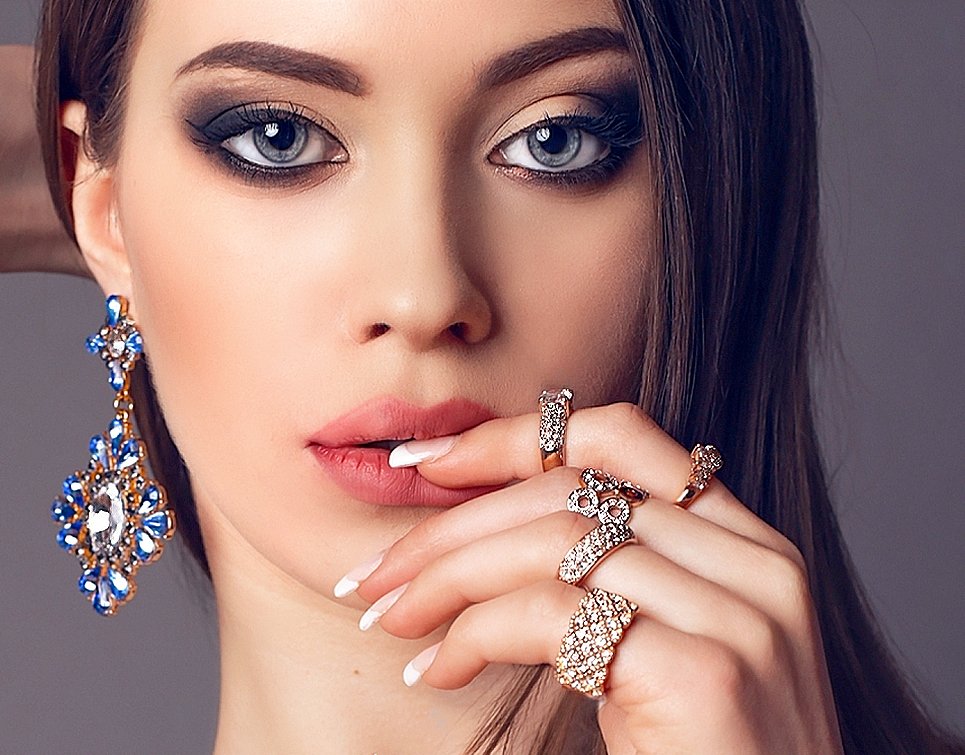
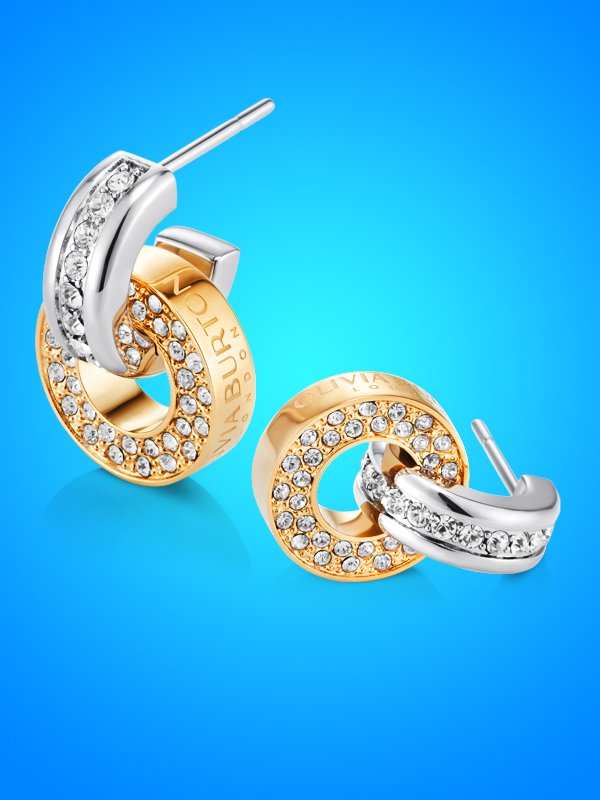
Learn: How to Shoot Perfect White Backgrounds – No Cut-Out Needed!
Photograph Jewelry on white background: Frequently Asked Questions
What is the best background for jewelry photography?
White is the best photo background for jewelry. White is a clean and versatile color that works great with a wide range of jewelry products such as diamond, pearl, and silver. It can create a neutral environment which is necessary to keep the focus only on the jewelry.
However, white may not be appropriate for all types of ornaments and may not be applied to all photo compositions. Therefore, apart from white, back, gray, wooden, textured, gradient, and customized backgrounds are also used in jewelry photography.
Is black background good for jewelry product photography?
No, black is not the best choice for jewelry photography. Although it can be used on a few occasions, black is not as versatile as white. Black has editing challenges such as the identification of dust, scratches, and other imperfections. Apart from this, black has color contrasting issues. A few colors are highlighted properly against a black background.
Should jewelry have a black or white background?
The decision on the image background should be taken considering the type of jewelry, its color, and photography composition. Generally speaking, white is way more versatile than black in jewelry photography. Black can be applied in a few occasions such as during creating a luxurious environment. White, on the other hand, can be applied in various ways due to its high level of contrast and ability to create a neutral vibe.
What colors jewelry look good on both black and white?
Although black and white are opposite colors, there are a few colors that can be photographed on both of these backgrounds. For example, diamonds and gemstones look great on both black and white. Silver jewelry may also look great on both of these colors. Additionally, peals and a few jewelry with mixed metals can also be photographed on both white and black background
What is the best lighting setup for a white background?
Lighting equipment for white background photography includes light sources and modifiers. The primary or key light should be cast on the subject from the front. There should be at least two filler lights positioned on the opposite side of the key light to eliminate shadows.
Apart from these, the backdrop should be illuminated by two lights to make it look bright. Light modifiers such as softboxes and diffusers should be used with the lights to make the light soft and even.
What camera settings for white background photography?
Shutter speed, aperture, ISO, and white balance are the key camera settings that photographers think about the most. Aperture can make the background blur. A lower aperture will make the background blur. An aperture of f/14 is a suitable one for white background jewelry photography as we don’t want a blurred background.
Shutter speed controls the amount of light that enters the camera.
As we are shooting in a good lighting condition, you may keep this setting ‘auto’. Additionally, keep the ISO between 100 to 200 for a clear, noise-free, and high-quality image. If you do not know how to adjust the white balance, keeping it ‘auto’ is a good idea.
Edit and retouch your jewelry photos using Photoshop
No matter how experienced you are in jewelry photography, the results are not often perfect. The photo background may need to be tuned in the post-processing to adjust the brightness, color, and shadow.
Therefore, even expert photographers require to ensure a vivid jewelry product with a clean white background. Interestingly, professional jewelry photo editing expert can also replace the background of the photo with a white one providing a great alternative to those who want to avoid the hassle of arranging a white background during the photoshoot.


