
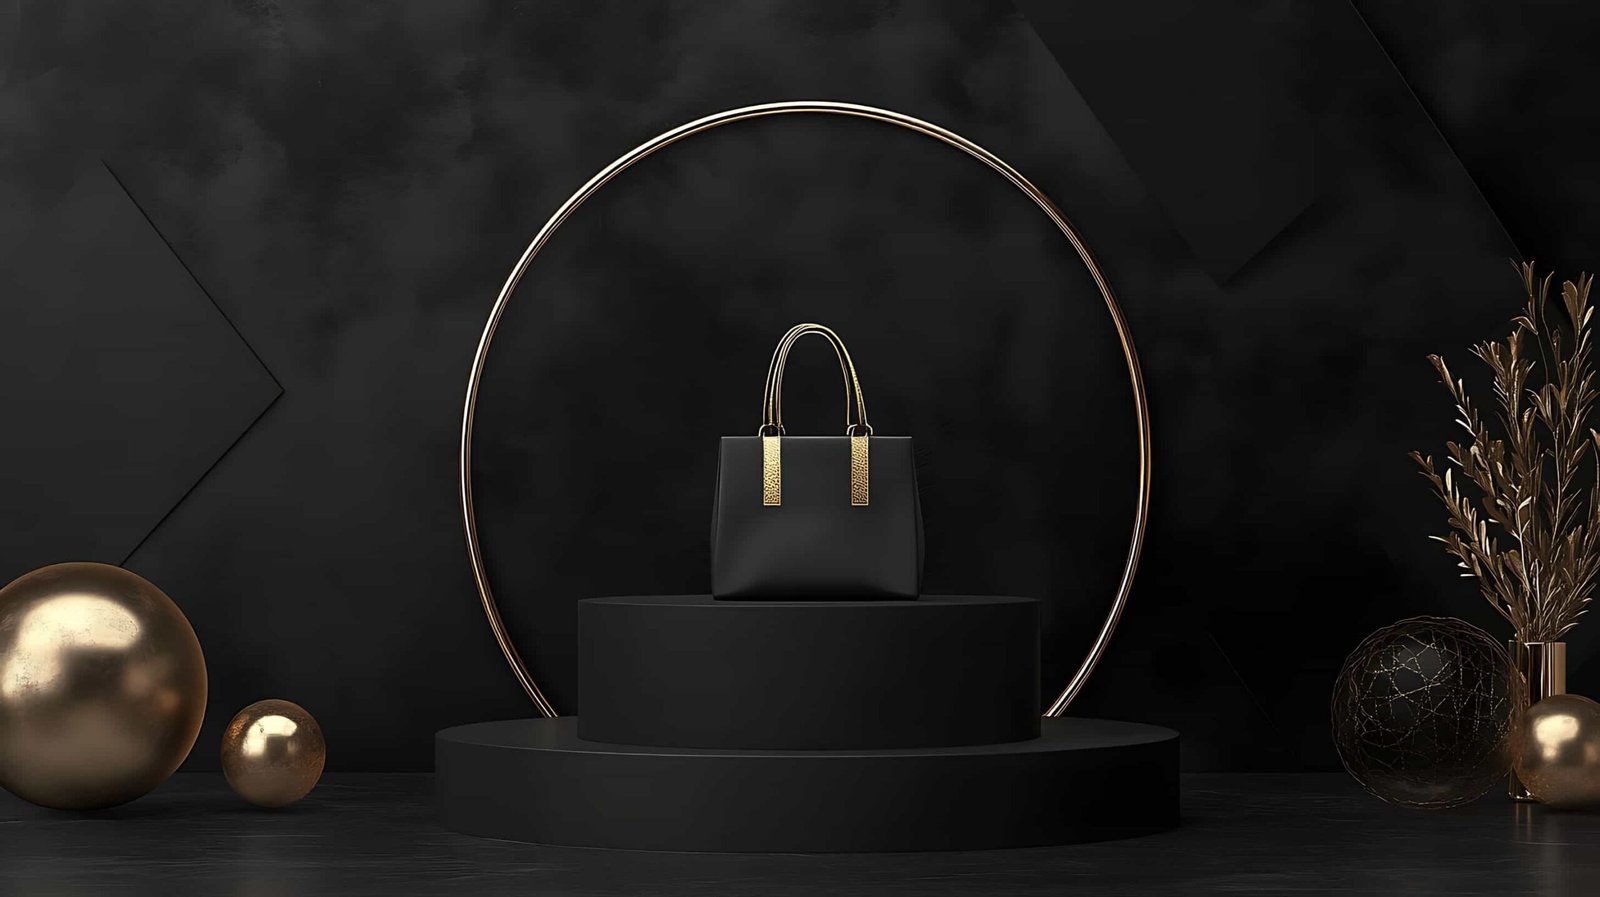
A black background for product photography is aimed at helping you get the elite look of your luxurious products. Of course, most e-commerce websites require a pure white background for the main product images, but a black background can be implemented in the secondary ones.
That’s just going to bring in a note of luxury, and hence make your potential customers buy. Then, why won’t you try it for your luxury goods in eCommerce?
We aim to cover everything in this article on Black Background for product photography, Proper clothes you are going to use, setting up lights, and mistakes one should not make.
Let’s dive in.
Why a Black Background for Product Photography Is Important?
Using a black background for product photography dramatically turns an average photo into an interesting one. The advantages are:
- Allow the Products to ‘Pop’ – It is very easy to see the product, which is white or of any light shade, clearly outlined with the use of a black background. This contrast is surely going to pop your products into anybody’s eyes.
- Represent ‘Luxury’ – Black is the color that is usually referred to when one talks about sophistication. A potential buyer can thus notice that the stylish black color of your product makes it appear expensive.
- Bring in the ‘Hero’ in the ATTENTION – The black background serves to take away all other things from the image. It ensures that the product emerges in the light. The product becomes the hero of such photographs.
- Compatibility – A black background for product photography can be attuned to many types of products, starting with jewelry, all sorts of electronic pieces of equipment, and so on.
How to Choose the Right Fabric for a Black Background?
While covering the black background, perhaps the most important attempt is the selection of properly fitting fabric. The fabric will serve its primary purpose in looking good. But, is it looking good enough for your eCommerce conversion? Of course not!
This is because you want the fabric to absorb the light properly and minimize the bouncing of light. So, consider the following things:
What’s the Best Fabric for a Black Background for Product Photography?
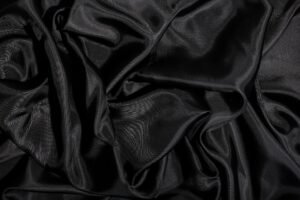
We go to the most recommended materials, none other than velvet and felt. These fabrics come in handy in ensuring total absorbance of light; hence, true black backgrounds devoid of aberrant secondary images can be accounted for. Here is why:
Velvet: The black velvet surface texture would absorb the light, hence the black resulting from such would be deep and rich. It is highly recommended to use this type of fabric when photographing luxurious items such as rings, wristwatches, and other elegant accessories.
Felt: It is an absorbing material, too, but the surface is smooth and doesn’t reflect any light. Much cheaper than velvet but does the trick nonetheless.

Muslin: It is the most used cloth for photography-related projects due to its relative cheapness and availability. However, more lighting is required to eliminate any cloth highlight to get it out of the way of the reflection you need to focus on lighting to eliminate.

How Do Light-Absorbing Fabrics Enhance the Depth of Black?
Fabrics made of light-absorbing materials, such as velvet and felt, are crucial in negating reflections, especially when the photographer intends to achieve a dark and rich background.
The low-reflecting materials tend to yield deep blacks in the photographs. Fabrics act just like sponges when light touches them. They absorb rather than reflect it, keeping the dark areas of the image intact and on the subject.
Best Hacks to Smooth the Backdrop
The best fabrics may wrinkle or crease and spoil the seamless black background effect you will achieve. Such fabrics are best utilized with some tips to keep the background either crease-free or wrinkle-free to bring out the best effect.
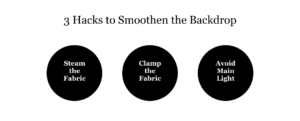
- Steam the Fabric: A steamer is perfect for removing wrinkles and creases on either velvet or felt surfaces. The ideal would be to avoid ironing since this may damage the smooth, even surface.
- Clamp the Fabric: Finally, in attaching the backdrops to any surface, use clamps for the backdrop and pull the fabric as taut as possible without folds and unevenness.
- Avoid Main Light: The position of the light sources must be guided in such a way that it does not give rise to bold reflections nor illuminate the coarse surface of the fabric, but instead provides soft light, portraying the background uniformly smooth.
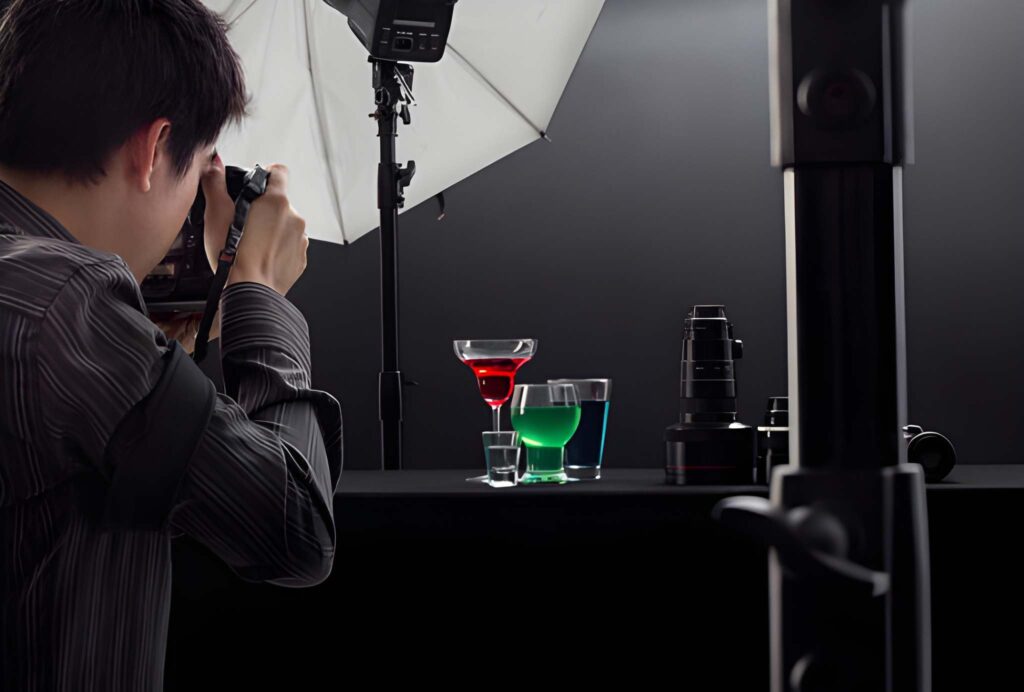
Lighting Techniques for Black Background Photography
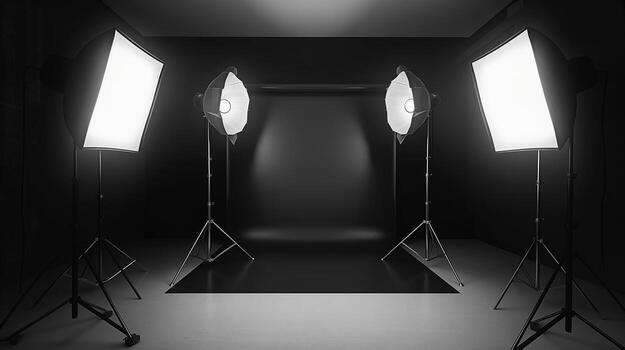
Shooting in black, the lighting is the key factor that enhances the feasibility of capturing the product. With an appropriate lighting scheme, the product can be made outstandingly contrastive while retaining the darkness in the shadow areas. Here are some tips that work.
- Employ Soft, Diffused Lighting: Employ photo-dereliction softening head penetrating protruding lamps and relights, which help soften the severity of shadow edges and enable the task to maintain in the crease. Thinner layers are more likely to cause a severe shadow, drawing the attention away from, instead of to, the object. Harder shadows must be avoided at all costs. Employ a softbox or diffuser for light rays that produce junction planes only.
- Backlight: As the name suggests, in this photography technique, light is cast onto the subject from the back. This is important for products such as glass that can benefit from the pouring of light rays into the object and the creation of a halo effect. It is also a feature that provides a lot of dimensions without washing out the background.
- Side Lighting: While placing the light from a 45-degree angle, try highlighting the roughness along the edges by softly blending the shadow of your products. This comes in handy while promoting the fabrics of clothes or fine features on any machine.
Assignments and the files for the non-location assignments should, therefore, be self-explanatory. It is only a shoulder piece that would perch on the right for decoration.
Above the level of the windows, there should be a flap of beige that spans to contrast with the encaustic above in the dark. This construes the sensibility of balance in lighting, hence the exposure that is over against a black background for product photography should be avoided.
How to Set Up a Black Backdrop for Product Photography?
Here is how to set up and install your black backdrop system properly.

- Select Your Fabric: In case of a black background, velvet is best to consider. Use a clamp in this case to keep the backdrop steady.
- Position the Product: The positioning of your product is important. Never place your products closer to the backdrops, as it may create unwanted types of shadow. Simply keep it a few feet from the backdrop.
- Set Up Your Lighting: Adding soft diffused light to either the side or above will illuminate the product without overexposing the backdrop.
- Check for Reflections: The light cannot be causing any reflections or a ‘hot lighting’ background that is not wanted. Again, this may require a little tilting of the lights.
How to Make a Black Background in Post-Editing
No matter how perfect your raw product images are, you will need professional photo retouching for perfection and higher conversion. Here’s how you can make your black background look good in post-editing:
- Use of Brush Tool: The brush tool in photo-editing applications like Adobe Photoshop is filled with black by the artist over-painting on chipped and light areas in the background.
- Levels Adjustment: Take the Levels adjustment option to darken the background.
- Selective Saturation: Reducing the Saturation selectively on the color of the black background spillage helps to obtain a cleaner effect.
However, you can save your time and effort by getting a professional product photo editing service, ensuring quality and effectiveness. If it is worth taking the service, why won’t you get it?
Black Background Photography: Common Mistakes to Avoid
The following are some of the worst practices that could sabotage the quality of your black background photography:
- Overexposure: Due to excess exposure of a black background to lights, it may start spinning into gray. High and hard light should be used restrictively in terms of placement to avoid over-exposure of the background.
- Blending or shadowing of the product from the background: This should always leave a little gap between the product and the black background to form effective shadows.
- Not satisfied with the background: If there is a wrinkled or uneven background attached to the fabric, then that defeats the purpose of a black background unobtrusively. Always stretch the fabric nicely and taut on the frame before taking any pictures.
- Inadequate diffusing: Incorrect angles of light may simply bounce down from the black cloth onto the background and leave it shining. Walk around a specific light and shoot your photograph from different angles to make sure you have the optimum light passing through the fabric.
Conclusion:
A simple, plain background can make your product image look more attractive and eye-catching. Photographers use black backgrounds to make appealing images.
Here, we explain the importance of a black background, how to choose the right black background, secret tips, and lighting techniques. Also, we cover the setup process for the black background and common mistakes with it.
Let’s follow the article to learn all about a black background for product photography. This will help you capture a polished product image with a black background.
FAQs
What is the best material for a black background?
The best material for a black background is velvet fabric. Photographers highly choose the velvet fabrics. It is a luxury fabric that eliminates reflections and helps achieve a deep, pure product image with a black background.
What products look best on a black background?
The white-colored products look the best and are highlighted. With high-contrast materials, it stands out on a black background.
How do you set up lights for product photography on a black background?
To set up lights for product photography, use rim lighting behind the product. Add a main light, like a softbox, and adjust it with the product position. It is the best climactic technique to capture black background images.
Why do photographers use a black background?
Photographers use a black background because it enhances product contrast and detail, helping them capture simple, pure product images. Isolating a product image on a black background is easy and flexible.
What camera settings should I use for a black background?
The best camera setting for black-background product photography is ISO 100-200. Shutter speed is 1/1200 to 1/1320, and aperture is F/8 to F/16.