

Flat lay product photography connects the audience with your product stories. And, the stories are the bridges between customers and your brand.
According to The Brand Shop, around 92% of customers are willing to know the stories of your products through ads.
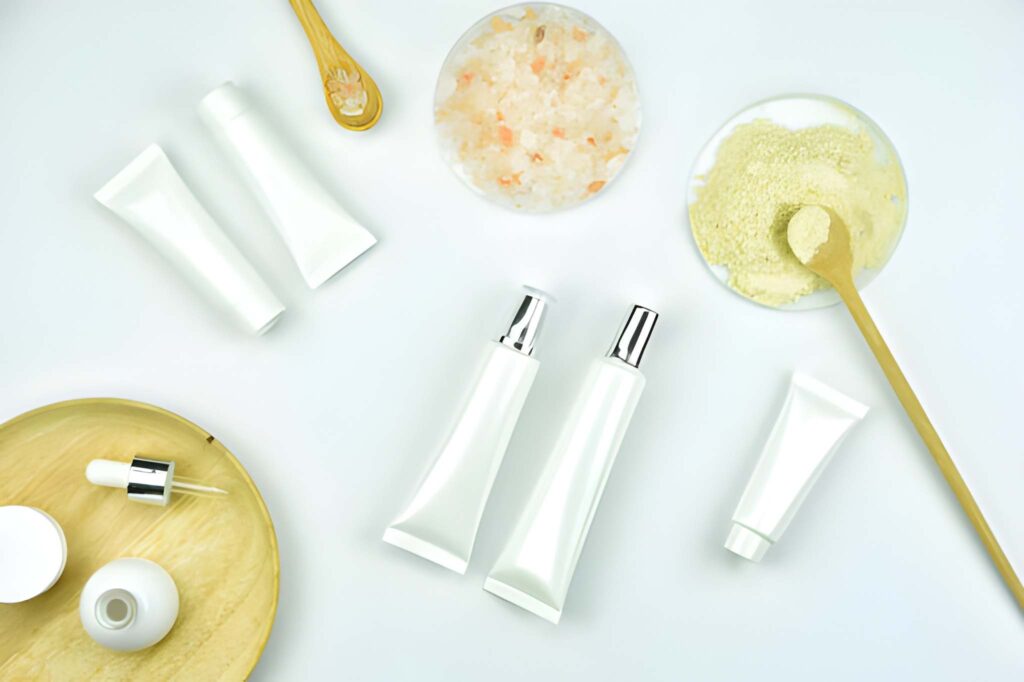
Flat lay photos are captured from a bird’s-eye view with a proper arrangement. It presents the visual stories of your products and evokes moods in the audience’s minds.
It’s creative and one of the most trendy ways to showcase your items in 2026.
This article aims to cover everything about flat lay product photography.
What Is A Flat Lay Photography?

Flat lay is a photo of the creative composition of items on a flat surface, captured with a straight-on shot above. It gives your audiences the chance to put themselves in this place.
In 2026, flat lay product photography is one of the latest creative trends in depicting an item in one particular picture. Also, this style is widely popular in the fashion photography industry.
Importance of Flat Lay Style in Product Photography
Flat lay product photography became very popular in 2026, as this style has its advantages in capturing audiences’ attention. Some of these include:
- Clear presentation: This is a shooting style with a polished and professional view of a product from a bird’s-eye view.
- Creative composition: You can arrange props to complement your items and tell your product stories creatively.
- Minimal setup: The flat lay product photography lets you capture your product photos with a minimal setup.
8 Steps to Set Up A DIY Flat Lay Photography Studio
Though a professional photography setup might cost you a lot of money and effort, a DIY product photography studio can save you here.
You can set up a studio for photographing flat lays at home, in 8 steps.
1. Choose a Good Camera or Smartphone
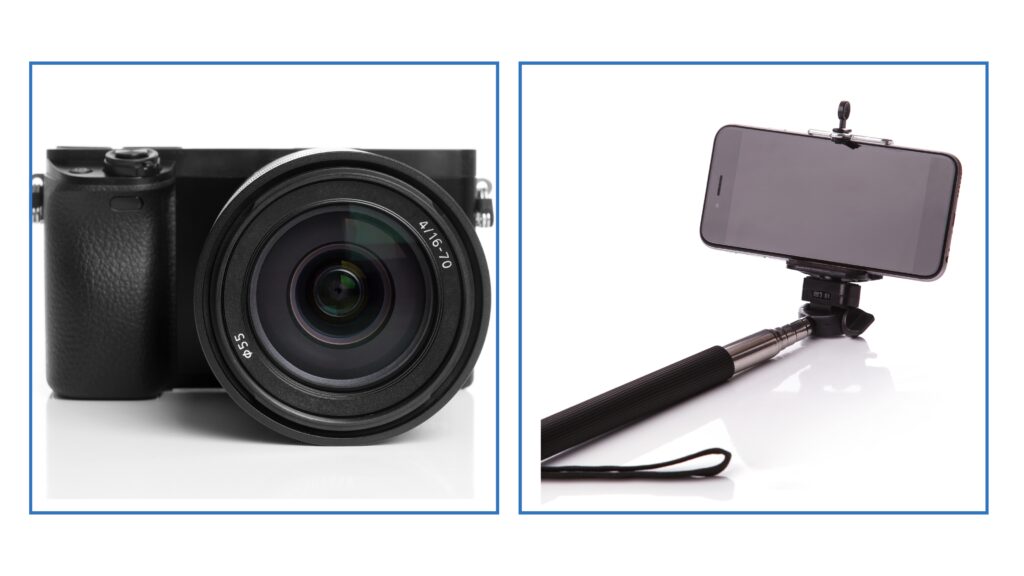
A smartphone camera is enough to go for most of the cases. But you can use a DSLR camera to capture better-quality images because it will let you get the raw footage with natural colors.
The DSLR also creates wide dynamics in the image. You can try the EOS R System mirrorless cameras to capture a flat lay.
2. Choose a Lens Matching Your Camera

To shoot flat lay photography, a 50mm-80mm lens attached to your camera is the needed tool for shooting this style of photography. A macro lens will allow you to capture your products in detail.
On the contrary, with a wider lens, you can easily capture multiple subjects in an image.
The Canon EF 50mm f/1.8 STM Lens is an ideal choice for flat lay product photography. Further, it also supports the Canon RF50mm F1.8 STM Lens with EOS R System mirrorless cameras.
3. Prepare a Flat Lay Photo Backdrop
Photo backdrops will enable one to focus on items and exclude everything that might defocus the main objects. For most products, a pure white backdrop is the best fit because it contains no distractions.

On the other hand, a colorful backdrop can complement your product. For instance, a soft-green backdrop would complement the eco-friendly and organic products, and black represents luxuries.
Amazon has backdrops available, which may cost you 20$-40$. But if you do not want to spend money on it, then collect the fabrics, paper, or wood that are available around your house.
You can use these resources as alternatives to the paid backdrops.
4. Prepare a Portable stand setting
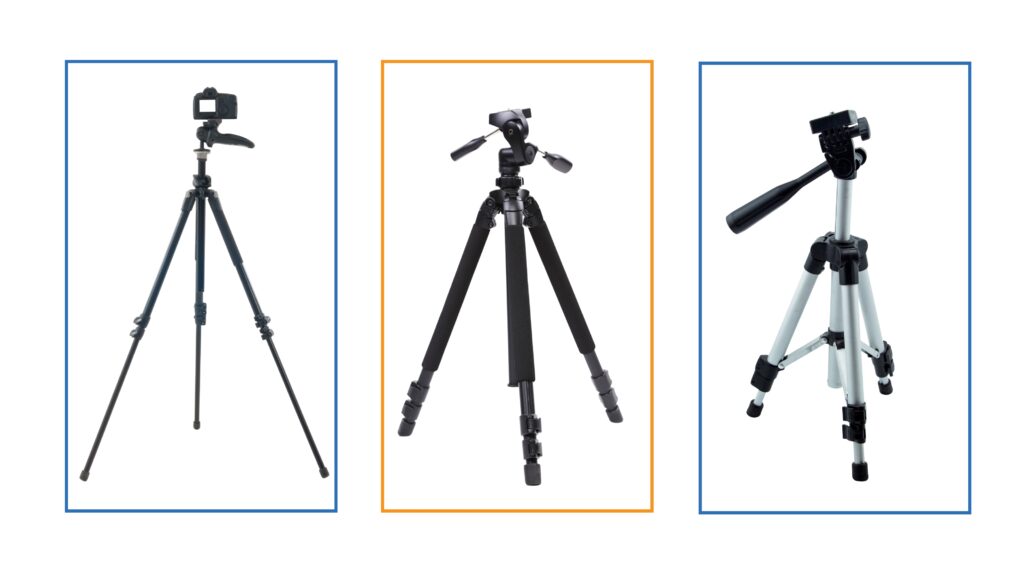
Second, use a heavy tripod with adjustable legs that allow you to set the height to the exact setting you need. The stand should be positioned just above the product.
Also, to ensure the surface is perfectly flat, employ a bubble level. If your setup has started to get very lightweight, you may add additional stability by placing weight in the center of the tripod.
5. Attach a Swivel head clamp to the Stand
Attach a swivel head clamp to the main bar of the stand that holds the adapter.
6. Attach Your Camera to the Head Clamp with a Screw Adapter
Now attach your camera stand to the clamp using a screw adapter. Let the screw be the best fit with the camera and stand.
7. Complete the Flat Lay Photography Lighting Setup

A proper product photography lighting setup enhances color and depth in the image to make your products attention-grabbing.
As for the light source, make it a point to use natural light wherever possible. Set up your whole product photography setup in front of a big south-facing window. But sunlight is not available throughout the day.
To photograph in the absence of sunlight, you may have to make use of an artificial source such as a flash or a tungsten bulb.
A reflector needs to be used to remove shadows. You can use a whiteboard as a reflector.
The continuous lighting is best when photographing flat lays, as this lighting source is big enough to soften your product shadows. Amazon sells ring lights for 33$-84$.
8. Choose the Best Props
When choosing props for the flat lay product photography, keep the three things in mind
Product purpose and audience: When choosing props, ask yourself two questions. What is the purpose of the product? Who are the targeted audiences?
Suppose you have a kids’ clothing business offering apparel products to comfort kids. In this case, your potential customers are new moms who will purchase for their babies. In that case, toys can be great props.

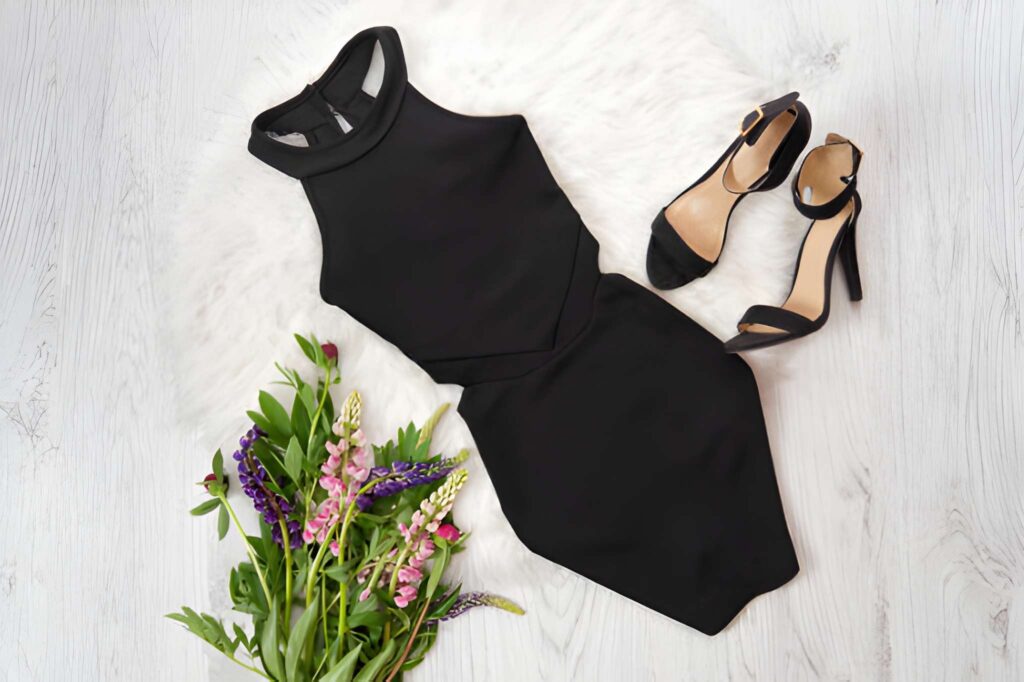
Mixed textures: Textures ensure the depth of a photo. You can use mixed textures that will complement the main objects of your images.
Example: When photographing apparel flat lays, you can place the black dress on the rug and a pair of woven leather sandals beside it. It will adjust the contrast with the smooth, soft fabric of the dress.
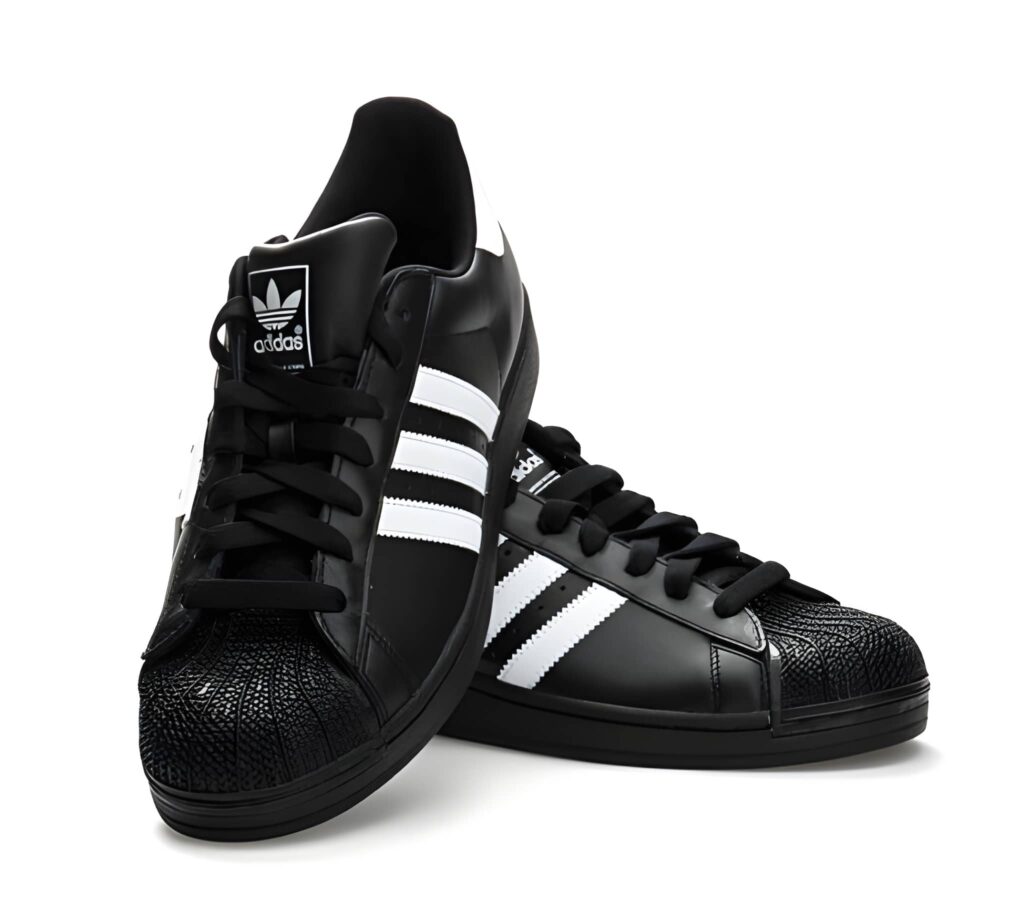
Color consistency: Color is necessary to set the exact mood for your products. So, use proper color with perfect contrast and brightness to pop your product. Also, go for specific color palettes to make sure of branding strategy and consistent brand storytelling.
Adidas is just an example of maintaining color consistency. Its clean black-and-white palette reminds us of its brand identity.
7 Best Practices for Capturing Your Product Stories in Flat Lay Style

To tell the product story and set the mood for your items, you must arrange the products and the props in the right order. A good arrangement will ensure the best engagement of your audiences.
It will also determine your dedication to the story you want to tell. Here are seven best practices when photographing flat lay photos.
1. Stick to a Theme
Sticking to a specific theme will help you present your product story flawlessly. You can maintain a color palette for the theme.
It will also guide you in choosing the best props matching the theme that will complement your products in the images.
2. Prepare Background Matching with the Theme

A perfect background helps you focus on your main objects in the images. A textured background can enhance the depth of the image.
In that case, choose a texture ( fabric, paper, wool) for the surface and use that as a backdrop for the photograph.
You can also use a reverse backdrop with double color to create versatility in the image.
3. Experiment and Find Out the Best Layout
A layout is what helps you to keep focused on the product and make it look interesting.
The best practice, however, is to test and find what works best, but in consideration of the rule of thirds.
The rule of thirds refers to a composition that locates a subject in either the left or right third of the image, leaving two-thirds open.
Also, an image requires having space around its main subject; this is known as negative space.
4. Experiment with Lighting to Avoid Harsh Shadows
Use natural light as the source. For maximum natural light, place a DIY product photography setup near the big south-facing window.
Then, try using a light reflector to control the shadow. You can use a white foam board as a reflector to soften up any shadows.
A pure-black reflector has the opposite effect: it will make the shadow harsher.
But it’s best done through the use of a lightbox when one is softening the shadow.
5. Organize Your Products and Props Matching the Theme
Props are important to complete the story of a product in the images. So, gather your product and choose the props that will complement your items.
Let’s say you sell organic cosmetics in eCommerce. Here, green leaves and the ingredients of your items can be perfect props.
That is because it will give your audience a full idea about your product and will evoke emotions.
6. Edit for a More Vibrant Look
You can do slight editing to your images to evoke the beauty of the product. Make your image look more vibrant by adjusting brightness and color hue.
Also, editing can remove cluttered backgrounds and other imperfections, and get a polished image.
7. Ensure the Strategic Focus in Your Image Story
Flat lay product photography tends to tell your product’s story, which goes without saying. All you need to do is arrange products in a visually appealing composition that will evoke emotions in your audience’s minds.
Tap to watch and elevate your flat lay photography skills today!
How to Edit Flat Lay Photos in Photoshop in 4 Steps

Raw images are bigger and do not create visual appeal. However, editing helps to develop polished and attention-grabbing product images.
Let’s discover how to edit your flat lay product photography with Photoshop.
1. Adjust the Exposure
Begin editing by adjusting the exposure; it will set the color tone.
First, open the flat lay product photography in Photoshop. Now select the option ‘Edit’ from the left side of the screen. The exposure option will appear to you.
There are 4 exposure options: brightness, contrast, highlight, and shadow to adjust the photo. Use the sliders to change the brightness and contrast of your image.
Next, try to highlight your products by creating shadows. For a colorful photo, keep high brightness with high contrast. Then, select Apply.
2. Sharpen Objects with the Sharpen Tools
Sharpening tools in Photoshop are used for sharpening the image details. First. Zoom your image to 100% and select the filter menu.
Then click convert for smart filters and click ok. Again, move back to the main menu, select Sharpen, and click on the object you want to sharpen the detail.
Also, you will find the option “Unsharp Mask” for more advanced sharpening. Though it requires understanding and practice, you can do basic sharpening through the basic sharpening filter.
3. Do the Color Correction
Color correction will add beauty to it and create perfect moods for your product. You can do color correction in Photoshop.
Select the image in Photoshop and navigate to the edit option for adjustments. Then, select saturation to intensify the color of the image.
After that, navigate to layer > New adjustment layer > Hue/saturation. Dragging the Saturation option from right to left increases the saturation, or you decrease it from left to right.
It’s best to drag the Hue option until you find the perfect color. It will help you remove the unwanted color cast. Also, adjust the color, maintaining the proper weight of the image.
Then, to decrease or increase the lightness of an image, move the slider from left to right. Finally, click Apply.
4. Re-arrange Objects with the Clone Tool
Clone tools will help you remove imperfections and unwanted objects from the photo. You will be able to reorder the objects with the help of a clone tool by following the steps.
You will see the clone stamp tool in the toolbar of the Photoshop window; select an area and start loading the clone stamp tool with an object to copy or replace.
Hold down the Option key for Mac or the Alt key on Windows and select an area that blends well.
Release your finger from the Alt key, click, and paint over the area you want to remove.
After getting the desired photo, save the file as a PNG or JPG file.
Hire Professionals for Best Quality Flat Lay Photo Editing
It’s possible to edit a small number of product photos by yourself. However, the bulk of the images is tough to manage with a single hand.
You will need an expert to manage the project within a tight schedule, as they use advanced techniques to edit your flat lay product photography.
Professional photo editors can ensure the consistency of your product photos across the brand, maintaining the branding strategy.
We offer the highest quality product photo editing service for your enchanting storytelling with flat lay product photography.
In the End:
Flat lay photography is popular for e-commerce photoshoots. It is especially highly used in fashion, beauty, tech, and beverage product photography.
By reading the article, you can learn all about flat lay photography. Where we explained what flat lay photography is, how to set up a DIY studio, how to choose the best equipment, and other required information.
Following the guide, you can set up a studio with full control over flat lay photography. This will help you to capture a professional, high-quality flat lay product image.
FAQs
How to take flat lay photos without shadow?
You can keep a white foam board opposite your source of light since it will serve as a reflector to bounce light onto your objects and lessen the sharpness of the shadows. Place another light source opposite the primary light source to erase the shadow effect.
How do I make a picture flatter?
Flatten the image by using less contrast. Removing texture in the image will produce a flatter image. You can apply a noise-reducing tool in Photoshop to do this. Also, reducing the brightness of your light source will make your pictures flatter.
How do I style products for flat lay photography?
You can style your flat lay photography using props like flowers, plants, food, fabrics, and others. Use a plain backdrop and add textures or fabrics during the shoot.
Which product mostly uses flat lay photography?
Flat lay product photgrpahy mostly used in clothing, apparel, and fashion accessories.