High-quality product images have a 94% higher conversion rate in eCommerce, compared to lower qualities. In other words, you can double (!) your profit margin by preparing your eCommerce store’s stunning product images.
Producing attention-grabbing product photos requires some tools, techniques, and practices. Professional photographers are best at understanding what your audiences want to see in your product images. But, it doesn’t mean you don’t have that potential.
This article covers everything on eCommerce photography, and how you can attract and communicate your customers.
What is eCommerce Photography?
eCommerce photography is the art of preparing product images to clearly describe your products and bring the best conversion rates to your eCommerce shop.
Your audience can’t touch or experience your products online. They can only see them in the images you uploaded. The more accurate and fine-tuned your product images are, the more likely your audience will be converted into your customers.
And, maintaining a proper photography strategy ensures the accuracy of your product images.
How Important is Product Photography for eCommerce in 2024?
Your audiences tend to process visual information 60,000 times faster compared to text. In eCommerce, product photos are the valuable visual elements that help your audience understand your product within a blink.
Here are the key importance of eCommerce product photography in 2024.
- 75% of online shoppers rely on product photos when deciding to purchase.
- Good-quality product images bring 95% more organic traffic and 94% more conversions than low-qualities.
- Clean visualization of products can reduce return rates by 22%.
- The human brain remembers 80% of what they see and 20% of what they read.
Imagine what it would be when your visual presentation stands out among the crowd!
Different Types of eCommerce Photography
There are several types of eCommerce photography depending on which marketplace and what audience you want to target.
Here are some.
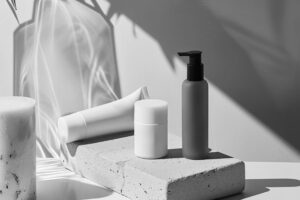
White-background product photography
Product photography on a white background is the most common and classic style. A plain-white background lets you focus your products mostly, removing any kind of distraction in the images.

Moreover, it allows you to present the exact color of your product, which is the key to building audiences’ trust.
Product lifestyle photography
Product lifestyle photography aims to bring your products into reality. It showcases the items in use with models, props, or other settings. Lifestyle photography tells your audience a story, evokes emotions, and provides a sense of how it will fit with them in their real life.

Packaging photography
This type of eCommerce photography gives your customers a sense of what to expect when receiving the products. The packaging design highlights your branding and how you present product values with the presentation.

Flat-lay photography
Arranging your products on a flat surface and shooting them directly from above is called flat-lay photography.

This type makes your product more attractive when focusing on multiple items in a particular frame. It is mostly applicable to food items, fashion accessories, etc.
Detail shots
Detail shots are close-up images that let your audience investigate specific features, textures, or craftsmanship. This way they can appreciate your product quality virtually.

Group shots
Group shots allow you to present different colors and variations of a particular product in a single frame. It gives your audiences a chance to compare multiple versions of your products.

How to Photograph Products?
There are two ways to get your eCommerce photography project done. One is hiring professionals, and the other is doing it by yourself.
Professional Product Photography
Hiring professionals to shoot product photos can save you lots of energy and time, especially when you are on a tight schedule. Professionals ensure the image quality with their skills and experiences when you can handle other areas of your business.
There are many professionals out there. However, Claudia has experience in product photography across the globe, which is worth mentioning here. Here is her website link.
We also recommend Nadiaa from Atlanta, US for the great product photoshoot. You can book her via this link.
DIY Product Photography
If you want to compress the budget, you can shoot your product photos yourself. With a setup of some pieces of equipment, strategies, and senses of visualization, shooting product photos can be within your grasp.
How to Take Good Product Photos by Yourself in 5 Steps?
To capture the audience’s attention, your product images need to be attractive and present a natural look of the object. You can ensure them both within five steps.
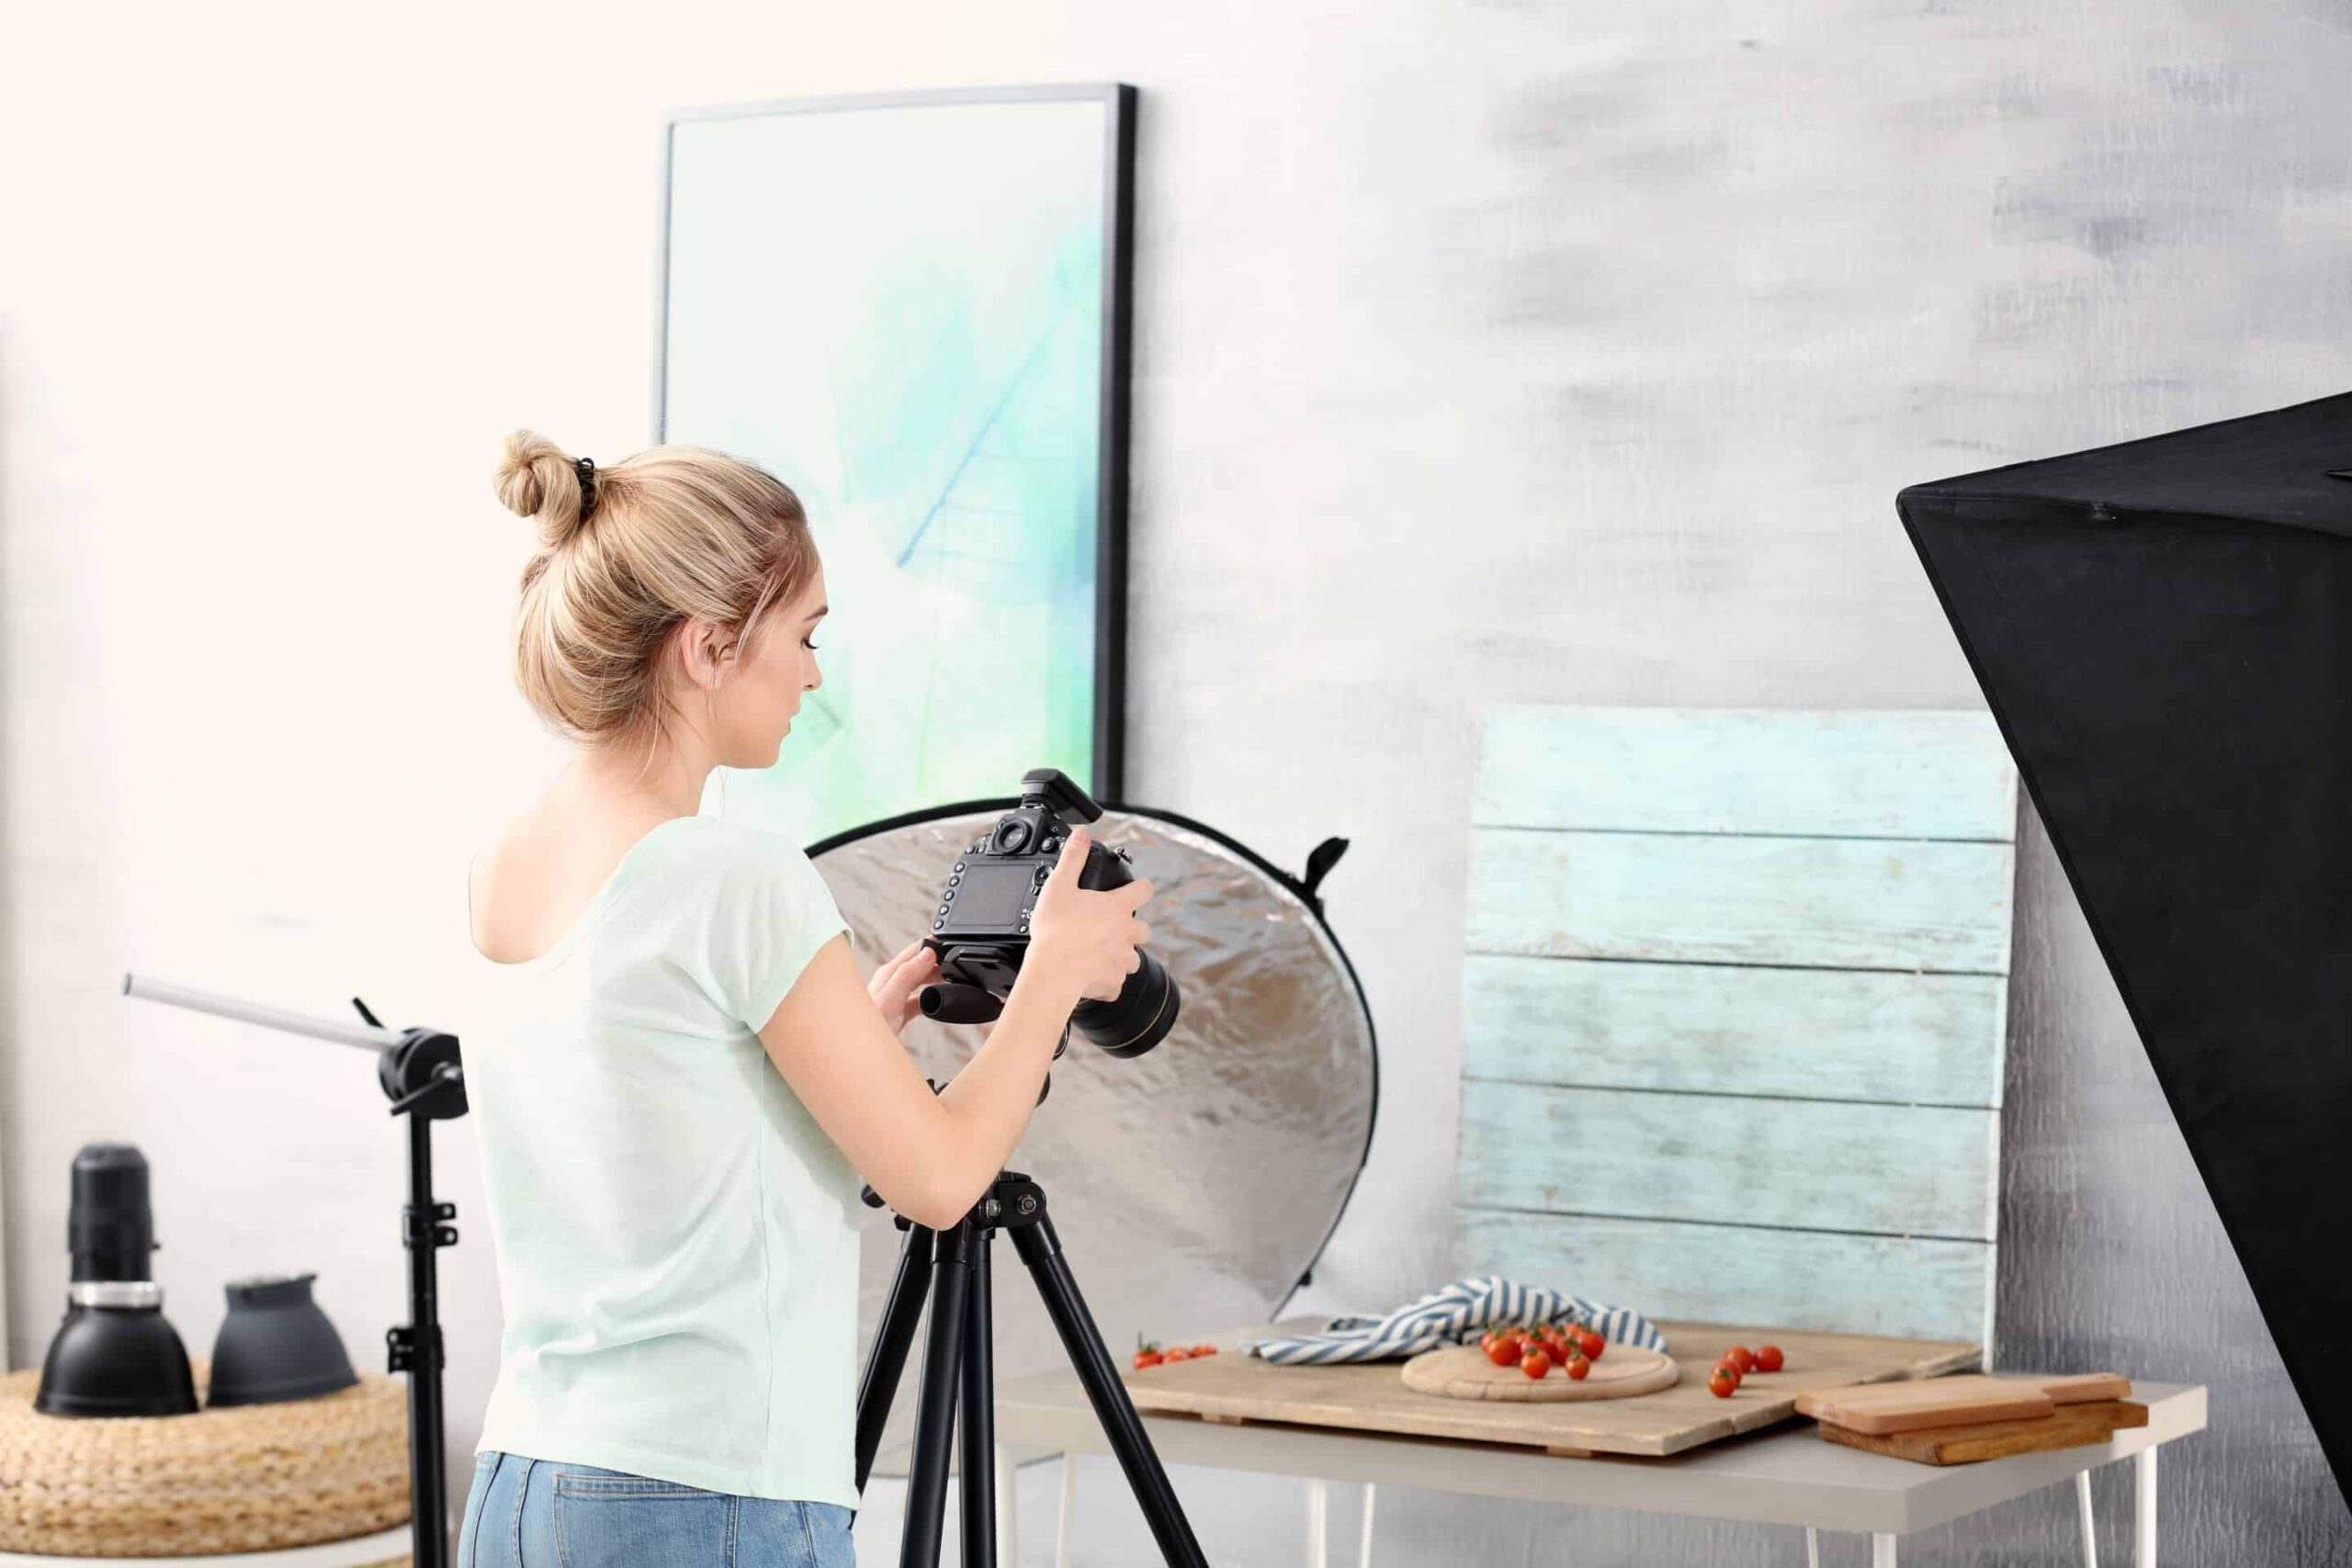
Complete a DIY Product Photography Setup

First, complete your home studio setup where you can effortlessly capture tons of images. Your DIY product photography setup requires several elements, such as:
- Camera
- Lens
- Tripod
- Lighting source
- Lightbox
- Tape
- Clamp
- Foam board
- Table
Here is your strategic guide to set up your DIY product photography environment with the elements listed above.
Determine Your Style of Photoshoot
A pure-white background focuses on your products mostly, as said earlier. Most of the eCommerce marketplaces require white background product images to use as feature photos. However, there are several slots to upload images in various styles.
Different styles tell you various ways to arrange your product before capturing images. Two are worth mentioning here – the diagonal and the Crescent.
The Diagonal Style
The diagonal style lets you capture several sizes of objects within the eye level, arranging them from back to front. The tallest object should be placed in the back and the smallest in the front.

This style helps you capture a good lifestyle image with a complete setting of a product within a frame. It presents no models or other objects that can defocus your main object(s).
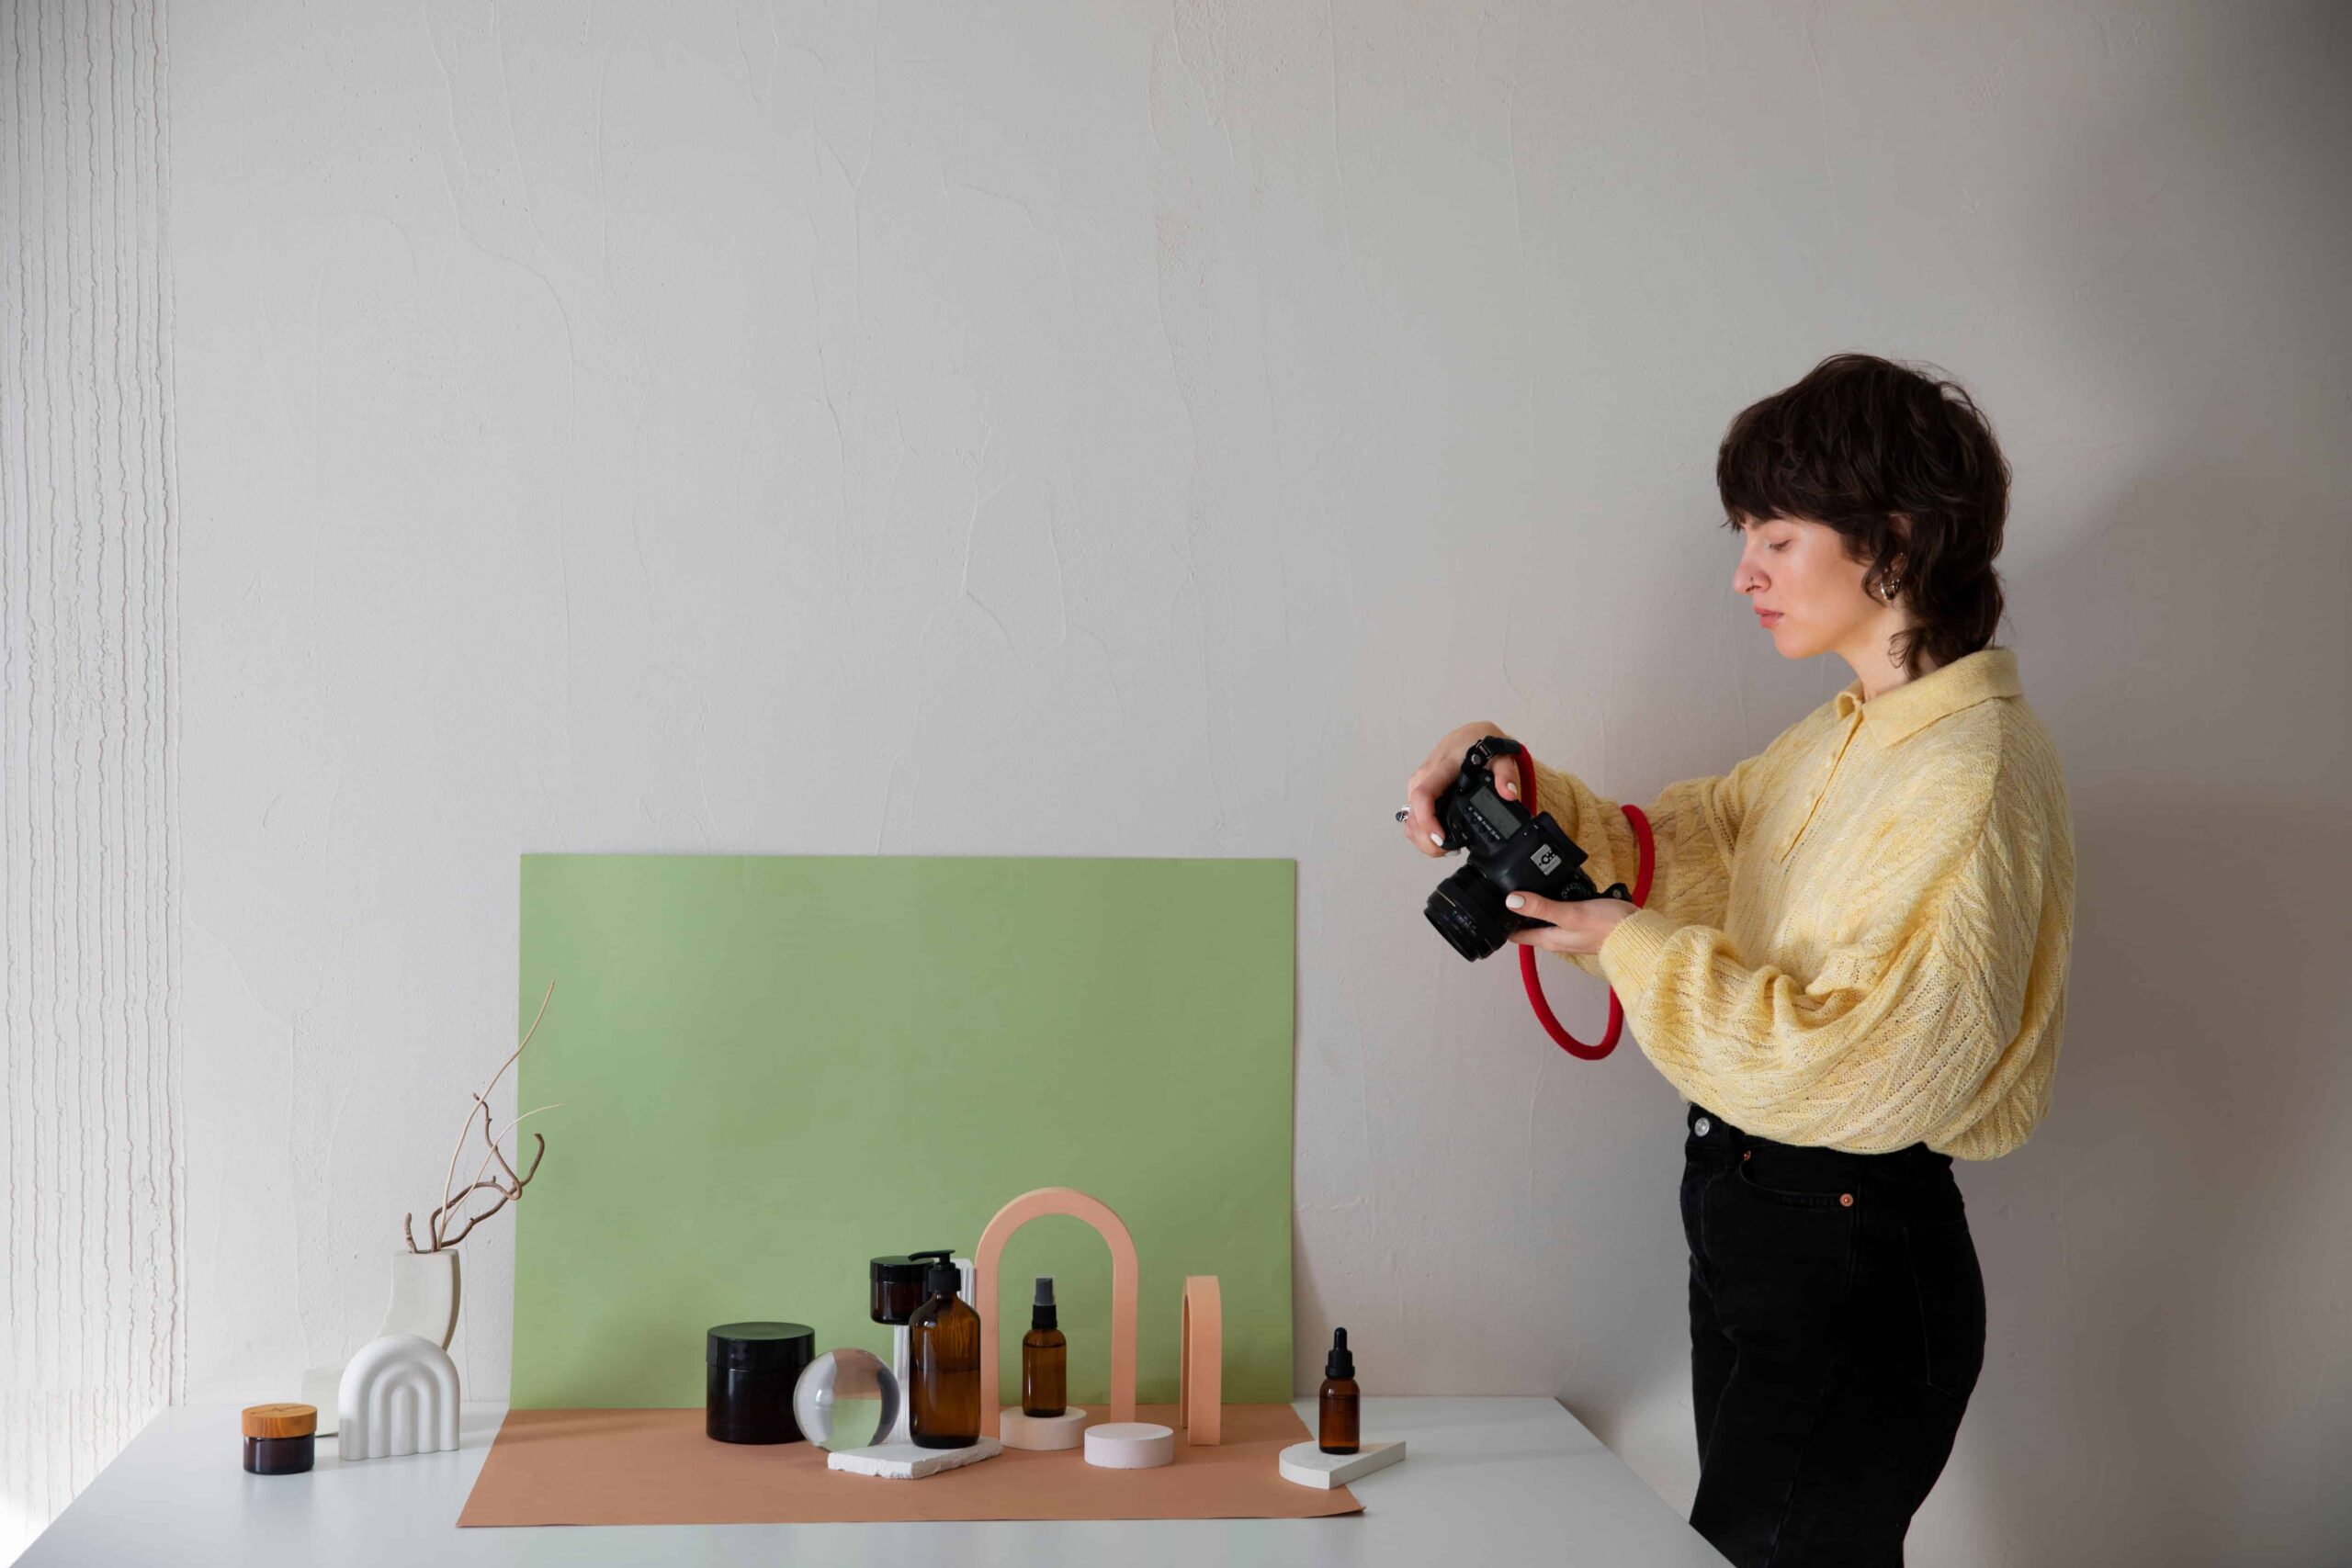
The Crescent Shape Style
When you arrange multiple pieces of your products in a crescent shape, and shoot them straightly from above, it is called crescent-shape photography. This style is mostly implacable when you have baby products, skincare items, books, etc.

A crescent shape suits mostly for any product related to self-improvement. It gives your audiences a sense of potentiality, growth, and embracing new possibilities. It also makes a sense of comfort, nurturing, luxury, and something rare.
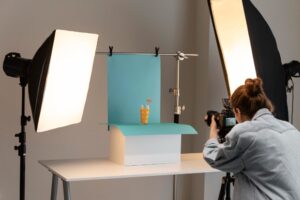
Get the Perfect Light to Highlight Key Features
Natural light helps capture the most natural look of your products with soft shadows. But, it’s not possible to get natural light throughout the day and night. Rather, you can get the best natural light once in a day. So, it will require some maintenance.
If you need to capture tons of photos in a scheduled time, it is best to use artificial lights. Artificial lights also can provide you with the natural looks of your items if you implement them in the most suitable ways.
Most of the time, photographers use two artificial lights. One is the primary light, and the other is to soften the shadow of your products.
When capturing multiple objects in a particular frame, ensure the taller object doesn’t block the smaller one. Testify the position of the objects and lights, and choose the best angle that focuses on all the objects.
Here are key hacks to soften your product shadows:
- In the case of natural light, place your DIY product photography setup closest to the south-facing window.
- Make your light source bigger. Bigger windows or larger lights create soft shadows.
- Use a reflector to bounce lights to your objects. It will reduce the sharpness of shadows.
After finishing up your lighting setup, test with your camera several times to see whether you get the perfect shadows.
Capture Your Photos
After completing your DIY product photography setup, it’s time to capture your desired image. You need to ensure the two things while shooting:
- Steadiness: You might get a little shake when pressing the capture button. It might result in shooting imperfect images most of the time. Use a tripod and set a timer in the camera to shoot to avoid unwanted shaking.
- Focus: To get the same focus on your entire product, use a small aperture (high f-stop.)You can also blur the background with your camera setting (low f-stop) to get a better focus on your product.
Complete Your eCommerce Photo Editing
Maintaining all the guidance given above can ensure capturing a great photo. But that is not perfect enough for your audiences. It requires some adjustments and fine-tuning at the post-production stage.
When giving the final touch, you must consider the following things:
- Sharpness: Good lighting and a stable tripod setup help you shoot images with good sharpness. Even then, you need to give your object’s edge a more defined look when photo editing.
- White balance: White balance is the blue and red tints on the white areas of your images. You can adjust the white balance to make it look warmer or cooler. In eCommerce photography, warm is best. Because it brings a sense of coziness.
- Color saturation: Increasing the color saturation a bit will evoke a sense of liveliness and make it more colorful. But, too much increase might make your product seem otherworldly and unreal, which is bad when gaining the audience’s trust.
- Brightness: Increasing the brightness of a specific image area can help you highlight that spot. But, highlighting too much might result in washed-out quality.
- Contrast: Increasing the contrast can give the texture of your photo more depth. Like brightness, excessive contrast might lose your image quality.
We always suggest our audience not to consider the quality of photo post-production work. Your raw images are not always perfect.
That’s where the eCommerce image editing services come in.
Instead of giving too much time for editing, hire experienced professionals. Then you handle the rest of your business.
7 eCommerce Photography Ideas, Tips, and Recommendations
Great photos not only improve your product visualization in your eCommerce store but also tell your audience a story. The story evokes emotions, builds trust, and brings more sales.
Some tips and ideas can help you improve your storytelling strategies via product images.
Shoot from Different Angles
Your audience wants to see your products from different angles while investigating before purchasing. So, you must shoot your product images from different angles.
The best practice is to put one 360-degree image that allows your audience to rotate the item and see it from any angle they prefer.
A 360 image requires an expert hand to create. The Cut Out Bees is a renowned organization that offers 360-degree spin services.
Prior Natural Light
Natural lights have no alternative when you choose to capture the most natural look of your product. It creates an inviting look, increases audience trust, and empowers your branding strategy.
Consider Lifestyle Images
Besides the main image and close-up shots, you should showcase lifestyle images that bring your product into reality. Lifestyle images tell your audience a story, visualizing your products are being used by a renowned model in his/her everyday life.
It helps your audience envision themselves using your products, which makes them more connected emotionally.
Choose the Right Props
Props enhance the overall emotions of your product photo. It is an object that supports your product in the frame when telling stories. Choosing the right prop is crucial to evoke the emotion you want.
Let’s say, you sell organic cosmetics in your eCommerce store. In that case, you can use green leaves, white towels, etc. as props. Because they enhance the feeling of freshness, which aligns with your products.

Retouch and Adjust the Color Tone
Basic retouching is required for all the product images, as it removes imperfections and improves the consistency of your photo color.
However, advanced retouching requires professionals. In this case, you can get professional photo retouching services from UK Clipping Path, if you feel it necessary.
Compress Your File Size
Raw files contain all the details of your image, resulting in the creation of heavy files. Larger files can slow down your site. It is one of the major turnovers for your audiences.
Compressing the file size is crucial. At the same time, not considering the image quality is more important. Balancing is the key here, using Photoshop tools.
Upload and Optimize for Maximum Reach
Finally, upload your hard-worked images on your eCommerce store. When uploading, ensure that it is optimized for search engines.
The more well-optimized your product photos are, the more organic traffic you will get to your store.